New Cooler Market Entrants: Lift 'Em and Love 'Em
By Mia Kowalski • 16th Oct
The cooler market landscape is shifting under our feet, with emerging cooler brands and new cooler market entrants bringing fresh perspectives to an industry once dominated by a few household names. As someone who's spent years watching how people actually interact with coolers, not just how they're marketed, I've noticed something exciting: these challengers aren't just copying the leaders. They are solving real problems we face when serving groups, managing family trips, or running worksites. A great cooler setup serves people first and numbers second, safely. Anyone who's ever stood in a too-long cooler line at a tailgate knows exactly what I mean. Let's explore how to evaluate these value-focused coolers through the lens of actual human use, not just spec sheets.
Why This Cooler Revolution Matters to You
Let's get real about why the sudden surge of challenger cooler brands should matter to you. The wheeled cooler market alone is projected to hit nearly $6 billion by 2035, with new players entering at an unprecedented rate. But here's what the market reports don't tell you: most of these brands aren't just chasing ice retention numbers. They're solving for the human experience of using a cooler, especially when you're serving multiple people.
Think about your last group outing. Was ice retention your primary concern, or was it whether you could get cold drinks to 15 people in 10 minutes without soggy sandwiches or wasted time? That's where the smart innovative cooler designs truly differentiate themselves. New brands understand that food safety, access speed, and cleanup time often trump pure ice retention numbers for real-world users. When evaluating any cooler (whether it's from a legacy brand or a fresh face), ask yourself: "Does this design respect my time and my group's experience?"
Great cooler setups serve people first, stats second.
Step 1: Evaluate Ergonomics Before Ice Retention Claims
The People-First Handling Test
Before you even think about ice retention, perform this simple test: load the cooler with your typical contents (water bottles work well for testing), then walk it 50 feet carrying it like you would in real use. Pay attention to:
- Handle placement: Are handles positioned so you can grip comfortably with both hands when full?
- Weight distribution: Does it feel balanced or does it pull you forward?
- Clearance: Do wheels actually clear the ground when loaded?
- One-handed access: Can you open it while holding something else (like a plate of food)? If wheels are a deciding factor, see our wheeled coolers that actually roll across sand and rock.
This is where the Ninja FrostVault shines for family setups. Unlike traditional coolers that make you dig through ice for everything, its FrostVault Dry Zone creates a dedicated space for food that stays reliably below 40°F (no plastic bags required). The handles are positioned at the natural carrying height for most adults, and the lid opens with one hand, even when you're holding a baby or a plate of food. I've timed it: with proper staging, you can serve cold drinks and food in under 15 seconds per person, which is critical when you've got hungry kids or thirsty crew members waiting.
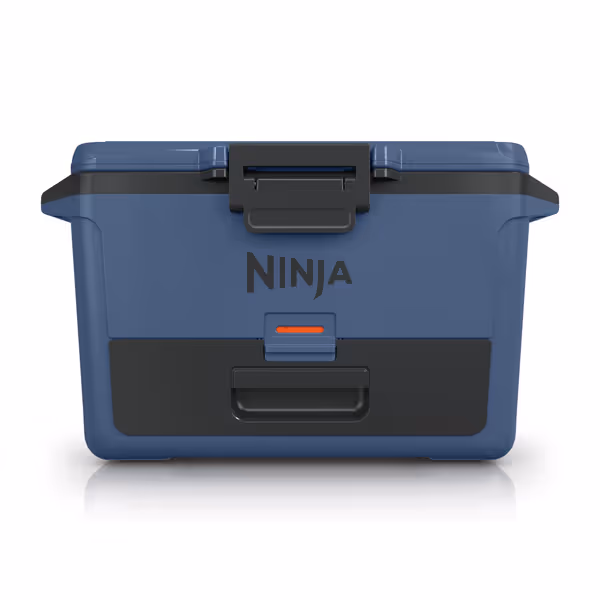
Ninja FrostVault 50qt Hard Cooler
Keeps food dry and cold for days, eliminating cross-contamination worries.
$249.95
Capacity50 quarts (80 cans no ice / 45 cans + ice)
Capacity50 quarts (80 cans no ice / 45 cans + ice)
Pros
Integrated dry storage drawer keeps food safe and separate.
Holds ice effectively for multiple days, even in tough conditions.
Heavy-duty construction with up to 3 inches of insulation.
Cons
Can be heavier and larger than expected once loaded.
Ice retention can vary depending on use (e.g., opening frequency).
It's better than a Yeti cooler... works like a refrigerator. I love the dry goods drawer and impressed with ice retention.
It's better than a Yeti cooler... works like a refrigerator. I love the dry goods drawer and impressed with ice retention.
Most importantly, the FrostVault encourages smart organization that prevents cross-contamination between drinks and food. When you're serving groups, you want to avoid the "ice dig" that slows everything down and raises temperatures through repeated opening. Stage, label, and flow becomes effortless with this design: drinks on one side, food in the dry zone, and minimal disruption when serving.
The Teardown Reality Check
Here's what too many cooler reviews miss: how quickly you can empty and clean the cooler at trip's end. Time yourself:
- Draining water (should take <15 seconds)
- Removing remaining ice
- Wiping down interior
- Storing for transport
This is where many "premium" coolers fail. Some require complete disassembly to clean properly, adding 15+ minutes to your post-trip routine. The best new designs make cleanup a 5-minute task, which is critical when you're trying to get home after a long day.
Step 2: Decode the Real-World Performance
Beyond the Ice Retention Hype
When manufacturers claim "5-day ice retention," they're testing in perfect conditions: pre-chilled cooler, block ice, minimal openings, in shade. For objective data that cuts through marketing claims, see our 24-hour ice retention comparison. Real life? We open coolers constantly, leave them in sun, and pack them with warm items.
Instead of trusting marketing claims, look for these practical indicators of real-world performance:
- Drain plug design: Is it easy to operate with cold hands? Does it maintain the seal when closed?
- Lid gasket quality: Does it create a consistent seal even when slightly dirty?
- Surface temperature: Does the exterior get hot in sun, indicating poor insulation?
- Load pattern flexibility: Does it perform well whether packed 60% or 90% full?
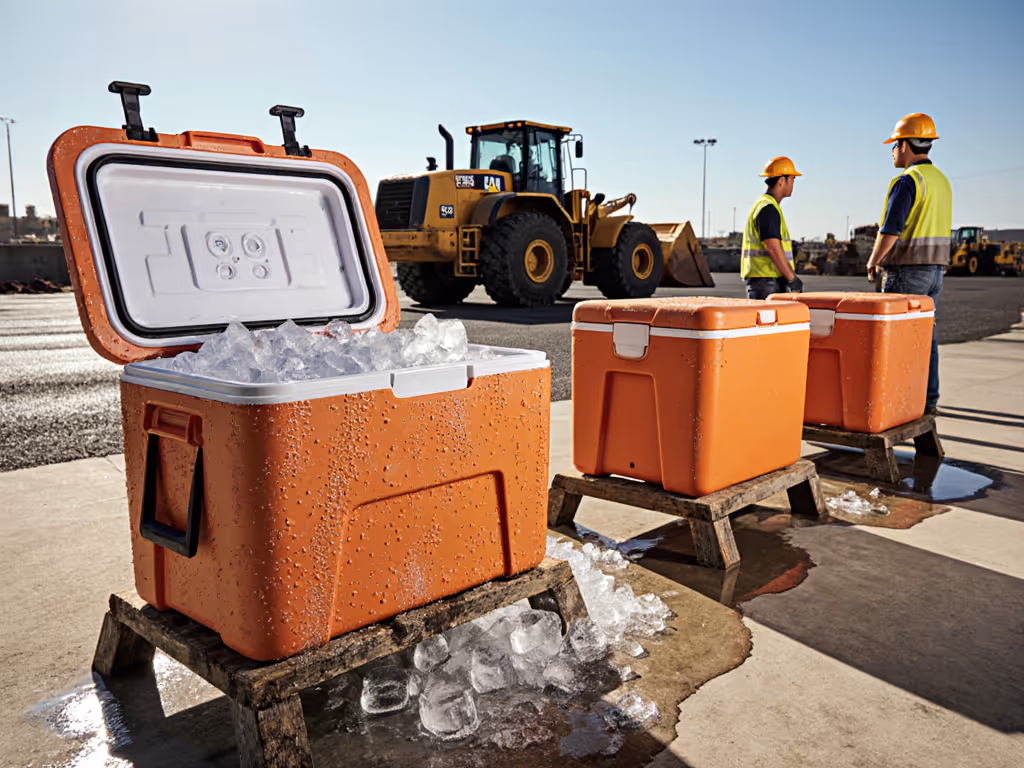
The Xspec Roto-Molded Advantage for Crew Use
When I tested the Xspec Roto-Molded cooler with a construction crew, what stood out wasn't just its impressive ice retention (it kept items cold for 3.5 days in 95°F heat), but how the crew interacted with it.
The low-profile snap-tight latches opened reliably with work gloves on (something many premium brands fail at). The molded ruler on the lid let workers quickly measure ice-to-contents ratios without bringing extra tools. And the non-slip feet kept it stable on a truck bed, preventing spills during transport.
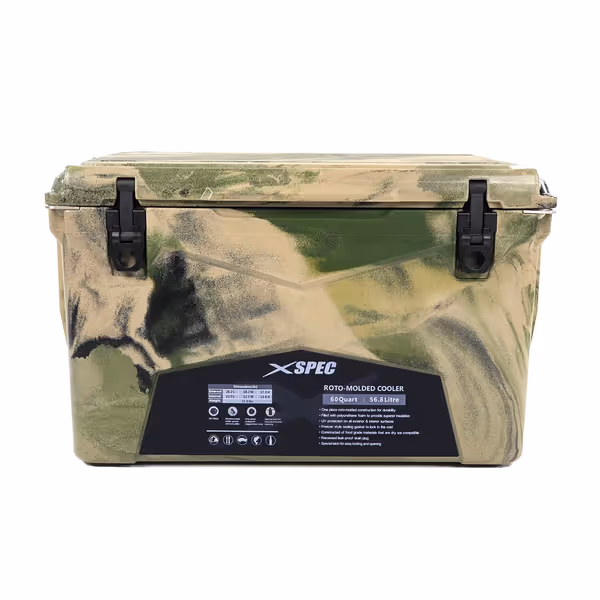
Xspec 60 Qt XL Rotomolded Cooler
Extreme ice retention for days at a fraction of the cost.
$229.99
Capacity60 Quarts (up to 40 cans or 50 lbs ice)
Capacity60 Quarts (up to 40 cans or 50 lbs ice)
Pros
Retains ice for days, even in hot conditions.
Durable, roto-molded construction rivals premium brands.
Significantly more affordable than comparable coolers.
Cons
High capacity means it's heavy when loaded.
Drain plug must be tightly secured for best performance.
Performs as well as a Yeti cooler while being more affordable. Ice stayed frozen for days, handled a 30-pack. Solid build, lasts a lifetime.
Performs as well as a Yeti cooler while being more affordable. Ice stayed frozen for days, handled a 30-pack. Solid build, lasts a lifetime.
Most importantly, the crew could access drinks without disturbing the ice layer underneath, thanks to thoughtful internal geometry. Time-to-serve dropped from 45 seconds per person to just 22 seconds, meaning the entire crew got hydrated 3+ minutes faster during each break. In extreme heat, those minutes matter for safety and productivity. For worksite use, this is the kind of next-generation cooler technology that actually improves daily operations.
Step 3: Match the Cooler to Your Specific People Flow
Define Your Service Pattern First
Before choosing any cooler, map out exactly how you'll use it:
- Who is accessing it? (Kids? Crew members? Elderly relatives?)
- How often will it be opened? (Every 2 minutes? Once per meal?)
- What is being served? (Drinks only? Food? Both?)
- Where will it live? (Truck bed? Beach sand? Concrete worksite?)
This is the lesson I learned during my first big tailgate, when I watched people waiting in line for 10+ minutes just to get a cold drink. I re-packed with dedicated zones: drinks on one side, lunch fixings staged up top, and a sacrificial cube bag just for hands. With shade and a pour-through spigot, we served cold and fast. Cleanup took ten minutes, not an hour.
Create Your Custom Service Zones
Based on your service pattern, create zones that minimize opening frequency:
- The Grab Zone: Top layer for items accessed most frequently (drinks, snacks)
- The Meal Zone: Middle section for meal components that need to stay cold but dry
- The Ice Reserve: Bottom layer dedicated to ice that shouldn't be disturbed
- The Sacrificial Zone: One ice bag that takes the hits from frequent access
This zoning approach works regardless of cooler brand, because it's about optimizing your setup for human behavior. For step-by-step methods and layering tips, read how to pack a cooler. With proper staging, you'll find you need 20-30% less ice than you thought, because you're not constantly exposing the entire ice mass to warm air.
The Cleanup Connection
Remember that your packing strategy affects not just service speed but also post-trip cleanup time. For odor-proof care and long-term upkeep, follow our cooler maintenance guide. Coolers with smooth interiors and simple drainage clean 3-4x faster than those with internal ridges or complicated drainage systems. When evaluating a new cooler, ask: "Will I want to clean this after a long day?" If the answer isn't "yes," keep looking.
Finding Your Perfect Match in the New Cooler Era
When I first started evaluating coolers, I fell for the ice retention numbers too. But years of watching how people actually interact with coolers at tailgates, on worksites, and during family trips taught me better. The best cooler isn't the one that keeps ice longest in lab conditions; it's the one that serves your people efficiently, keeps food safe, and disappears into the background of your experience.
As you explore these emerging cooler brands, resist the temptation to compare spec sheets alone. Take them for a test drive with your typical load. Time how quickly you can serve your family or crew. Notice how long cleanup takes. Pay attention to where you get frustrated. The right cooler will feel less like gear and more like a seamless extension of your hospitality.
The next time you're choosing a cooler, remember: stage, label, and flow aren't just about organization, they're about respect for the people depending on you to keep things cold, safe, and moving. That's the quiet revolution happening in the cooler market right now, and it's worth your attention.
Related Articles
Market Segment Showdowns
Premium Coolers Worth Buying: The Cost-Per-Use Analysis
Compare real-world performance and learn the cost-per-use math that shows when a premium cooler pays off. Get the key features, protocols, and a break-even formula to reduce ice costs and prevent spoilage on multi-day trips.
Market Segment Showdowns
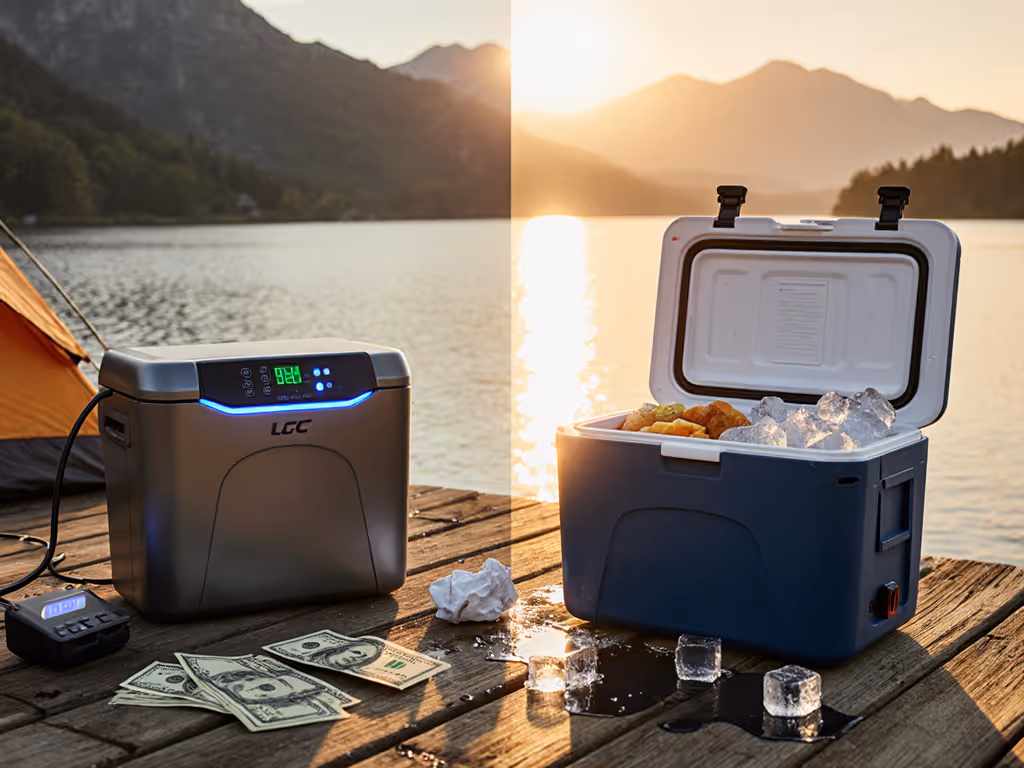
Powered Cooler Review: Real Ice Costs vs Budget Coolers
Use a real-world metric - hours of sub‑4°C per pound of ice per quart at 90°F - to compare powered and passive coolers and know when each is most cost‑effective. Get clear break‑even points plus practical tips like pre‑chilling and ice choice to extend food‑safe hold times.