Cooler Condensation Science: Stop Melting Food & Ice
By Mia Kowalski • 28th Apr
When you reach for a cold drink on a summer day, you're not just fighting heat; you're battling cooler condensation science and moisture management in coolers, two invisible forces that warm food and melt ice faster than most people realize. On humid days, condensation doesn't just make your cans sweaty; it actually transfers more heat into your cooler than the air outside does.[1] This science isn't abstract; it's the difference between a safe, organized cooler and one where food drifts toward the temperature danger zone halfway through your trip.
Understanding how condensation forms, where it pools, and how to manage it transforms cooler performance from guesswork into predictable, repeatable success. Here's the practical science that keeps your crew fed, your ice whole, and your teardown fast.
1. Recognize the Condensation Threat: How Humidity Warms Your Cooler More Than Heat Alone
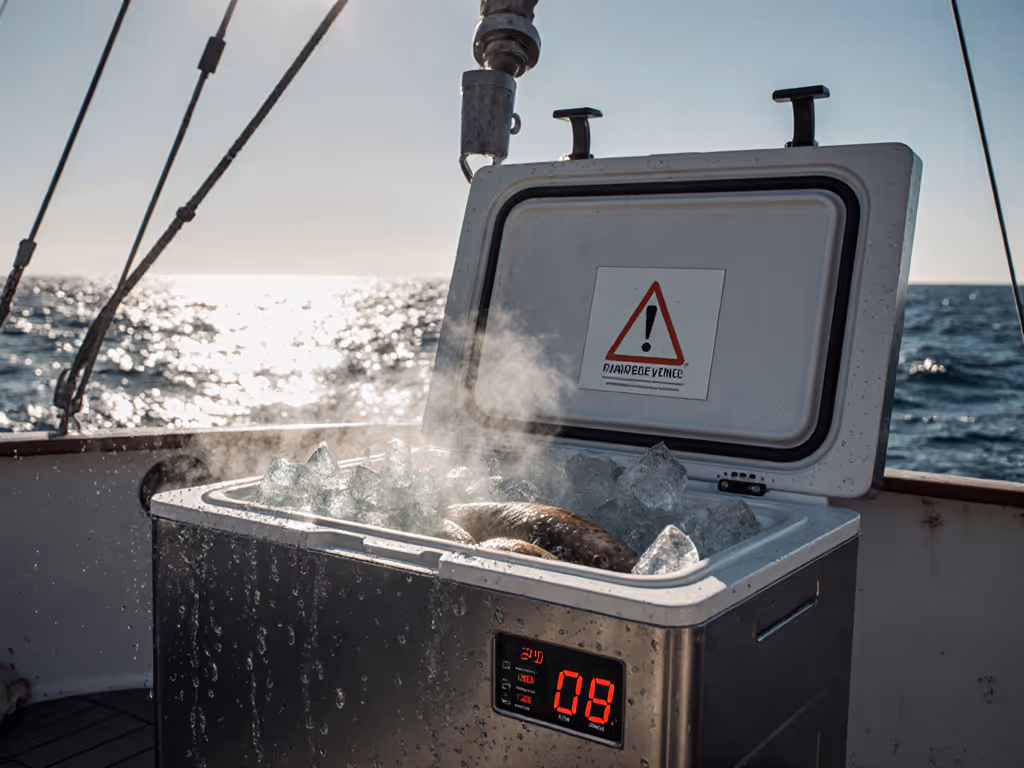
Most people assume hot air is the main enemy. In fact, on humid days, condensation on the outside of cans and containers adds more heat than the surrounding air.[1] In typically humid summer weather (think a summer day in the Gulf Coast or Great Lakes regions), condensation alone warms a drink by 6 degrees Fahrenheit in just five minutes.[1] On the most extreme humid and hot days, condensation can warm a can from near-freezing to 48 degrees Fahrenheit in five minutes flat.[1]
This happens because water vapor in humid air condenses into liquid droplets on cold surfaces.[2] Those droplets release heat as they condense, a thermodynamic process called latent heat release, and that heat transfers directly into your cooler contents.
Why this matters: If you're packing drinks and perishables for a 4-hour boat outing or tailgate in humid conditions, condensation is a silent ice thief. Recognizing it as a distinct problem (not just "heat") is the first step to stopping it.

2. Understand Dew Point: The Temperature at Which Moisture Turns Against You
Condensation occurs when air temperature drops below the dew point, the specific temperature at which water vapor in the air turns into liquid droplets.[3] The dew point is determined by relative humidity: the higher the humidity, the closer the dew point sits to the current air temperature.[3]
This is crucial for cooler planning. On an 85°F day with 70% humidity, the dew point might be around 73°F. Your cooler's exterior surface and contents will drop well below that temperature once chilled, triggering condensation almost immediately. The colder the cooler surface, the faster condensation accumulates.
Practical insight: In high-humidity climates (Sun Belt, Gulf Coast, Great Lakes), you're fighting condensation from the moment you open the cooler. In dry climates (Mountain West, desert Southwest), condensation is less aggressive. This difference should inform how aggressively you manage moisture inside and outside your cooler. For climate-specific tactics, see our guide to portable cooler performance in extreme climates.
3. Measure the Real Cost: How Much Extra Heat Condensation Adds
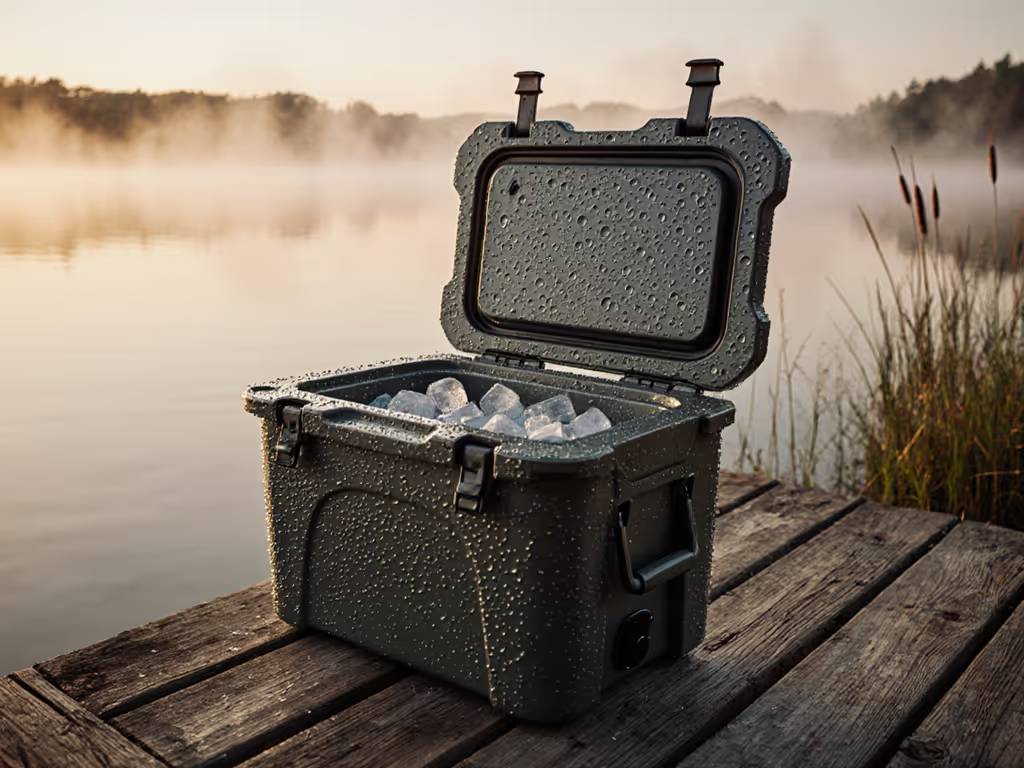
Scientists have quantified the warming power of condensation. A layer of water just four thousandths of an inch thick covering a can can raise its contents by 9 degrees Fahrenheit.[1] To put that in perspective: that's a barely visible film of moisture.
Your cooler's exterior, if left bare to humid air, becomes a condensation magnet. That moisture doesn't just sit there; it is actively warming the cooler wall, which then warms the interior. Unlike a foam insulated wall, a wet exterior is thermally compromised. To understand how wall materials change heat flow, read our breakdown of cooler insulation materials.
The takeaway: Condensation management isn't optional in humid climates; it's load-bearing. If you're in a region where humidity regularly exceeds 60%, investing in condensation control strategies will directly extend your cooler's hold time by hours.
4. Stage Your Cooler: Zone for Access and Minimize Air Exchange
Condensation accumulates fastest where air circulates most, typically near the lid. Stage your cooler in zones to reduce unnecessary lid opening and air exchange:
- Top zone (drinks tier): Rapid-access beverages here. Minimize hand traffic to lower sections.
- Middle zone (meal tier): Sandwich fixings, prepared items, sealed containers. Closed compartments trap cold.
- Bottom zone (deep cold reserve): Raw proteins, reusable ice packs, block ice. Stays undisturbed for hours.
- Access point: Keep one section (even a small sacrificial ice layer) dedicated to frequent hand access, so you're not plunging into the main compartments repeatedly.
Each time you open the lid, warm, humid air enters. That air cools, triggers condensation, and releases heat into your contents. Frequent, targeted access beats sporadic deep dives. Dig deeper into why lid openings matter in our cooler lid physics explainer.
5. Label and Separate: Prevent Moisture Cross-Contamination
Meltwater pools wherever air is still and cold. Manage it strategically to protect food safety and extend ice life:
- Raised baskets or shelf dividers: Keep perishables above meltwater pooling on the cooler bottom. Soggy food isn't just unpleasant; it's a contamination risk.
- Sealed containers: Wrap raw proteins in leak-proof bags before chilling. Label what's inside so crew members don't unpack unexpected items in weak light.
- Drain holes: If your cooler has a spigot or drain, use it. Don't let water accumulate; that pooled water is cold meltwater that insulates (and therefore wastes) ice by preventing new ice from full contact with the cooler floor.
- Sacrificial towel or wicking material: Place one absorbent layer in a corner to wick moisture away from food zones. Replace or wring it out midway through your trip if needed.
Why this matters: Moisture management isn't just about comfort, it's about preventing raw meat drippings from contaminating drinks or salad. Stage, label, and flow keeps everyone safe and confident.
6. Pre-Chill Everything: Reduce Interior Moisture and Warm-Up Time
Warm contents placed into a cold cooler trigger rapid condensation inside. Pre-chill your cooler, beverages, and perishables for at least 2-4 hours before packing.
Why? A pre-chilled interior air space has already shed much of its moisture and reached thermal equilibrium with the cooler walls. Adding cold contents prolongs that equilibrium. Conversely, warm items introduced into a cold space cause local air temperature to plummet rapidly, dumping condensation aggressively.[3] That's exactly when interior meltwater pools fastest.
If you're packing ice, frozen bottles, or block ice to pre-chill your cooler overnight, you're not wasting it, you're lowering the baseline moisture and starting temperature for the entire trip.
7. Choose Your Ice Strategy by Humidity and Duration
Condensation forms differently depending on ice type:
- Block ice: Lower surface area than cubes, slower melt, less liquid pooling in the first hours. Better for humid climates and long trips (8+ hours).
- Cube ice: Higher surface area, faster melt, more interior moisture in humid conditions. Better for short trips (2-4 hours) where speed of cooling matters more than duration.
- Reusable gel packs: No melt, no interior pooling, but lower cooling power. Pair with cubes or block ice for balance.
- Dry ice: Coldest option, no liquid, but requires special handling and knowledge. Overkill for most trips and not recommended for direct food contact.
In the humid Southeast or Gulf Coast, block ice paired with one reusable pack minimizes interior meltwater. In the dry Mountain West, cubes are efficient because condensation isn't a secondary warming source.
8. Add Shade and a Barrier: Stop Solar Gain and Exterior Condensation
Sun exposure warms the cooler exterior, which speeds interior warming and condensation. A simple cooler cover or shade setup (umbrella, tent fly, or stored under a table) can reduce solar gain by 30% or more.
For humid, sunny days: Use a light-colored towel draped over the cooler to reduce heat absorption. For boats and open worksites where constant shade isn't possible, a reflective cooler cover or cooler sleeve adds an external barrier that slows condensation accumulation on the outside, which in turn reduces heat transfer inward.
9. Plan Your Meltwater Teardown: Fast Cleanup Starts During Packing
A cooler positioned with access to a drain (or pre-positioned over a collection basin) cuts cleanup time dramatically. If your cooler has a spigot:
- Drain meltwater into a basin or ground safely away from food prep areas every 2-3 hours.
- This prevents pooling and maintains ice-to-cooler-wall contact, preserving cooling efficiency.
- A quick drain-and-wipe takes 60 seconds and buys you another hour of hold time.
If draining mid-trip isn't practical, accept that meltwater will accumulate and account for it in packing: place a towel under the cooler to wick standing water, and remove perishables to a secondary cooler if meltwater levels rise above your comfort threshold.
10. Adapt Your Strategy by Climate and Duration: Real-World Recipe
| Scenario | Primary Threat | Gear Focus | Moisture Strategy |
|---|---|---|---|
| Day trip, humid (4 hrs) | Condensation pooling, food contact | Cube ice, sealed containers, raised baskets | Drain every 2 hrs, pre-chill 2 hrs |
| Multi-day boat, tropical (12+ hrs) | Solar + condensation compound | Block ice, light cover, spigot, reusable packs | Shade, drain every 4 hrs, gel packs in top zone |
| Worksite crew, dry heat (8 hrs, 95°F) | Solar gain, ice melt volume | Block + cubes, reflective cover | Pre-chill heavily, position in shade, open infrequently |
| Tailgate, mixed humidity (6 hrs) | Rapid line access, condensation at lid | Zones: drinks/lunch/reserve, sacrificial ice bag | Label zones, keep drinks zone sealed between rounds |
Each recipe balances science (dew point, condensation heat release) with people logistics (how often the cooler opens, how much hand traffic) and cleanup speed (meltwater management, organized zones).
Further Exploration
Great cooler setups serve people first, stats second. Understanding condensation science (not just ice capacity) is what separates coolers that barely work from setups that stay reliably cold, keep food safe, and make serving simple and teardown fast.
Next, dive deeper into your specific climate zone and trip duration. Use the real-world recipe above as a starting template, then refine based on your cooler's actual construction, color, and insulation rating. Track ice duration and meltwater volume on your first trip with a given setup; that field data beats any manufacturer spec sheet. Adjust your pre-chill time, shade strategy, and drain frequency based on what you observe.
Test one change per trip: this month, try block ice instead of cubes; next month, add a cover and measure the difference. Repeat and refine until your cooler recipe is locked in. When you nail it, share it with your crew or team. That's the confidence that turns a question ("Will the food stay cold?") into certainty.
Related Articles