Urban Commuter Coolers: Compact vs. Capable
By Diego Alvarez • 3rd Mar
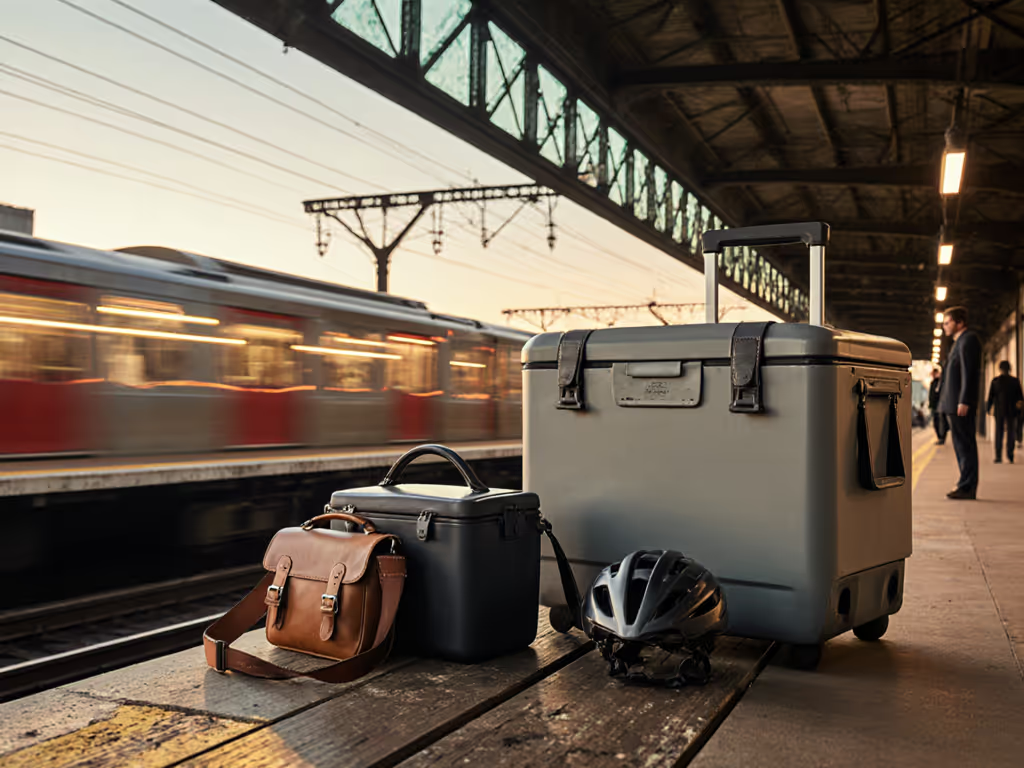
Urban commuter coolers and compact bike basket coolers solve the same problem boats and fishing decks do: keeping contents cold when you can't control ambient conditions. The difference is scale and terrain. Instead of three-hour tuna runs, you're pedaling to the office or tailgating on foot. Instead of a sun-baked deck, you're strapped to a bike rack, sitting on a car roof, or in a backpack in a parking lot. The principle, however, is identical: cold chain integrity beats cooler size or raw ice mass (method and sequence matter most).
For urban commuters, the tension isn't whether to buy a Yeti or a Coleman; it's whether a small, bike-friendly option sacrifices too much ice retention to be worth carrying, or whether a larger hard cooler becomes so burdensome that you stop bringing lunch altogether. This guide walks you through the real trade-offs, how to measure performance for your commute, and which setup actually keeps food safe from dawn to desk.
The Urban Commuter Cold Chain Challenge
When you're commuting (whether by bike, foot, car, or transit) your cooler isn't sitting in shade on a campsite. It's in direct sun on a bike rack, absorbing road heat. It's in a car trunk reaching 140°F+ on a summer day. It's bumping against your back as you walk three blocks to a lunch spot. And critically, you're opening it every hour or two to grab a snack or drink.
Each lid opening dumps cold air. Each moment in the sun adds solar gain. Each delay before pre-chilling (say, you pack breakfast at 6 a.m. but don't leave until 8 a.m.) costs you two hours of margin.
In that environment, ice retention alone doesn't guarantee safety. A cooler can claim 7 days of ice retention if left undisturbed in 70°F shade. Our ice retention method comparison shows why controlled tests differ from everyday results. Your commute is none of those things. The question isn't theoretical capacity; it's practical durability under real urban abuse.
Compact vs. Capable: Defining the Split
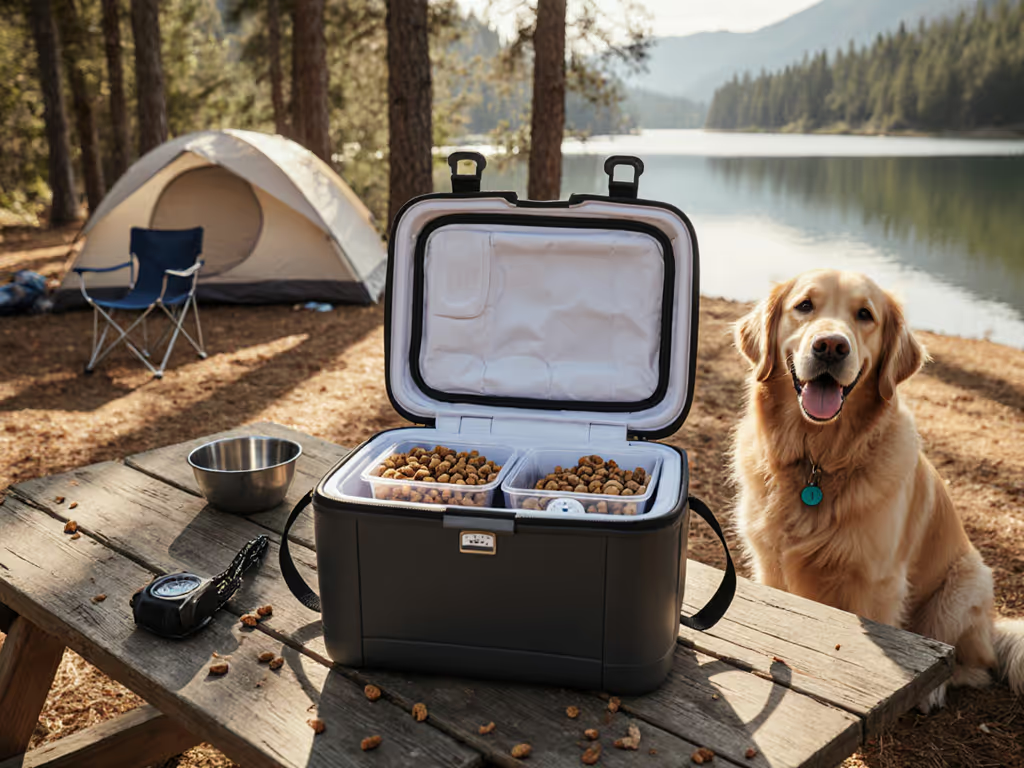
Compact coolers (typically under 25 quarts) prioritize portability. They clip to a bike rack, fit a backpack, weigh under 10 pounds empty, and take up minimal car space. Examples include soft-sided backpack coolers for commuters, collapsible designs, and small hard coolers like the Yeti Roadie 24, which weighs 12.5 pounds empty and measures 16.6 inches long.
These shine for short commutes (under an hour), single-person packing, and minimal opening frequency. Pre-chill them overnight, load just your lunch and one drink, and keep the lid sealed until arrival. In cool weather (below 75°F), compact coolers hold adequately. In high heat or frequent opening, they're marginal.
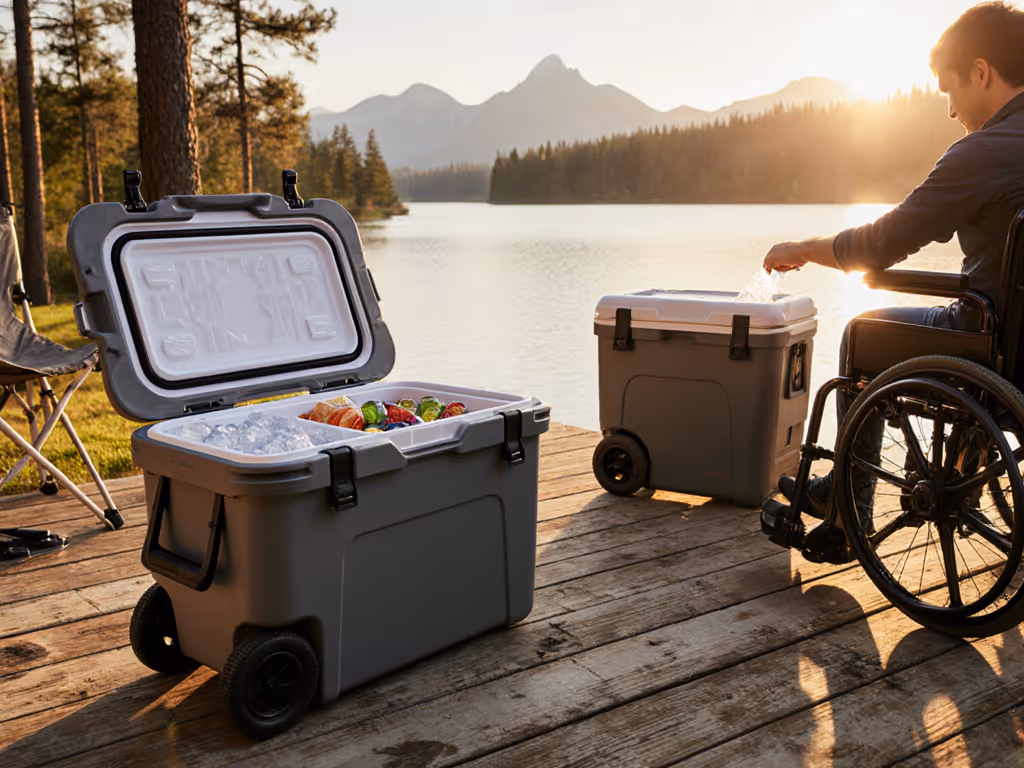
Capable coolers (typically 40+ quarts) prioritize ice-holding power and organization. They're rotomolded (thick, insulated walls), feature secure latches and drains, and can hold multiple people's food for a full day or more. The RTIC 45 Qt Ultra-Tough Wheeled Cooler ($300) held ice for 55 hours in testing, with a 3-year warranty. The Yeti Tundra 45, considered a top performer, held ice for 4.1 days until reaching 40°F in standardized testing.
Capable coolers start at 30+ pounds empty, require storage space, and don't fit most bike racks. But they're built for crews, families, and multi-hour or multi-day urban outings (think tailgates, park picnics, construction sites, or food service routes).
Ice Retention: What the Numbers Really Mean
You've seen claims like "7-day ice retention." Here's what that means: a sealed cooler in 70°F ambient shade, pre-chilled, with a specific ice-to-content ratio, left completely unopened.
Your commute? Not that. Testing confirms the Yeti Roadie 48 held ice for 6.8 days until the interior reached 40°F in lab conditions. But a commuter opening it twice for coffee and lunch, in 85°F sun for 8 hours, will see faster melt.
A practical rule: subtract one-third of the claimed time if you're in hot weather and opening the cooler every 1-2 hours. So a cooler claiming 6 days drops to 4 days under urban use. A compact cooler claiming 3 days drops to 2 days.
For a 9-to-5 commuter in summer, that 2-day margin on a compact cooler covers you (barely). For a construction crew stopping every 2 hours on a 95°F site, even a capable cooler benefits from mid-shift ice top-ups.
Small Hard Cooler vs. Soft Cooler: The Trade-Off
Small hard coolers (20-30 quarts, rotomolded or injection-molded) are rigid, insulated, have secure latches, and resist physical abuse. The Coleman 316 Series 70QT ($85) delivered 8.5-hour ice retention in testing, striking a value balance. The trade-off: they weigh 15-25 pounds empty and don't compress. For a deeper breakdown of portability vs hold time, see our soft vs hard cooler guide.
Soft coolers and bike-friendly coolers (often 10-20 quarts) are fabric, flexible, lightweight, and packable. Many feature carrying straps and backpack loops. Examples include the REI Cool Trail Split Pack ($85) and Hydro Flask Carry Out 20L ($90). Ice retention is shorter (typically 8-24 hours depending on thickness and pre-chilling), but they conform to bike bags and fit under desks.
The choice hinges on commute length and opening frequency:
- Under 2 hours, single person, infrequent opening: soft cooler or compact hard cooler.
- 3-6 hours, two people, occasional opening: compact hard cooler (20-30 qt).
- 6+ hours, crew/family, frequent opening or extreme heat: capable hard cooler (40+ qt), even if you must store it in a car.
Pre-Chilling and Sequence: Where Method Beats Size
This is the non-negotiable step most people skip. For step-by-step layering and pre-chill timing, use our how to pack a cooler guide. Pre-chill your cooler overnight before packing. Load it with ice, cover it, and let it reach 35-40°F inside. In the morning, do not drain that ice and add fresh ice; instead, pack food on top of that cold ice, add another ice layer above the food, then seal it closed.
Three hours into a commute, the cooler's shell and interior air have absorbed your body heat and ambient gain. The interior is still cold because the thermal mass (that pre-chilled ice) is working for you. If you skip pre-chilling and load warm ice into a 65°F cooler, you've spent the first 90 minutes just bringing the cooler down to working temperature.
Drain fast, then seal the cold. Don't drain meltwater mid-commute unless you're adding fresh ice; each drain opening releases cold air.
Packing Layering for Urban Carries
Order matters. From bottom to top:
- Base layer of bagged ice (or reusable packs): 3-4 inches. Bagged ice (cubes or crushed) is standard; crushed ice has more surface area but melts faster, so use cubes for longer holds.
- Food layer: Pack items you'll eat first on the outer edges, items for later in the center. Keep raw proteins (if any) in sealed bags on top of ice, separated from ready-to-eat items.
- Second ice layer: 2-3 inches above food.
- Top layer: Drinks or items consumed last (so you don't dig through cold food all day).
For urban lifestyle cooling, skip the thermos-inside-cooler trick for a commute. Keep cold drinks cold; keep food cold. Mixing reduces cooling power for both.
Compact Bike Basket Coolers: Real-World Limits
If you're set on a bike-mounted cooler, be realistic about capacity and performance. A 10-15 quart bike-friendly cooler holds roughly lunch for one person plus one or two drinks. Pre-chill it, pack efficiently (lunch in the center, sealed), and expect solid hold in cool weather (below 70°F) and marginal hold in heat (above 85°F).
Rigid bike coolers add weight to the steering and leverage; soft coolers are better for weight distribution on a pannier or backpack. Test the cooler empty on your bike before committing (does it throw off balance? Does it rattle?) Will you actually carry it, or does it nag you into car days?
Many urban commuters discover that a small, soft backpack cooler stowed under the desk beats a bike-mounted rigid cooler they dread prepping every morning.
Drain Design and Cleanliness Matter More Than You Think
A cooler with a poor drain becomes a meltwater holding tank. Soggy food, floating cans, and bacterial growth follow. When evaluating coolers (compact or capable), open and close the drain plug yourself. Does it seal tightly? Does the tube clog easily? Can you drain while the cooler is tilted in a car or secured on a rack?
For urban commuters, drainage is less critical than for fishing boats, but it's not irrelevant. After a warm day, meltwater pools. A reliable drain prevents food contamination. The RTIC 45 Qt and Yeti Roadie 24 2.0 both feature upgraded drain designs, worth checking in person.
Food Safety: Keeping Lunch Under 40°F
This is non-negotiable: perishable food (meats, dairy, prepared dishes) must stay below 40°F (4°C) to prevent pathogen growth. For safe hold times and thermometer practices, see our cooler food safety guide. A 9-to-5 office day in summer is manageable if you pre-chill, pack correctly, and keep the cooler sealed.
For longer urban outings (outdoor markets, all-day events, construction shifts), invest in ice monitoring. A small thermometer clipped to the cooler's interior or a basic temp strip tells you if you're in the safe zone. If the interior hits 42°F by mid-day, you need mid-shift ice or a move to refrigeration.
Choosing Your Setup: A Decision Path
- Commute under 1 hour, minimal opening, cool climate: Soft backpack cooler, lightweight and convenient.
- Commute 2-4 hours, occasional opening, mixed climate: Compact hard cooler (20-30 qt), pre-chilled overnight, loaded efficiently.
- Commute 6+ hours, frequent opening, or crew of 3+: Capable hard cooler (40-50 qt) in the car; accept you won't carry it by hand, but maximize function.
- Year-round commuting, mixed conditions: A compact hard cooler for summer, a soft cooler for winter (when chill isn't as critical), and a checklist so you grab the right one.
Next Steps: Build Your Commute Cold Chain
Start with a commute audit: How long are you away from refrigeration? How many people are eating? What's the typical temperature during your commute window? How often do you open the cooler?
From there, select a cooler that matches (not exceeds) those demands. Compact is good if you commit to pre-chilling and sealing. Capable is good if you're okay storing it elsewhere and accepting the weight.
Then practice the sequence: Pre-chill tonight, pack tomorrow morning using the layering recipe above, and keep the cooler sealed until you reach your destination. Monitor the interior temperature if you're nervous. After one successful commute, you'll know whether your setup holds.
The cooler is just a box; cold chain starts with discipline and ends with safe food at your desk. Get the sequence right, and a modest compact cooler outperforms a fancy capable cooler left open in the sun.