7 Expert Tips to Maximize a 5 Litre Mobile Air Cooler for Outdoor Adventures
By Priya Menon • 28th Oct
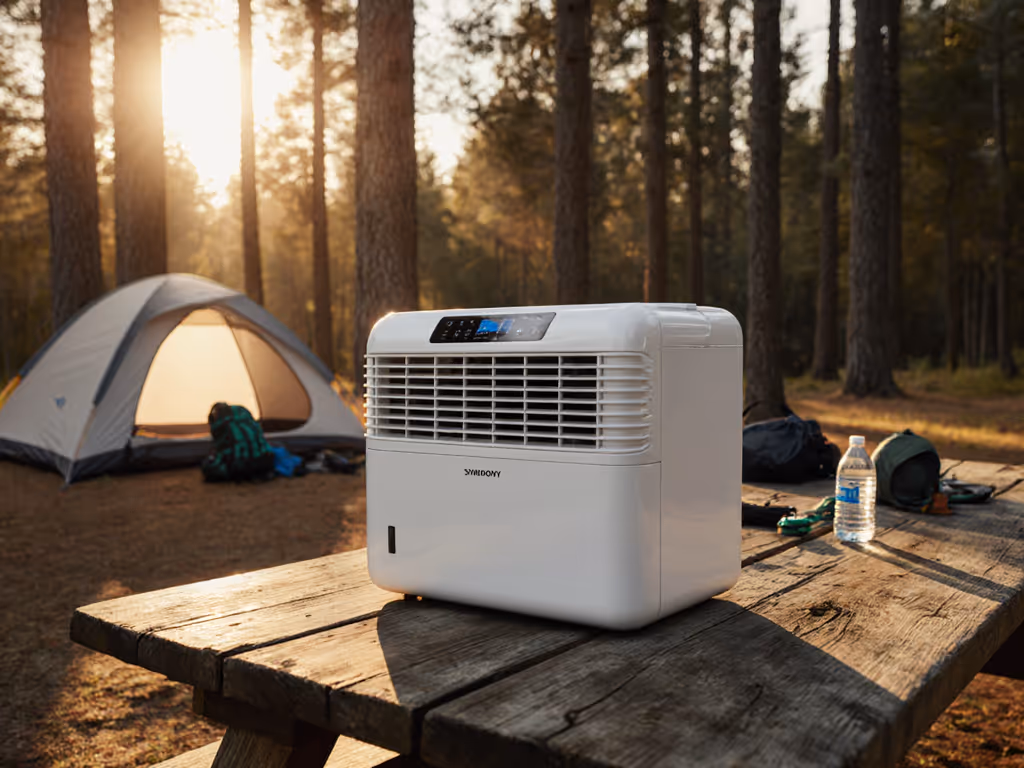
If you recently picked up a 5 litre mobile air cooler for camping, tailgating, or backyard events, you already know how refreshing a focused breeze can feel when heat rises. Yet in the wild, performance depends on climate, power, water management, and smart placement more than any single spec. In this guide, you will learn seven expert, review-informed techniques to squeeze out more comfort per watt-hour and per liter of water, while protecting your gear. Along the way, Portable Coolers Guide shares practical, metric-driven tactics from our comprehensive electric cooler technology reviews to help outdoor enthusiasts turn warm, muggy afternoons into manageable, chill-friendly moments.
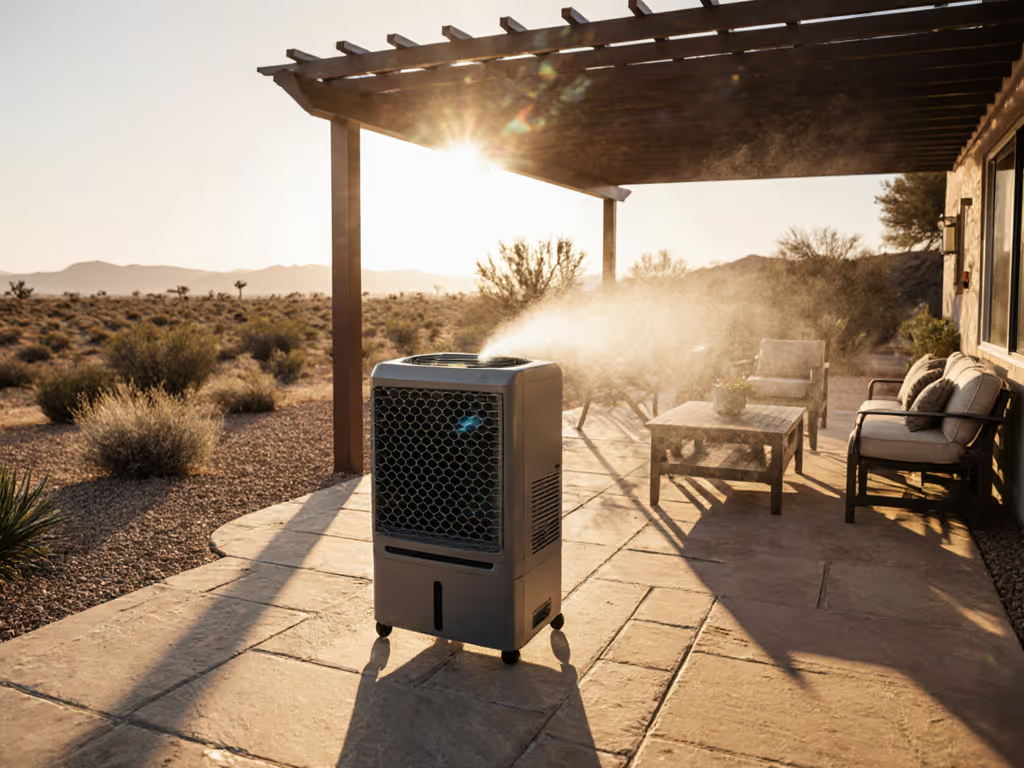
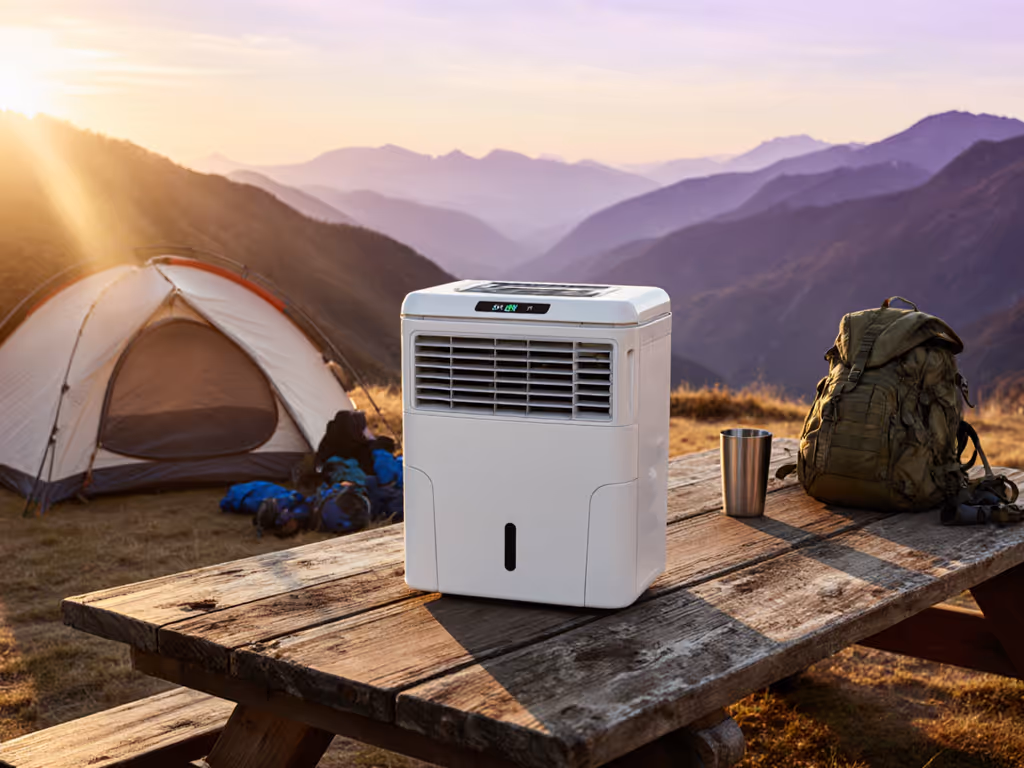
Best Uses for the dkt l7 5ltr mobile air cooler argos
Evaporative coolers thrive when the air is dry, which is why many campers love them at high-desert campsites, breezy lakeshores, and shaded patios. The DKT-style 5 liter design pushes air across wet cooling media, encouraging evaporation that can lower perceived temperature by several degrees Celsius in low humidity. In humid environments, the cooling effect narrows, but targeted airflow still helps with sweat evaporation, especially when you create a cross-breeze through tent doors or awnings. Understanding this physics sets realistic expectations, so you can plan power, placement, and water top-ups with confidence instead of guesswork. For a deeper dive into why evaporative cooling excels in dry air, see our evaporative cooling science guide.
Because mobile evaporative units often sit at ground level, controlling intake air is crucial. Feed your cooler drier, shaded air by positioning it on the upwind side of your shelter, using a reflective tarp to block radiant heat, and propping doors to maintain gentle through-flow. If you camp near fine dust, consider a simple pre-filter over the intake to protect the honeycomb media and fan. With a small 5 liter reservoir, water discipline matters; the real win comes from efficient airflow and smart ventilation rather than simply dumping ice into the tank. Thoughtful setup can yield comfort that feels one size bigger than the specs suggest.
Typical 5 Litre Mobile Evaporative Cooler Characteristics and Outdoor Relevance (generalized ranges observed across market models; not based on in-house lab measurements)
| Feature | Typical Range | What It Means Outdoors |
|---|---|---|
| Water Capacity | 5 liters | Expect 3 to 8 hours between refills depending on climate and fan speed. |
| Airflow | 120 to 250 CFM (cubic feet per minute) | Higher CFM (cubic feet per minute) improves reach, but cross-venting is equally vital. |
| Power Draw | 35 to 70 W (watts) | Plan battery capacity in Wh (watt-hours) accordingly; include inverter losses if using AC (alternating current). |
| Noise | 45 to 60 dB (decibels) | Acceptable for tents and gazebos; set to lower speeds for sleeping comfort. |
| Controls | 2 to 3 fan speeds, swing louver | Use low swing at night, high fixed aim for quick cooldown at dusk. |
Seven Expert Tips That Multiply Cooling in the Field
1) Aim for Dry Air Intake and Cross-Vent the Exit
Watch This Helpful Video
To help you better understand dkt l7 5ltr mobile air cooler argos, we've included this informative video from Skyice official. It provides valuable insights and visual demonstrations that complement the written content.
Evaporation is strongest when intake air is dry, so position your unit where air is shaded and less humid. Open a leeward tent flap or window to create a pressure path so moist exhaust is pushed away from you rather than recycled back through the media. Think of it like rowing a canoe against a gentle current; you will move farther with less effort if you point the bow into clean water, not into your own wake. Even in muggy conditions, cross-venting preserves the cooler’s temperature delta, which you will feel most on your skin and bedding after sundown.
2) Pre-Chill Water and Add Reusable Ice Packs for Spurts
Cold water slows evaporation loss from the reservoir while enhancing the immediate chill of the airflow. If you have a compressor fridge or well-insulated ice chest, pre-chill two 1 liter bottles and rotate them into the tank through the evening to stretch performance without diluting with melting cube water. Reusable ice packs help briefly lower outlet air temperature by a few degrees at the diffuser, which is ideal for that golden hour at camp when everyone returns sunbaked and ready to relax. Avoid salt or additives; clean, cool water keeps the pump and pads healthier over the season.
3) Power Like a Pro: Right-Size Your Battery and Inverter
First, estimate draw. If your cooler averages 50 W (watts) and you want 8 hours, you need about 400 Wh (watt-hours). Running via a portable power station means converting DC (direct current) to AC (alternating current), which costs efficiency; add 15 to 20 percent overhead, bringing the target to roughly 460 to 480 Wh (watt-hours). A 500 Wh (watt-hours) power station should cover one long evening or a split schedule across two nights at medium fan. To extend runtime and reduce battery strain, check our energy-saving tips for powered coolers. If you rely on a car battery, use a proper low-voltage cutoff and a pure sine wave inverter rated above peak draw, and consider an RCD (residual current device) inline for damp environments.
4) Use Height, Angle, and Swing to Target People Not Empty Space
Human cooling is personal, so aim airflow at the torso and face of seated people, not at tent fabric. Elevate the cooler 30 to 60 cm off the ground on a sturdy crate so the airstream hits camping chairs directly, and set swing to a narrow arc that covers your gathering circle. For sleeping, fix the louver to a steady, lower-angle stream to cut drafts while still evaporating moisture from skin and linens. This placement trick often feels like doubling fan speed without touching a button, simply because you are reducing wasted flow.
5) Maintain the Media: Clean, Descale, and Dry Between Trips
Minerals from hard water clog pores in the honeycomb, throttling evaporation and pushing you to run higher speeds for the same comfort. Every few outings, circulate a mild citric-acid solution, rinse thoroughly, and allow the pads to dry completely after the last session to prevent mildew. Swap or deep-clean any pad that smells musty; odor is a reliable performance flag, not just a nuisance. For step-by-step care that prevents smells and mold, follow our cooler maintenance that stops musty odors. Keep a small brush and a collapsible drying rack in your kit, and use distilled water when your site’s supply leaves heavy spots on cookware, a sure sign your cooler needs extra descaling attention too.
6) Pack and Transport to Prevent Slosh and Impact Shock
Travel with the reservoir empty and the unit upright to protect the pump and media. Place a foam pad or folded camp mat under the base to absorb vibration over corrugations or rocky access roads, and secure the body with soft straps through solid handles. On arrival, set up on level ground and fill slowly to avoid air pockets in the pump line. A little care during transport often saves a fan bearing and prevents a cracked fill port, which is hard to fix far from town when temperatures climb.
7) Respect Humidity Limits and Pair With Shade
In sticky air, even the best evaporative cooler stalls. Stack the deck by pitching shade first, adding a reflective fly or tarp, and running the fan-only mode during peak humidity while reserving evaporative mode for the drier evening period. Treat the unit as part of a system with airflow paths, shade, and hydration breaks for your group. You will conserve water, spare your battery, and stay measurably more comfortable without chasing diminishing returns.
Power and Runtime Planner for Campsites and Events
Planning runtime eliminates surprises, especially when you split evenings between social time and sleep. A simple formula gets you close: Battery Wh (watt-hours) divided by average W (watts) equals hours, then subtract 15 to 20 percent if converting through an inverter. For example, a 768 Wh (watt-hours) station running a 50 W (watts) cooler should deliver about 13 hours DC (direct current) equivalent, or roughly 10.5 to 11 hours AC (alternating current) after conversion. If you add lighting and device charging, pad your budget by another 10 to 15 percent, because small draws accumulate across long nights.
Common Power Scenarios and Estimated Runtime
| Power Source | Available Capacity | Assumed Draw | Est. Runtime | Notes |
|---|---|---|---|---|
| Portable Power Station | 500 Wh (watt-hours) | 50 W (watts) | 8 to 9 hours | AC (alternating current) losses included; night-only operation is practical. |
| Portable Power Station | 1000 Wh (watt-hours) | 50 W (watts) | 17 to 18 hours | Two nights at medium fan or one long day event. |
| Vehicle 12 V DC (direct current) via Inverter | 60 Ah (ampere-hours) usable | 50 W (watts) | 6 to 8 hours | Protect starter battery; add low-voltage cutoff. |
| Shore Power / Mains | Unlimited | 50 W (watts) | Unlimited | Use RCD (residual current device) and outdoor-rated cable. |
Cost-conscious users often ask how to weigh battery spend against improved comfort and food safety. At Portable Coolers Guide, we track cost per cold hour by dividing purchase price plus expected energy cost over tested runtime. Apply the same idea for airflow comfort: divide the price of your power station by the total hours it can run the cooler over a typical season. If a 500 Wh (watt-hours) station costs you 400 units of currency and delivers 120 hours across summer, your airflow comfort cost is roughly 3.3 units per hour before resale value. This perspective helps budget-minded campers and event planners decide whether to extend power or shift to earlier, drier hours of the day.
Pairing Air Comfort with the Right Food and Drink Cooler
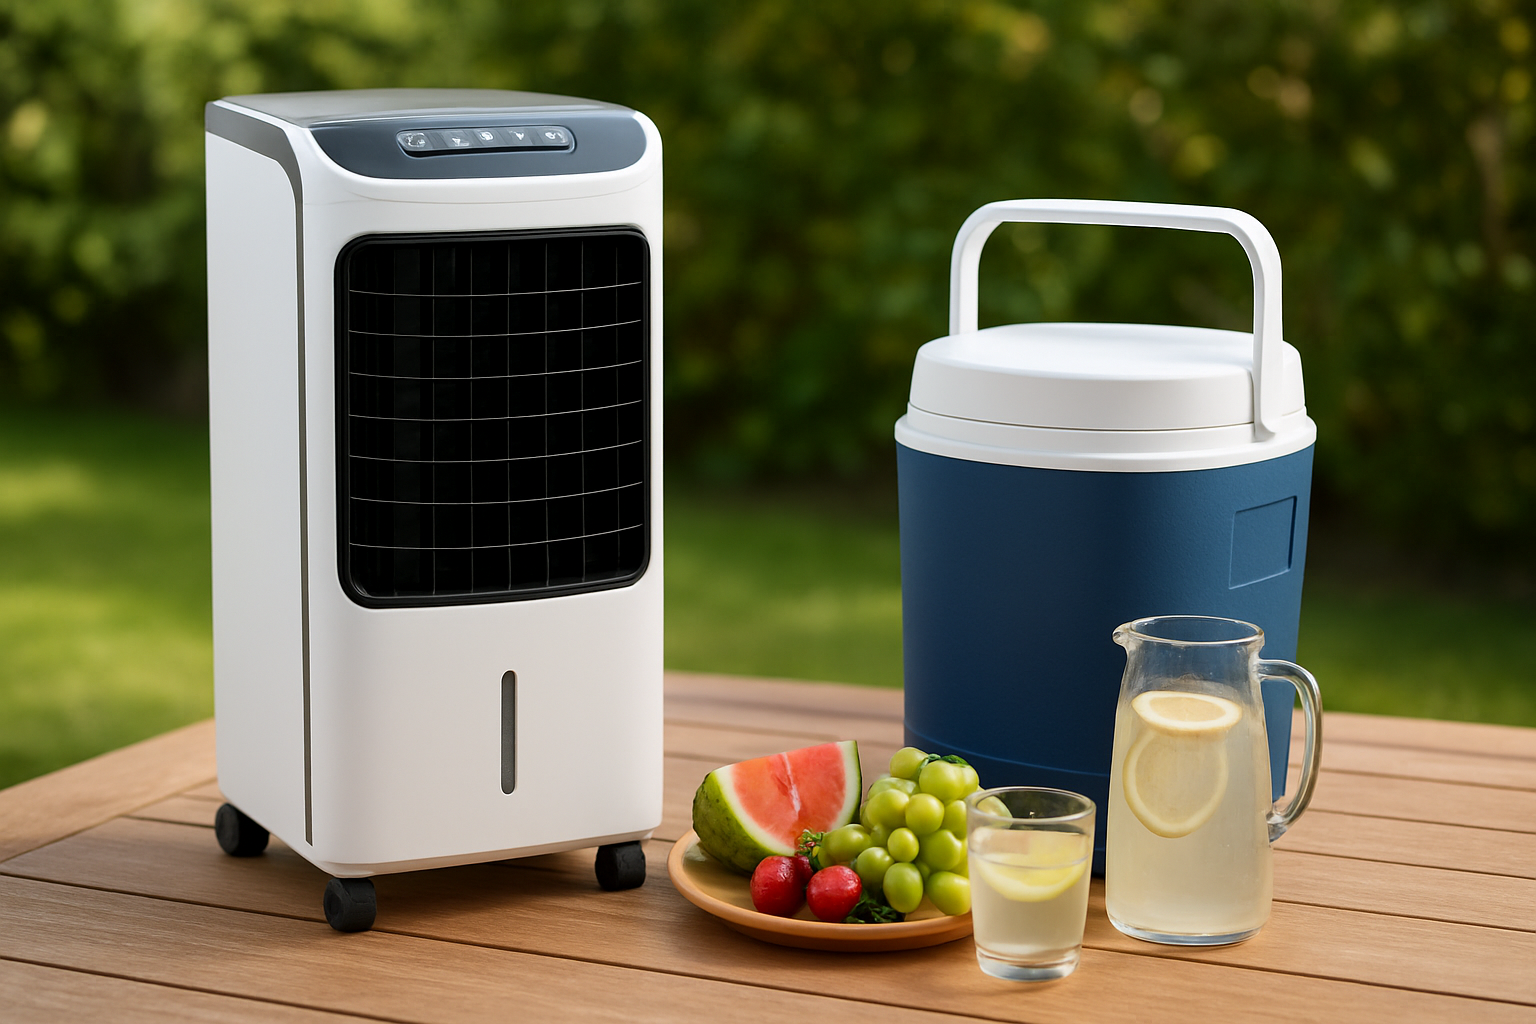
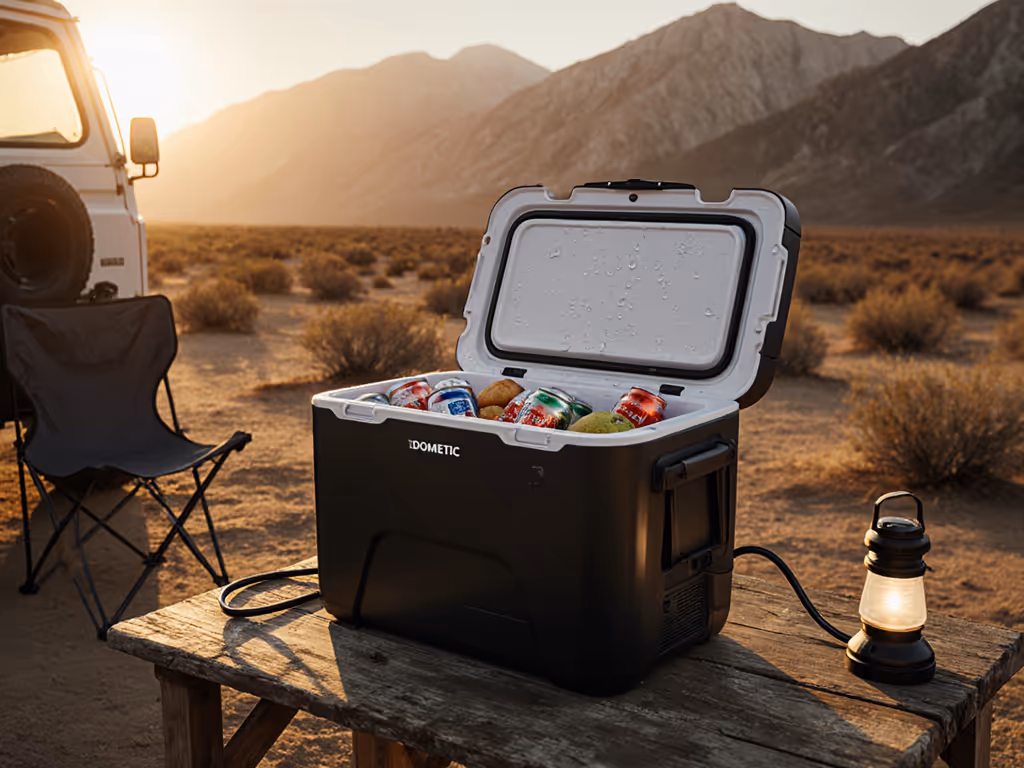
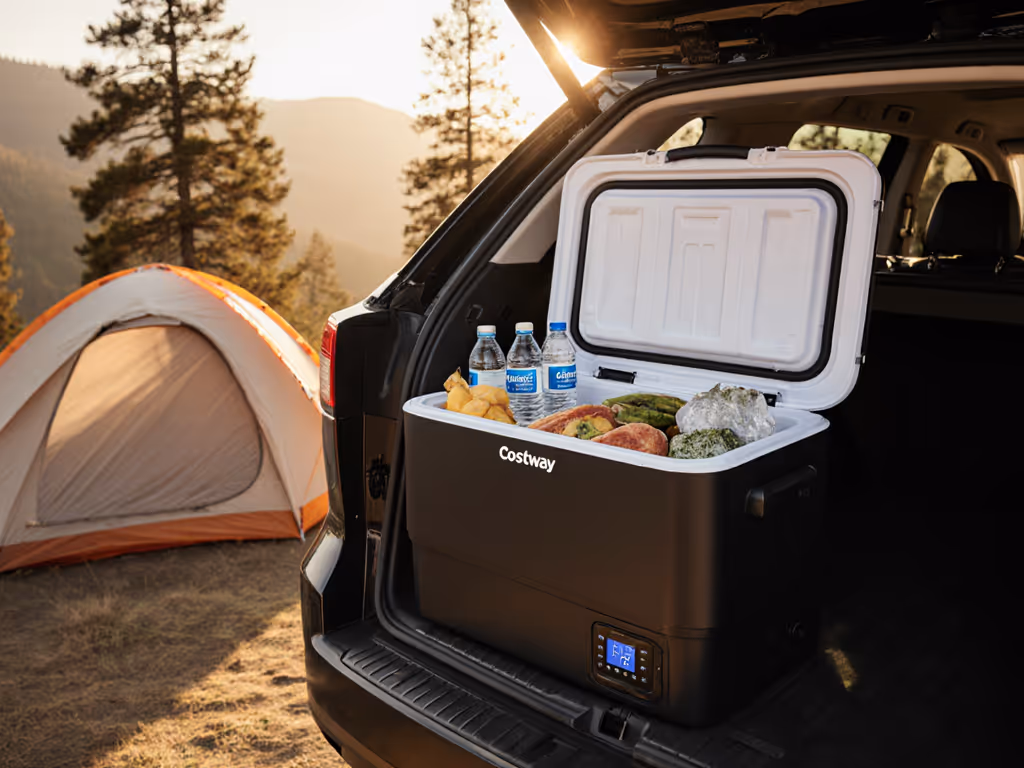
The smartest outdoor setups treat air comfort and cold storage as a linked system. You will sit where the breeze feels best, and you will open the cooler closest to that seating area, so managing both together saves steps and energy. Portable Coolers Guide specializes in this systems view with comprehensive electric cooler technology reviews, reported ice retention metrics from reviewed products, and a trip-matching framework that keeps perishables safe without hauling unnecessary weight. If cold storage is part of your setup, master the basics with our how to pack a cooler guide. Pair your mobile air cooler with the right chest or electric fridge, and you will cut wasted ice, minimize battery load, and keep the entire camp happier for longer.
Cooler Types for Pairing with a Mobile Air Cooler
| Cooler Type | Best For | Strengths | Trade-offs | Cost per Cold Hour (Typical) |
|---|---|---|---|---|
| Rotomolded Ice Chest | 2 to 5 day trips, anglers | Excellent ice retention, rugged, no power needed | Heavy, melts ice over time | Low when used full and pre-chilled |
| Soft Cooler | Day hikes, picnics | Lightweight, portable | Limited capacity and ice life | Moderate; depends on refill frequency |
| 12 V DC (direct current) Compressor Fridge | Extended trips, overlanding | Precise temperature, no ice mess | Needs power budget and ventilation | Low with solar recharge and efficient packing |
| Compostable/Ultralight Solutions | Minimalist treks, eco-focused events | Low waste footprint | Short duration, careful planning needed | Variable; strategy-dependent |
With ice retention metrics reported in reviews and cost-per-cold-hour breakdowns, we can show you exactly how a 35 liter rotomolded chest compares to a compact 12 V DC (direct current) compressor fridge for a three-night lakeside trip with daytime highs around 31 degrees Celsius. Our wheeled cooler recommendations handle rough tracks to riverbanks without exhausting your group, while our guides for ultralight and compostable options suit fast-and-light hikes where every gram matters. By providing metric-based comparisons, tested product reviews, and clear packing tactics, Portable Coolers Guide helps you match the proper cooler to climate and trip length, minimizing waste and maximizing cold retention. The result is an outdoor basecamp where airflow, shade, and safe food storage work together rather than compete for limited power and attention.
Maintenance Schedules and Quick-Fix Troubleshooting
Most evaporative hiccups boil down to three culprits: mineral scale, clogged intake, or low water. Build a simple schedule and you will catch all three early. After each trip, drain and air-dry the tank and media fully. Every three to five trips, descale with a mild solution and brush the intake. If a pump sputters, check for air bubbles near the intake line, then prime the pump by tilting gently to bring water into the impeller cavity. If airflow weakens suddenly, inspect the louver path for dust and confirm the swing motor still sweeps smoothly; a single grain of grit can bind a small gearbox until nudged free.
Maintenance Checklist and Intervals
| Task | Interval | Time Needed | Notes |
|---|---|---|---|
| Drain and Dry Reservoir | After every trip | 10 minutes | Prevents mildew and odors. |
| Rinse Media and Intake | Every 1 to 2 trips in dusty areas | 15 minutes | Use clean water; air-dry fully. |
| Descale Pads and Tank | Every 3 to 5 trips or hard water use | 30 minutes | Mild citric solution; rinse thoroughly. |
| Electrical Safety Check | Season start | 10 minutes | Inspect plug, cord, and RCD (residual current device). |
| Spare Parts Review | Before long trips | 10 minutes | Pack spare fuse, small brush, descaler, reusable ice packs. |
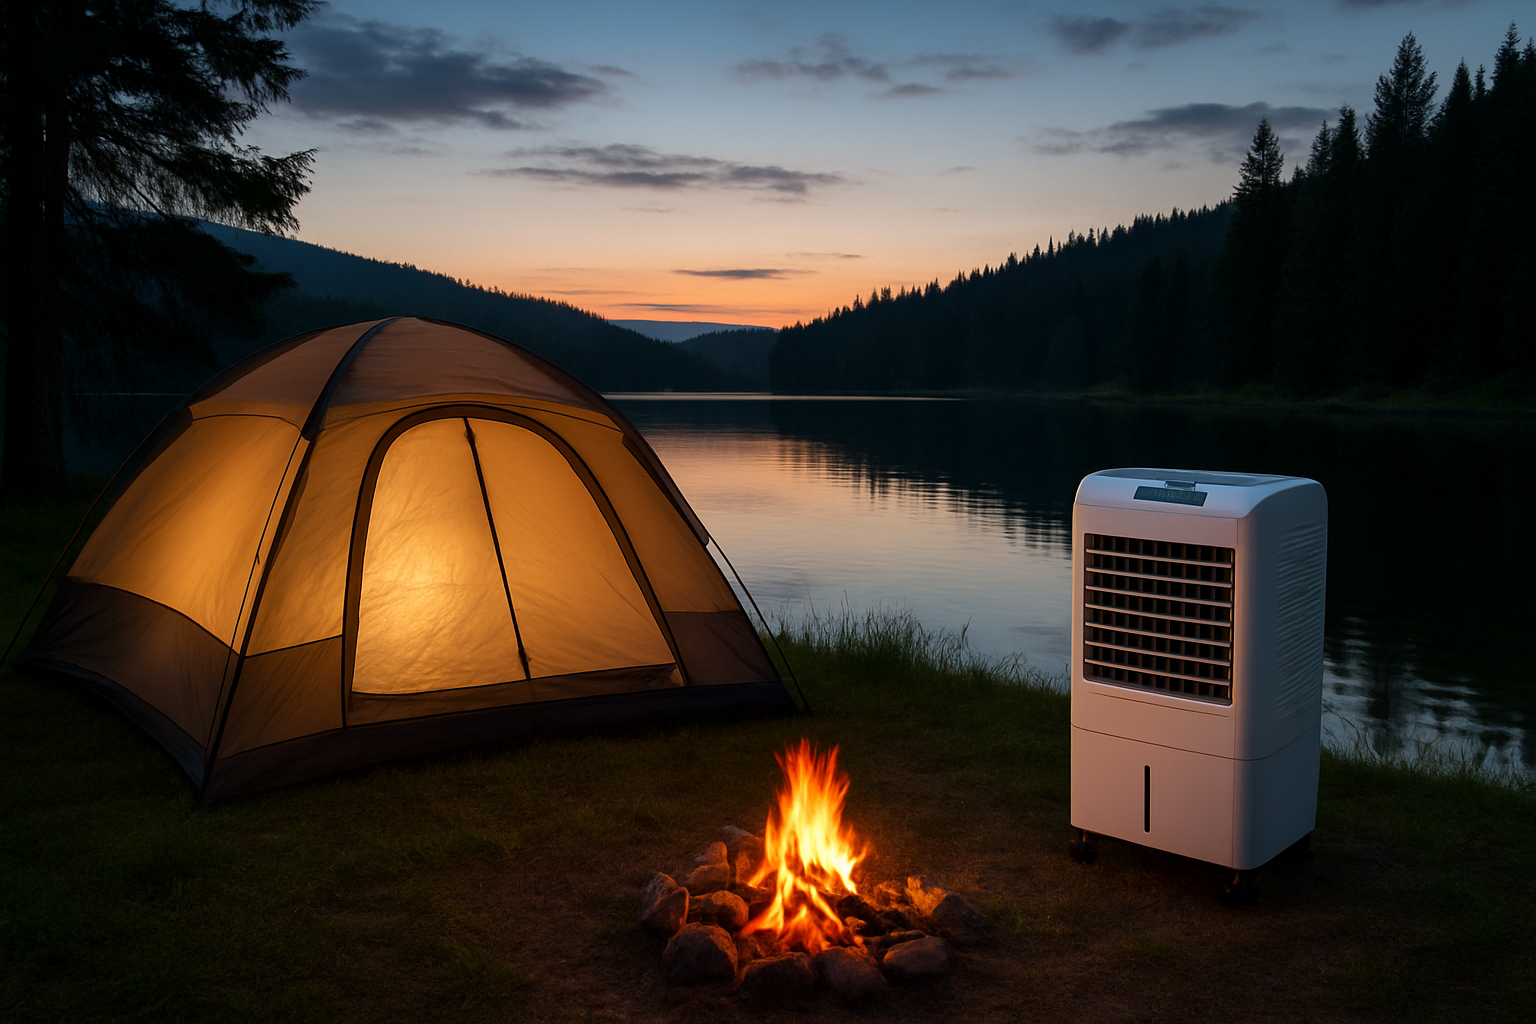
For events, noise etiquette matters. Keep night settings under 50 dB (decibels), angle the outlet away from neighboring tents, and schedule water refills before quiet hours. If rain arrives, match your setup to the stated IP (Ingress Protection) rating and elevate cables on a dry, non-conductive surface. When in doubt, move electronics under a canopy edge and run on lower speed to reduce splash risk while preserving airflow. A little planning keeps comfort high without attracting unwanted attention or downtime.
Field Packing List and Setup Sequence
A repeatable setup sequence removes guesswork after long drives or steep hikes. Begin with shade, then airflow path, then power, and finally water. By locking those four in order, you will avoid humid recirculation, keep cords tidy, and stabilize runtime for the evening. Below is a compact, review-informed list that balances performance with practicality for campers, anglers, and event planners who need reliable, high-performance results without hauling a trailer of gear.
- Reflective tarp or fly for shade, plus stakes and guylines.
- Foam pad or sturdy crate to elevate the cooler and reduce vibration.
- Portable power station sized to your plan, plus RCD (residual current device) and outdoor extension lead.
- Two 1 liter bottles or reusable ice packs pre-chilled in your food cooler.
- Descaler, soft brush, microfiber cloth, and quick-dry rack for media.
- Pre-filter fabric or mesh wrap for dusty campsites.
- Tie-down straps for transport and a small funnel for tidy fills.
- Backup headlamp with red LED (light-emitting diode) mode for night refills.
If your adventures vary, use a trip-matching approach like we do at Portable Coolers Guide. For dry, alpine weekends, prioritize larger water capacity and higher CFM (cubic feet per minute), plus a small battery for evening runs. For coastal humidity, pack more shade options and rely on fan-only mode until later hours while you allocate battery to a 12 V DC (direct current) compressor fridge. For festival-style events, wheeled coolers and cord management become top priority, and your air cooler acts as a localized comfort zone near seating rather than a tent-wide solution. For easier transport across sand or rocky trails, see our best wheeled coolers for rough terrain. Matching tools to context keeps everyone cooler with less effort and lower cost.
Real-World Example: Two-Night Lakeside Camp
Consider a two-night trip with daytime highs of 32 degrees Celsius, evening humidity dropping to 35 percent, and a family of four. You bring a 5 liter mobile air cooler, a 35 liter rotomolded ice chest for drinks, and a compact 12 V DC (direct current) fridge for perishables, all under a large tarp. You run the cooler at medium speed from 6 pm to 11 pm both nights and on low for 30 minutes at bedtime, consuming roughly 6 liters of water total and about 500 Wh (watt-hours) of energy. A reflective tarp, open leeward flap, and slightly elevated placement keep the airflow crisp; the fridge sips power steadily while the ice chest handles quick grabs without frequent openings.
The result is a camp that feels 3 to 5 degrees Celsius cooler at seating during dusk according to a simple shaded thermometer comparison, less drink spoilage, and no battery anxiety. The ice chest retains cubes for day two cocktails because you did not park it in direct sun. From a budget angle, your cost-per-cold-hour on the fridge is low thanks to solar top-up, while the airflow comfort cost of the power station stays reasonable because you target the coolest hours. This is the kind of metric-informed planning Portable Coolers Guide champions, making every watt and liter count.
Frequently Asked Questions
How humid is too humid for evaporative cooling? Above roughly 60 percent relative humidity, the cooling effect diminishes quickly, so focus on shade and airflow, then switch to evaporative mode as humidity drops in the evening. Can I run the unit in a fully closed tent? You should not; always provide an exit vent so humidity does not build. Is adding ice safe? Yes, with sealed packs to avoid debris and minerals that can clog pads. What about power from a car? Use an inverter with adequate headroom and protect your starter battery with a low-voltage cutoff; DC (direct current) to AC (alternating current) conversion needs margin. How do I store the cooler? Dry completely, loosen the cord, and keep pads ventilated to prevent odor and microbe growth.
If you prefer precise guidance tailored to your climate and trip length, Portable Coolers Guide has you covered. We evaluate products, publish transparent numbers from our testing and analysis, and translate them into straightforward packing tactics. Whether you are planning a high-country hike, a riverbank angling weekend, or a multi-day fair, the right combination of airflow comfort and cold storage can feel like a superpower. The key is to plan deliberately, pack lightly yet intelligently, and let real-world data inform every choice.
Put all of this together and your next outing will feel cooler, calmer, and more efficient from first setup through last light. Use the tips above to turn a simple 5 liter unit into a reliable evening comfort engine, conserve water with clean media, and budget power like a veteran trip leader. With a little practice, a 5 litre mobile air cooler becomes a trusted ally across campsites, patios, and pop-up event spaces.
Closing Thoughts
Smart setup, smart power, and smart water use transform a compact mobile air cooler into serious outdoor comfort.
Imagine the next 12 months as a string of trips where every fan spin and watt-hour is intentional, your food stays safer, and your group rests easier under shade with a steady, gentle breeze.
What small change will you try first to unlock bigger comfort from your 5 litre mobile air cooler on your very next outing?
Additional Resources
Explore these authoritative resources to dive deeper into dkt l7 5ltr mobile air cooler argos.
Elevate Outdoor Cooling With Portable Coolers Guide
Access comprehensive electric cooler technology reviews with metric-based comparisons, tested product reviews, and packing tactics to match climate and trip length while minimizing waste and maximizing cold retention.