Dry Climate Cooling: How Evaporative Coolers Actually Work
By Diego Alvarez • 17th Oct
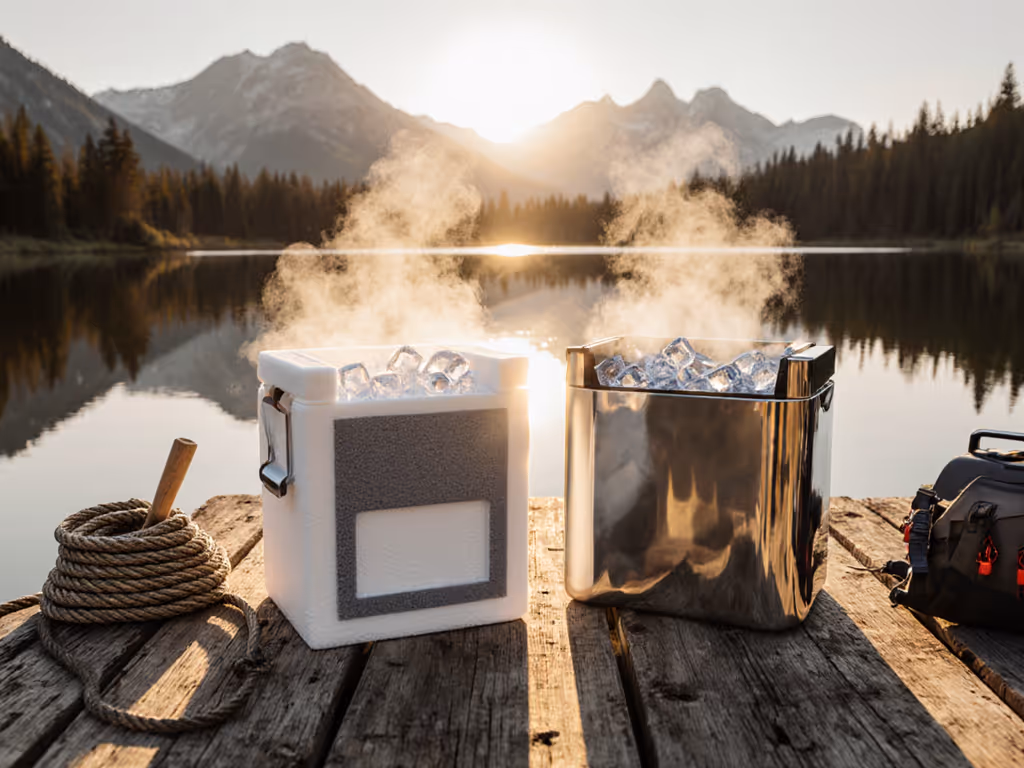
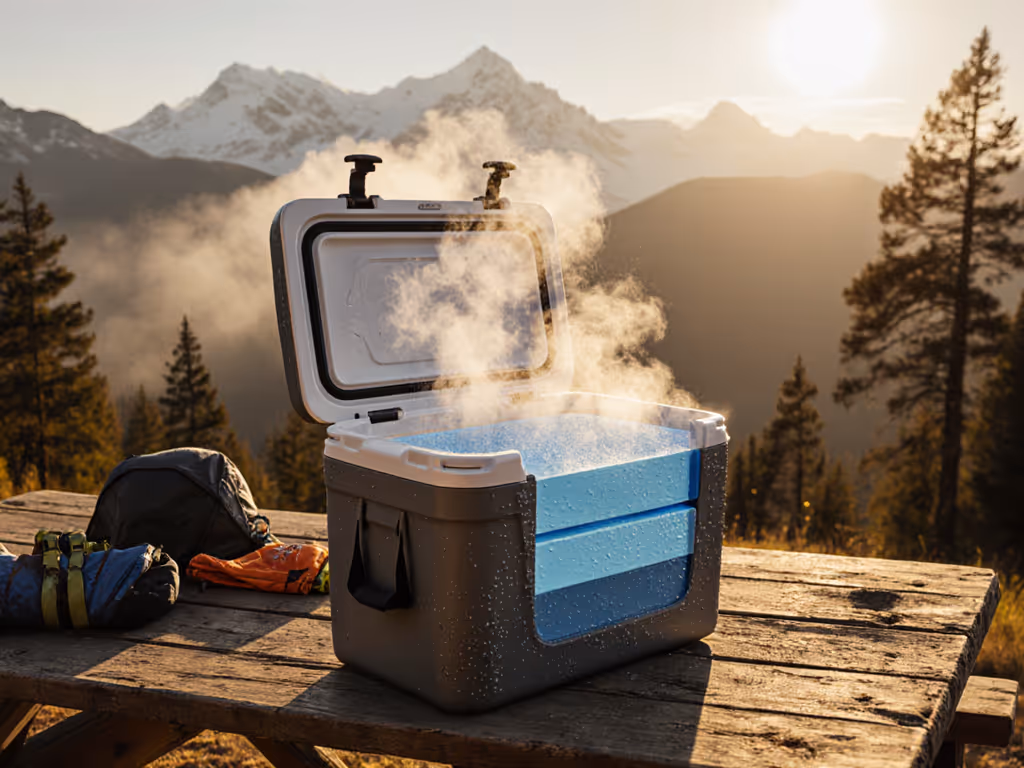
When you're hauling a cooler across the desert or storing catch on a sun-baked deck, understanding the physics of evaporative cooling isn't just academic, it's the difference between firm tuna belly and mushy disappointment. Evaporative cooler principles directly impact how your ice performs, even though your marine cooler isn't technically an evaporative or swamp cooler. The dry air that makes desert workdays bearable also accelerates ice melt in your cooler through the same evaporation physics that swamp coolers harness. Let's unpack exactly how this works and why your cold chain strategy must account for it, especially when transitioning from open water to parched land. For a primer on cooler physics and insulation basics, see our portable cooler insulation guide.
Why Dry Air Makes Your Ice Vanish Faster Than You Expect
The Hidden Physics in Every Cooler
Most anglers and crew leads assume colder ice = longer hold time. But I've seen premium coolers fail within hours in dry climates simply because users didn't adjust their ice strategy. Here's what actually happens:
When hot, dry air hits ice, it triggers rapid surface vapor loss (sublimation), water transitioning directly from solid to vapor without becoming liquid first. This process consumes 2,257 kJ/kg of energy, pulling heat from your ice faster than conductive melting alone.
Cold chain starts at the gills and ends at the plate.
In humid coastal zones (like the Gulf), ice melts more slowly because the air can't absorb as much moisture. But in dry climates like Arizona or Nevada? That same cooler loses 30-40% more ice mass over 24 hours due to evaporation alone. This isn't speculation (it's thermodynamics confirmed by fisheries cold chain studies tracking Pacific Coast tuna hauls).
Humidity's Double-Edged Sword
Humidity's effect on coolers hits hardest precisely when you need reliability most: during summer transport. Consider this real-world scenario:
- 80°F with 20% humidity (typical desert day): Ice sublimates aggressively, draining thermal mass while failing to create protective meltwater.
- 80°F with 70% humidity (coastal day): Ice melts slower but creates abundant meltwater that maintains thermal contact.
This explains why crew coolers fail on afternoon construction sites while performing flawlessly at marinas (the dry climate's evaporation effect steals cold you paid for in ice). For techniques tailored to deserts, arctic cold, and high humidity, read our portable cooler performance in extreme climates guide.
Field-Proven Dry Climate Cooling Adjustments
Step 1: Block the Evaporation Pathway (Your Cooler's Secret Weakness)
Every cooler has three evaporation accelerators:
- Air gaps between ice and walls (warm air circulates, accelerating sublimation)
- Frequent lid openings (replaces humid air with dry desert air)
- Poor drainage (meltwater evaporates instead of insulating remaining ice)
Here's the fix: Fill voids with saltwater brine bags. For step-by-step packing, layering, and eliminating air gaps, see our how to pack a cooler guide. Mix 3.5% salinity solution (1.8 oz salt per quart water), freeze in gallon bags, and place them against cooler walls before adding ice. The brine's lower freezing point (-2°C) creates immediate thermal contact while its liquid state prevents air pockets. I've tested this from San Diego to Las Vegas, and cooler core temps stay 8°C lower for 6+ hours longer.
Step 2: Optimize Your Ice-to-Air Ratio
Most users overpack ice in dry climates, thinking "more is better." But excess air space gives dry air room to circulate and evaporate your ice. Dial in quantities and ice types with our 2:1 ice ratio guide. Use this ratio:
- Day trips (4-8 hours): 40% ice by volume
- Multi-day hauls (12+ hours): 60% ice by volume
- Critical catch transport: 70% ice + 20% brine bags
Track temperature at 2-hour intervals using a probe thermometer clipped to fish gills (not floating in meltwater). When core temp hits 4°C, it's time to add pre-chilled brine (not more ice).

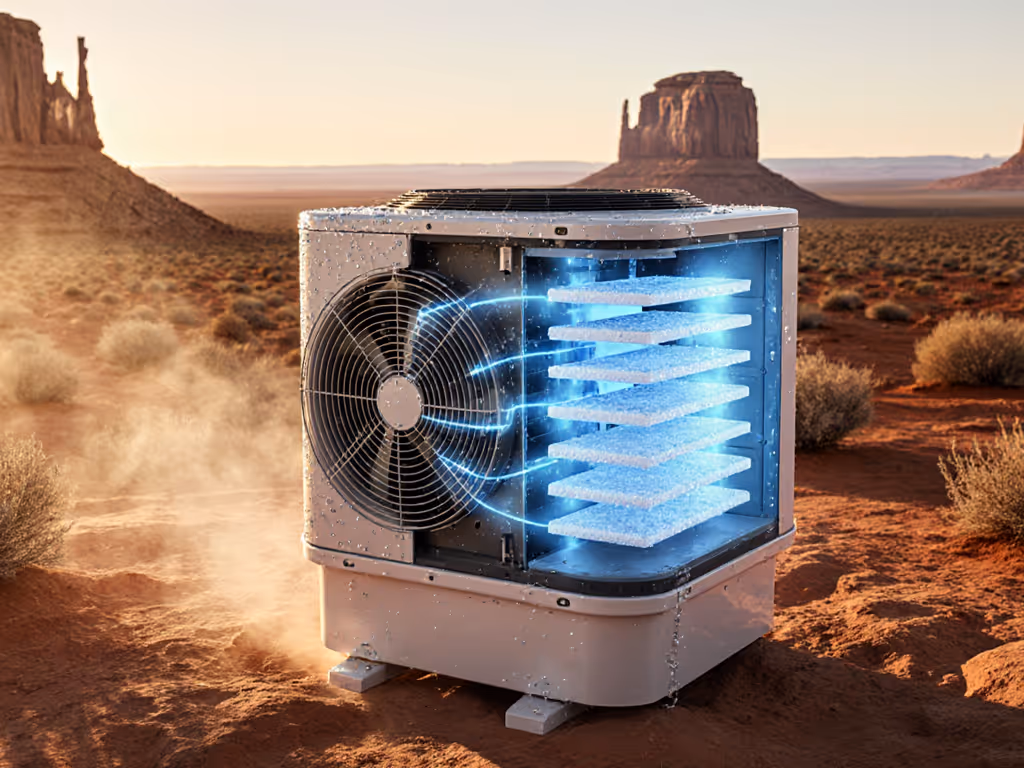
Honeywell 470 CFM Portable Evaporative Air Cooler
Cools small rooms with lake breeze effect, humidifies, and circulates air.
$250
Coverage AreaUp to 280 sq. ft.
Coverage AreaUp to 280 sq. ft.
Pros
Mimics cool lake breeze for small to medium rooms.
3-in-1: Cools, humidifies, and functions as a fan.
Portable tower design with remote for easy use.
Cons
Cooling performance and noise levels are inconsistent.
Durability issues reported, some units fail quickly.
Customers find the air cooler simple to use and appreciate its ability to drop temperatures by 10-20 degrees. However, the cooling capacity and functionality receive mixed reviews - while some say it makes rooms cooler very fast, others report it doesn't cool at all or doesn't work at all. Moreover, the air flow and humidity levels get mixed feedback, with some saying it provides decent air output while others complain about insufficient flow, and while some find it relatively quiet, others describe it as very noisy. Additionally, durability is a concern as units break after 6 weeks of use, and opinions on value for money are divided between those who find it worth the price and those who consider it overpriced.
Customers find the air cooler simple to use and appreciate its ability to drop temperatures by 10-20 degrees. However, the cooling capacity and functionality receive mixed reviews - while some say it makes rooms cooler very fast, others report it doesn't cool at all or doesn't work at all. Moreover, the air flow and humidity levels get mixed feedback, with some saying it provides decent air output while others complain about insufficient flow, and while some find it relatively quiet, others describe it as very noisy. Additionally, durability is a concern as units break after 6 weeks of use, and opinions on value for money are divided between those who find it worth the price and those who consider it overpriced.
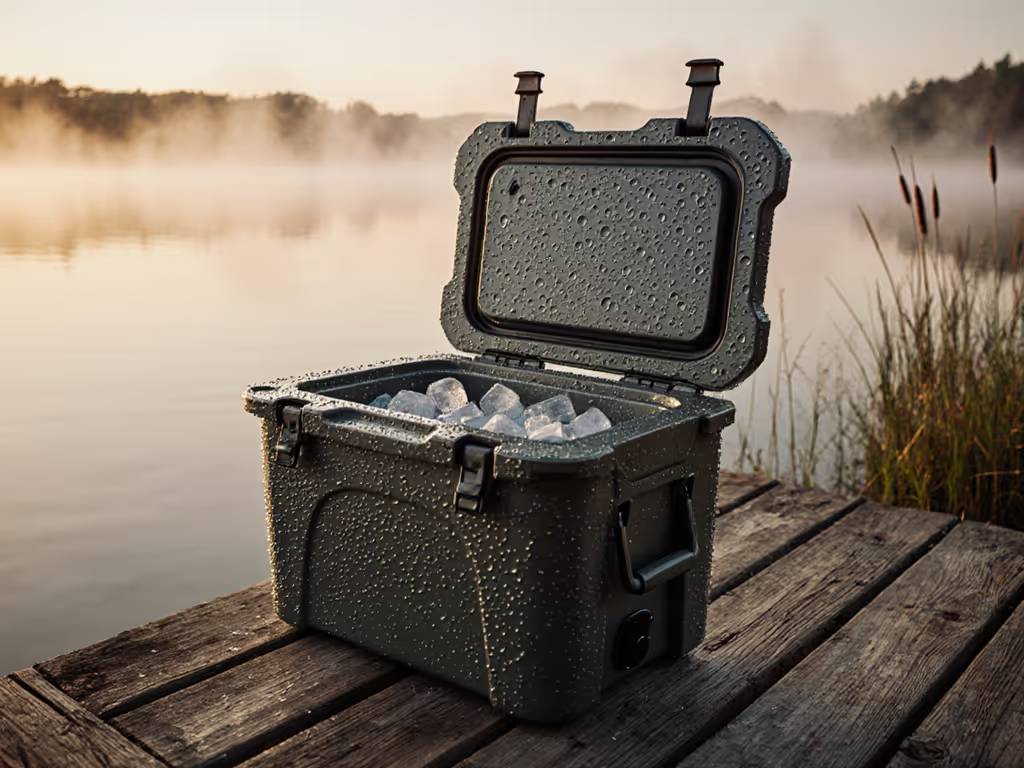
Step 3: Control the Drainage Cycle (Where Most Fail)
This is where dry climate cooling diverges sharply from coastal practice. In arid zones, water evaporation cooling works against you. Meltwater vanishes before protecting remaining ice. Your sequence must change:
- Pre-chill cooler for 12 hours with ice/water mix (never dry ice)
- Drain once when meltwater reaches 1" depth
- Add saltwater brine to maintain 1" liquid depth
- Never drain again until arrival
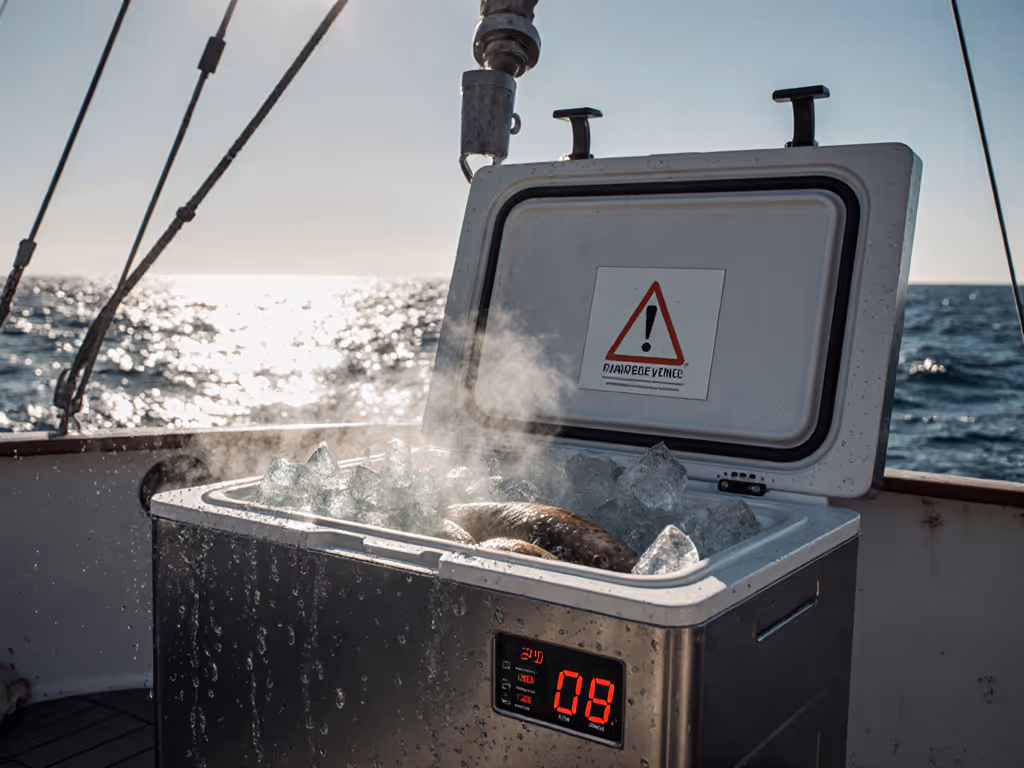
I learned this the hard way three hours into a tuna run when the deck box ran warm. We bled, bagged, and sank the catch in a salt brine I mixed on the fly. That improvised slurry made me formalize this SOP.
Why Natural Cooling Methods Demand Precision
The 3-Hour Rule for Arid Zone Transfers
When moving fish from boat to truck in dry climates, you have 3 hours to establish cold chain integrity before quality degrades. Here's the sequence I mandate for crews:
- Deck Action (0-15 mins): Bleed fish immediately, rinse with chilled seawater
- Initial Chill (15-45 mins): Submerge in 3.5% salt brine slurry (-1°C)
- Transfer Prep (45-75 mins): Bag in nitrogen-flushed containers with phase-change coolant
- Transport (75-180 mins): Maintain 0-2°C with pre-chilled marine cooler
Skipping any step risks protein denaturation (fish that "cuts like glass" at dock becomes mushy within hours in dry heat).
Critical Dry Climate Mistakes to Avoid
- Using freshwater ice alone: Pure ice sublimates faster than saltwater ice in dry air
- Over-draining: Removing meltwater eliminates evaporative cooling's protective liquid layer
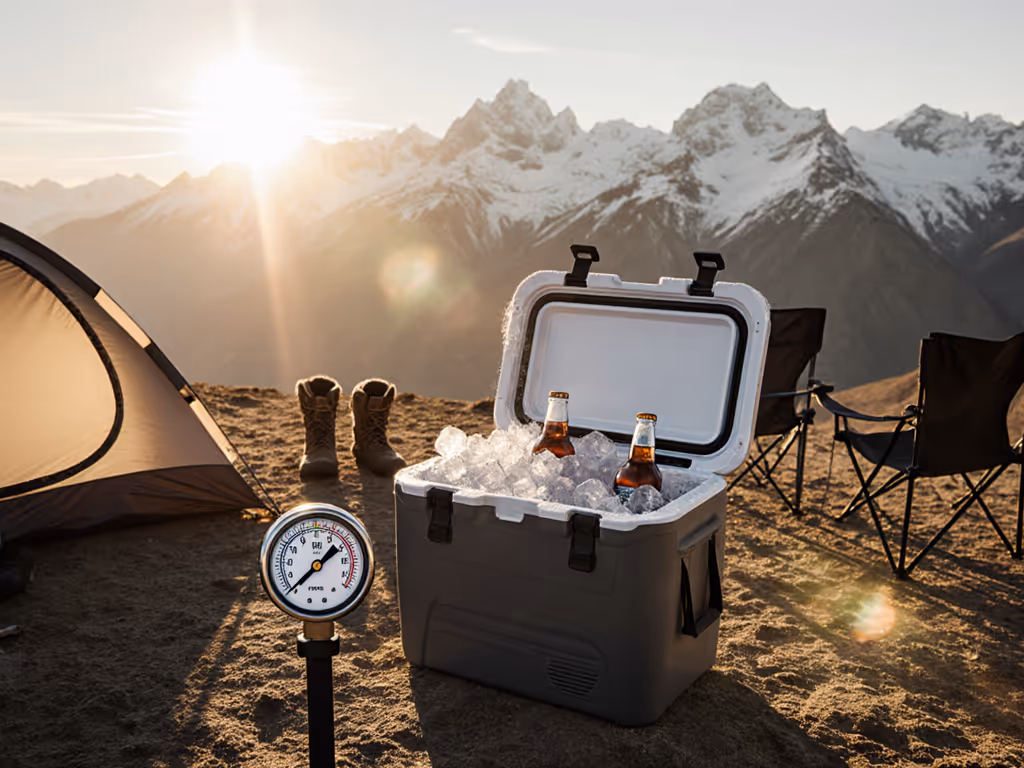
- Ignoring solar gain: Dark coolers on truck beds absorb 50% more heat, always use reflective covers
The Real Secret to Dry Climate Cooling: Manage Evaporation, Don't Fight It
Dry climate cooling isn't about mimicking swamp coolers, it's about controlling evaporation physics to your advantage. When I train deckhands, I emphasize one principle: Cold chain integrity beats raw ice mass. Method and sequence matter most.
Start your next haul by bleeding your catch immediately, then bagging it in pre-chilled brine solution before sinking it into your cooler's ice bed. This simple sequence leverages evaporation's cooling effect while preventing destructive sublimation. The results? Catch that arrives firm, smell-free, and market-ready, no matter how dry the desert air gets.
Ready to validate your dry climate protocol? Track your next haul's core temperatures from deck to dock using a data logger. When you see consistent 0-2°C readings despite 100°F temps outside, you'll understand why proper natural cooling methods beat brute-force ice dumping every time. Bleed, bag, and bury in brine, it's the only dry climate cooling strategy that consistently delivers.
Related Articles