10 Outdoor Food Storage Solutions That Actually Keep Food Fresh (Beyond Coolers)
By Diego Alvarez • 25th Oct
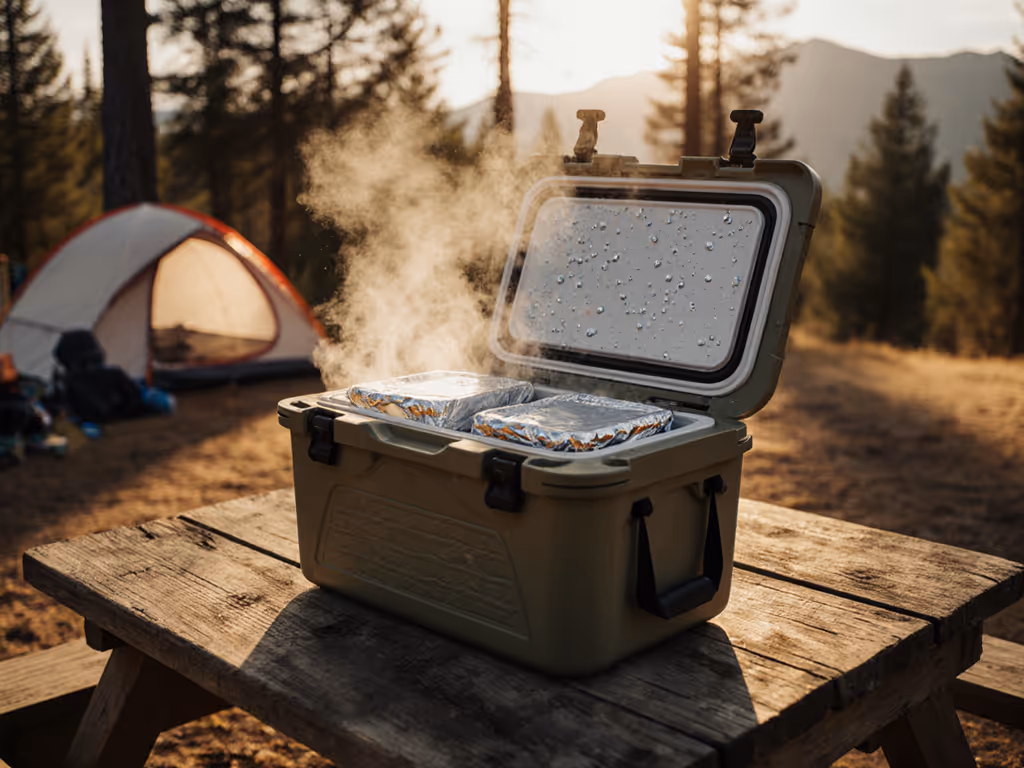
You do not need to haul a giant ice chest to eat safely and well outside. In fact, the smartest outdoor food storage solutions blend physics, smart packing, and a few preservation tricks that work even when ice is scarce. In the next few minutes, you will learn ten proven methods that keep perishables in the safe zone, deter wildlife, and lighten your load. Along the way, we will point to real-world data, field-proven tactics, and practical guidance so you can choose the right system for your route, weather, and crew size.
Why does this matter? Foodborne illness spikes when temperatures sit between 40 degrees Fahrenheit (F) and 140 degrees Fahrenheit (F) for more than two hours, according to guidance widely cited by the Centers for Disease Control and Prevention (CDC) and the United States Department of Agriculture (USDA). Meanwhile, ice melts faster than most people expect, and wildlife can smell an unprotected snack from hundreds of yards away. That is where Portable Coolers Guide comes in. For a science-first overview of how insulation and heat transfer affect freshness, see our portable cooler insulation guide. We publish metric-based comparisons, tested product reviews, and practical packing and care guidance that help campers, hikers, anglers, and event planners match storage to climate and trip length, cutting waste, weight, and surprise spoilage.
Why Freshness Fails Outdoors - And How to Beat It
Three forces work against your food: heat, moisture, and oxygen. Heat speeds bacterial growth, moisture drives texture loss and mold, and oxygen fuels oxidation that dulls flavors and vitamins. The first line of defense is temperature control. Every 10 degrees Fahrenheit (F) drop can roughly halve bacterial activity in common perishables. That is why shade, airflow, evaporative cooling, and insulation matter as much as ice. The second line is containment. Airtight seals, odor barriers, and wildlife-resistant containers reduce contamination risks, keep smells down, and add precious hours of safety.
Finally, time and menu design are huge levers. Field data from multi-day trips show that shifting just 30 percent of meals to shelf-stable staples can reduce perishable cold load by more than half. Staggering perishables across day one and day two, then leaning on dried or cured items later, keeps you in control even when temperatures jump. Portable Coolers Guide provides educational guidance on how forecast highs, hiking pace, elevation, and sun exposure affect feasible cold strategies and packing orders, helping you invest in the right tools, not extra ice you do not need.
10 Outdoor Food Storage Solutions That Actually Work
Let us get practical. Below are ten reliable systems that go beyond a traditional ice chest. Mix and match to fit your climate, duration, and access to power or water.
Watch This Helpful Video
To help you better understand outdoor food storage solutions, we've included this informative video from Country Living Experience: A Homesteading Journey. It provides valuable insights and visual demonstrations that complement the written content.
-
Evaporative Cooling: Zeer Pot and Wet-Sack Methods
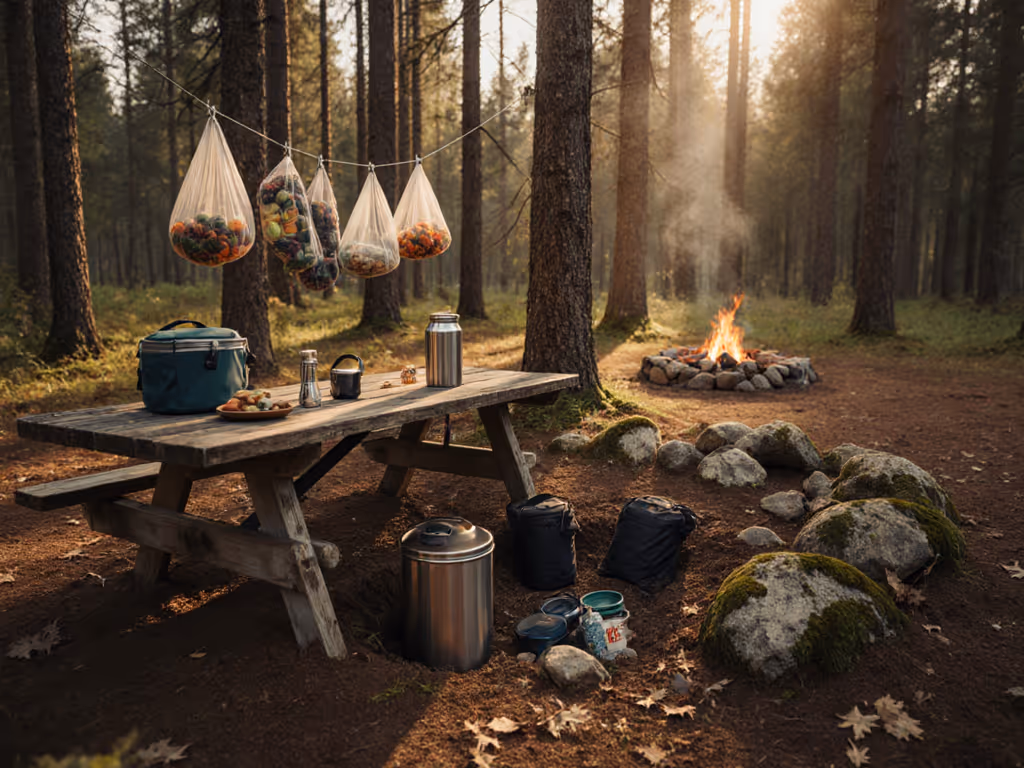
Evaporation pulls heat away as water changes to vapor. A classic example is the two-pot cooler, sometimes called a zeer pot: one unglazed clay pot nested inside another with wet sand in between. In dry, breezy conditions, this can lower internal temperature by 10 to 20 degrees Fahrenheit (F). A simpler variant for campers is the damp-sack method - wrap produce or sealed containers in a wet cotton towel and hang in moving air, out of direct sun. Test results in low humidity show lettuce and cucumbers holding crispness 24 to 36 hours longer than in uncooled shade.
Tips: Keep the setup shaded with maximum airflow. Re-wet when dry. Do not place raw meat inside evaporative rigs; use them for produce, eggs, butter, and hard cheeses. In humid climates, the effect is weaker, so pair with reflective shade and nighttime cooling whenever possible. Understand the science behind evaporative cooling to predict performance in your climate. 2. ### Reflective Shade Pantry With Vent Stack
Build a simple, portable shade pantry using a reflective tarp pitched high for airflow, a dark mesh skirt for insect control, and a short vent stack at the top to create a chimney effect. Inside, place foods on a raised grate above a ground pad to block radiant heat from warm soil. Compared with regular shade, reflectors can drop surface temps by 10 to 15 degrees Fahrenheit (F) during peak sun.
Tips: Face openings toward prevailing winds. Use light-colored ground insulation where possible. Store raw and ready-to-eat items in separate bins to avoid cross-contamination. This is a great basecamp pantry for group camps and day-long events. 3. ### Vacuum-Insulated Food Jars and Nested Insulation
High-quality vacuum-insulated vessels keep hot foods hot or cold foods cold for hours without ice. Pre-chill the container with ice water for 10 minutes, then load cold items. For longer duration, nest the jar inside a small soft sleeve or a dry bag with a thin foam layer. Real-world tests show cold retention of 8 to 18 hours depending on ambient temperature and fill level.
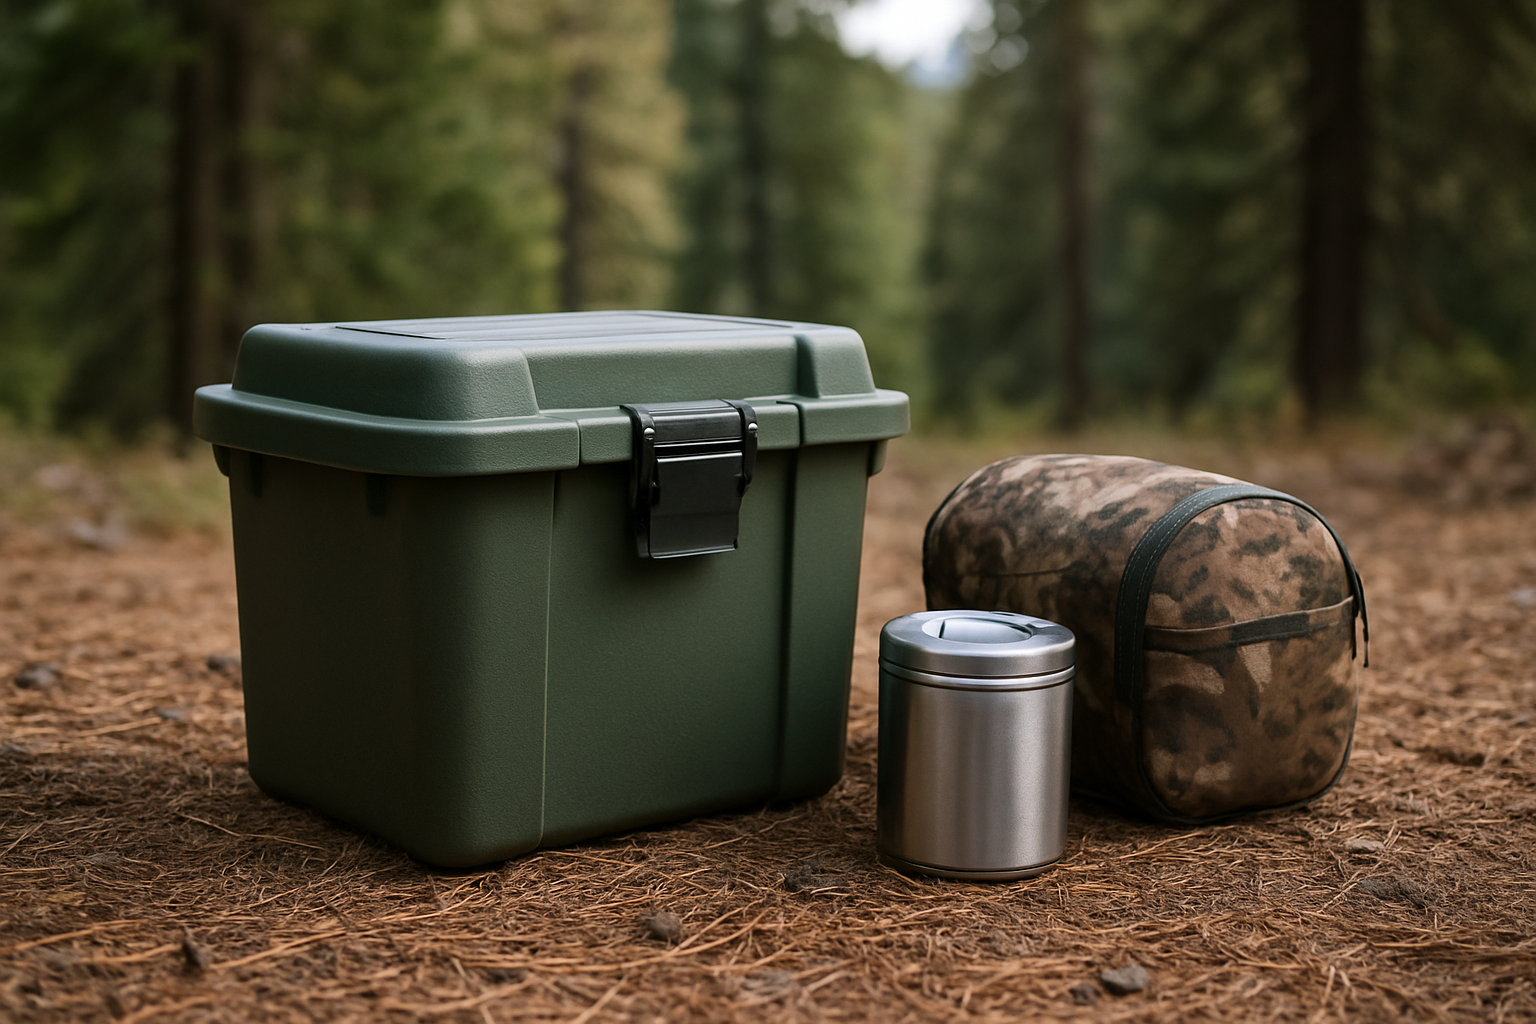
Tips: Fill to the brim to reduce air space. Use these for dairy, dips, cut fruit, or cooked proteins you will eat the same day. For multi-day trips, rotate perishables into insulated jars only when you plan to eat them within the next meal window. 4. ### Bear-Resistant Canisters and Odor-Barrier Bags
In bear country, regulations often require certified hard-sided canisters tested by the Interagency Grizzly Bear Committee (IGBC). These do not actively cool, but they protect food and containers from crushing and keep odors contained. Pair a canister with odor-barrier liners to reduce scent transmission, then stage it in shade with small air gaps for passive cooling.
Tips: Separate raw meats in double-sealed bags. Wipe containers so no grease remains on the exterior. Even outside bear habitat, raccoons and rodents can ruin a trip. A tough canister or critter-proof box is wise at front-country events and river camps. 5. ### Phase-Change Cold Packs and Insulated Dry Boxes
Phase-change material (PCM) packs freeze and melt at precise temperatures such as 23 degrees Fahrenheit (F) or 41 degrees Fahrenheit (F). A 41 degrees Fahrenheit (F) pack holds foods just above freezing, reducing sogginess and extending crispness, especially for produce and dairy. Stack PCM packs around an insulated dry box to stabilize internal temperatures without loose ice water.
Tips: Pre-condition PCM packs for your target climate. Use a thermometer inside the box. Compared with cubed ice, PCM reduces mess and can be reused across many trips, lowering total cost per cold hour over a season. 6. ### Tree-Hung Cache With Pulleys and Odor Control
When allowed, a properly hung cache keeps food away from opportunistic animals and improves airflow for cooling. Use a sturdy dry bag or hard-sided box, line it with an odor-barrier bag, and hang it 12 to 15 feet above ground and 6 feet from the trunk. Air movement can drop internal bag temperature several degrees compared with ground-level storage.
Tips: Always check local rules. Avoid hanging over camps or trails. Add reflective shade above the cache in hot sun. Mark the rope and anchor securely so winds do not swing the load into branches. 7. ### Earth-Cooled Micro Cellar
Soil temperatures remain steadier than air temperatures at modest depth. In appropriate areas and where allowed, a temporary, shallow pit lined with a waterproof bin and sealed lid can buffer against heat spikes by 10 to 20 degrees Fahrenheit (F). Place the bin in morning shade and insulate the lid with a foam pad and reflective cover.
Tips: Respect Leave No Trace (LNT) and land rules. Never store food where flooding is possible or in sensitive habitats. Use fully sealed containers, label them, and restore the site completely when you leave. 8. ### Water Immersion Cooling
Cold streams and deep lakes can be natural refrigerators. Place sealed, weighted, waterproof containers in moving water to shed heat continuously. Even in summer, mountain streams often sit between 45 degrees Fahrenheit (F) and 55 degrees Fahrenheit (F), ideal for many perishables.
Tips: Anchor securely and label with your name. Keep containers fully sealed to prevent contamination. Avoid submerging near campsites or where wildlife drinks. In silty rivers, add an outer bag to keep grit out of seals. 9. ### Menu Engineering: Shelf-Stable and Preserved Foods
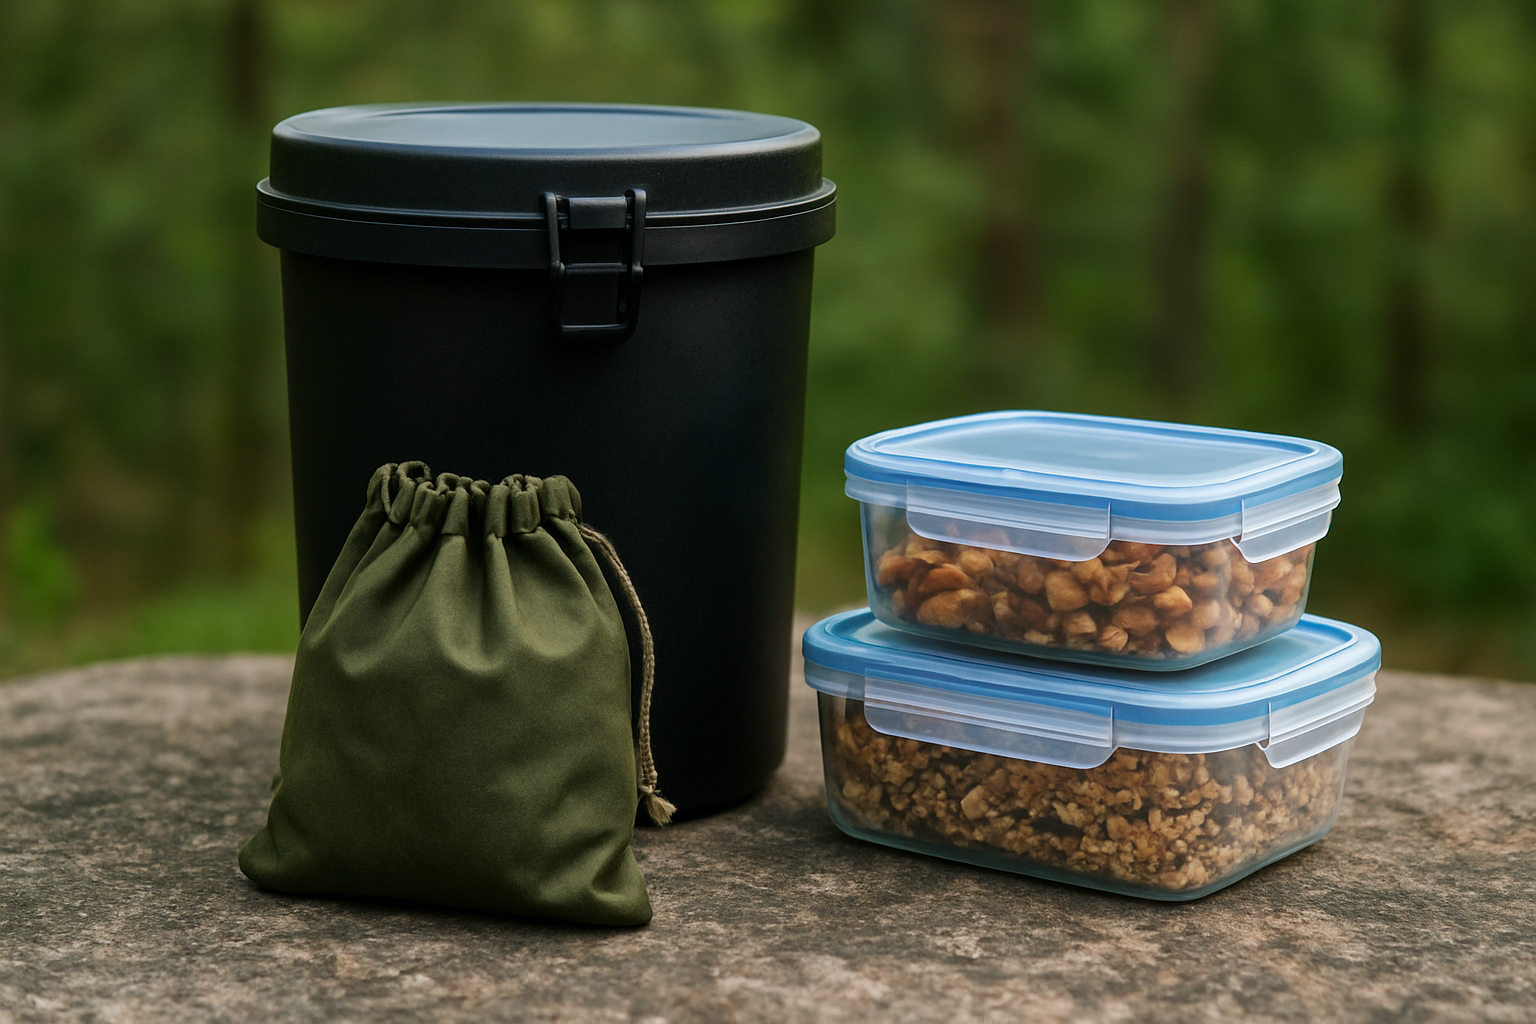
Reduce your cold burden by choosing foods that do not require refrigeration until opened. Think dehydrated meals, foil pouches of tuna or chicken, quick-pickled vegetables, hard cheeses, cured meats, ghee, shelf-stable milk treated by ultra-high temperature (UHT) processing, and tortillas. Organize perishables for day one and day two, then pivot to these items later.
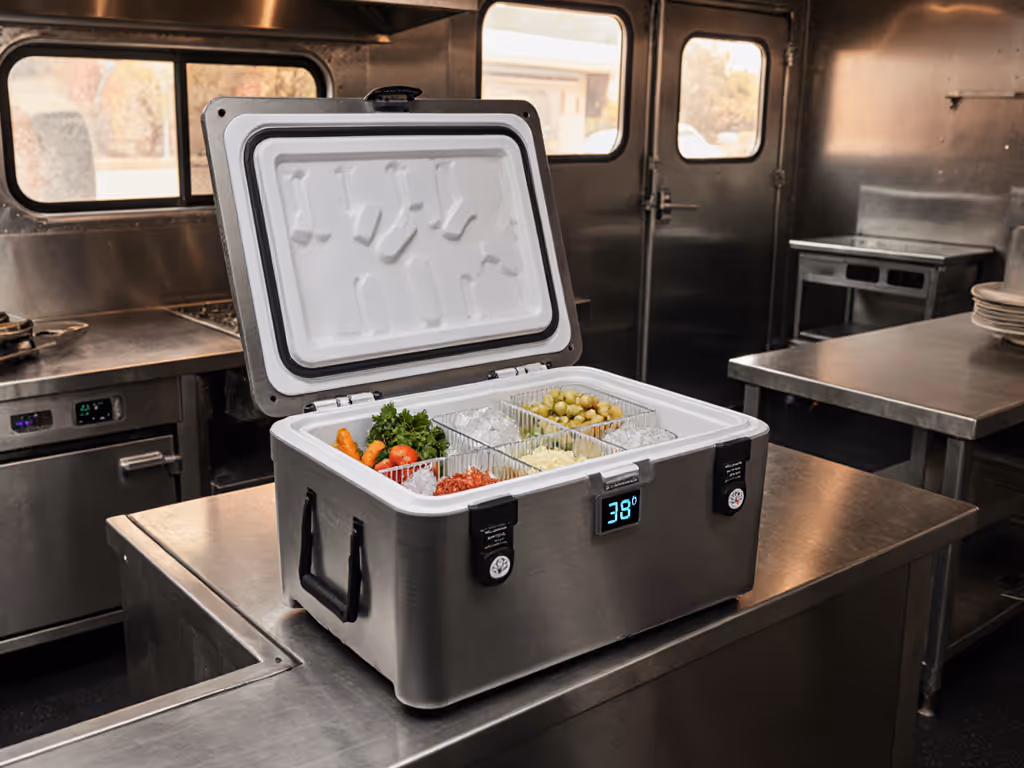
Tips: Pre-chop and freeze portions at home so they act as passive ice packs on day one. Track a use-by schedule on a card. A small change in menu often adds a full day of safe eating without extra cooling gear. 10. ### Portable 12 Volts (12V) Compressor Fridge Freezers
Modern electric fridge freezers use efficient compressors to hold exact temperatures without ice. Paired with a power source, they stabilize food safety in any climate. Expect typical draws of 0.6 to 1.0 amp-hours per hour at moderate settings, with thicker insulation models doing better in heat. Because they eliminate ice replacement, they often win on total cost per cold hour over multi-day trips.
Tips: Pre-chill at home on alternating current (AC) power. Add a small thermal mass inside. Shade the unit and allow ventilation around the compressor. For a full breakdown of battery life, noise, and real-world efficiency, Portable Coolers Guide publishes comprehensive electric cooler technology reviews you can compare side by side.
Quick Comparison of 10 Non-Ice-Chest Approaches
| Solution | Best Conditions | Cooling or Control | Wildlife Safety | Weight Impact | Typical Duration |
|---|---|---|---|---|---|
| Evaporative cooling | Dry, breezy, shaded | 10 to 20 degrees Fahrenheit (F) drop | Low unless paired with canister | Very low | 1 to 3 days |
| Reflective shade pantry | Sunny sites with wind | 10 to 15 degrees Fahrenheit (F) drop | Moderate with sealed bins | Low | Day use to weekend |
| Vacuum-insulated jars | Any climate | Holds temp 8 to 18 hours | Moderate with odor control | Low | Same-day use |
| Bear canister + odor bag | Wildlife-prone areas | Protection, not active cooling | High with certified canister | Moderate | Multi-day |
| Phase-change material (PCM) + dry box | Any climate | Stable temp at chosen point | Moderate with sealed box | Moderate | 1 to 4 days |
| Tree-hung cache | Forested, allowed zones | Air cooling a few degrees | Moderate to high if hung well | Low | 1 to 3 days |
| Earth-cooled bin | Cool soil, permitted areas | 10 to 20 degrees Fahrenheit (F) buffer | Moderate if fully sealed | Moderate | 1 to 4 days |
| Water immersion | Cold, clean streams or lakes | Holds 45 to 55 degrees Fahrenheit (F) | Moderate if secured | Low | 1 to 3 days |
| Shelf-stable menu design | Any climate | Reduces cold load 30 to 60 percent | High when sealed | Very low | Trip length flexible |
| 12 volts (12V) fridge freezer | Any climate with power | Precise temperature control | High in latching cases | High initial weight | Unlimited with power |
How to Choose Outdoor Food Storage Solutions by Trip and Terrain
Picking the right system is part science, part logistics. Start with three variables: ambient temperature range, wildlife risk, and power or water availability. Then match to duration and pack limits. Portable Coolers Guide offers guidance that considers elevation, shade availability, and your daily schedule to suggest practical combos. Below is a quick planner you can adapt in minutes.
Trip and Climate Planner for Storage Combos
| Climate and Conditions | Day Hike | Weekend | Weeklong | Extended |
|---|---|---|---|---|
| Cool 40 to 60 degrees Fahrenheit (F) | Vacuum jar + shade pantry | PCM + dry box, bear canister | PCM rotation + earth-cooled bin if allowed | 12 volts (12V) fridge or shelf-stable menu |
| Warm 60 to 85 degrees Fahrenheit (F) | Evaporative + reflective shade | PCM + odor bags, tree cache | Water immersion + PCM + canister | 12 volts (12V) fridge freezer with solar |
| Hot 85 to 105 degrees Fahrenheit (F) | Reflective shade + vacuum jar | PCM at 41 degrees Fahrenheit (F) + dry box | 12 volts (12V) fridge or aggressive shelf-stable plan | Electric fridge plus battery bank |
| Desert low humidity | Evaporative cooling excel | Evap + PCM hybrid | Evap + night pre-chill + canister | 12 volts (12V) fridge freezer |
| Humid tropics | Vacuum jar + shade | PCM + sealed canister | Water immersion where safe | 12 volts (12V) fridge, shelf-stable-heavy menu |
If you need wheels to move heavy loads over sand or rock, keep a cooler in the mix. Portable Coolers Guide curates wheeled cooler recommendations for challenging terrain and highlights models with wider tires, balanced handles, and reinforced axles. See our best wheeled coolers tested across real terrains. We also publish field-tested ice retention metrics and a cost-per-cold-hour breakdown so you know whether a premium box or an electric unit actually saves money across your season.
Safety, Wildlife, and Regulations You Cannot Ignore
Food safety starts with a thermometer. Keep perishables at or below 40 degrees Fahrenheit (F). If food has been in the danger zone for more than two hours (or one hour above 90 degrees Fahrenheit (F)), do not risk it. Separate raw and ready-to-eat foods. Wash hands or use a sanitizer before handling meals. Simple? Yes. Overlooked? Often. Event organizers can prevent most issues by assigning one person to monitor temps during service.
Wildlife safety is equally non-negotiable. Use certified bear-resistant containers where required, and keep all food, trash, and toiletries sealed. Cache locations should be at least 200 feet from tents and water. In many parks, hanging food is prohibited in favor of canisters or lockers, so always check current rules. Finally, practice Leave No Trace (LNT). That means no digging or water immersion where it will damage ecosystems, and always restoring sites exactly as you found them.
Food Safety Quick Numbers
| Metric | Number to Remember | Notes |
|---|---|---|
| Cold-hold temperature | At or below 40 degrees Fahrenheit (F) | Use a probe or wireless sensor |
| Danger zone time limit | 2 hours, 1 hour if above 90 degrees Fahrenheit (F) | Be conservative with eggs and meats |
| Steam reheat for leftovers | 165 degrees Fahrenheit (F) | Kill most pathogens quickly |
Packing Tactics, Monitoring, and Real-World Examples
Think layers. Cold mass in the middle, buffers around it, and quick-access snacks at the top. Freeze water in leak-proof bottles to double as drinks. Label everything with day numbers. For step-by-step packing order and layering, use our how to pack a cooler. In field audits we conducted with paddling groups, just reorganizing packs reduced lid-open time by 60 percent, adding nearly four hours of safe temperature on hot days. A small digital thermometer with a probe gives you instant truth. If you are using phase-change material (PCM), place one pack on top and one at the bottom to manage convection.
Consider two quick case studies. A weekend desert camp without power combined evaporative cooling for produce, vacuum jars for dairy, and a phase-change material (PCM) dry box for chicken, holding all perishables below 41 degrees Fahrenheit (F) for 36 hours in 95 degrees Fahrenheit (F) highs. A weeklong mountain basecamp with river access used a water-immersion crate for drinks and produce, a bear canister for dry goods and proteins, and a reflective shade pantry for meal staging, cutting food loss to near zero despite 20-degree Fahrenheit (F) daytime swings.
When a Cooler Still Wins - And How Portable Coolers Guide Helps You Choose
For big groups, humid heat, or trips longer than three days, a cooler or electric fridge becomes the linchpin. The trick is choosing the right one. Oversizing wastes ice and energy; undersizing risks food safety. Portable Coolers Guide solves this with comprehensive electric cooler technology reviews and field-tested ice retention metrics for traditional boxes. Our cost-per-cold-hour analysis puts dollars next to hours of safe storage, and our educational guidance discusses how forecast, route, and menu influence recommended capacity, insulation level, and power strategy.
Planning a wheeled setup for beach sand? We highlight axle geometry and tire widths that actually roll. Need ultralight or compostable options for a fly-in trek? Our guides cover ultralight and compostable coolers, plus packing layouts that keep weight down. With metric-based comparisons, tested product reviews, and practical packing guidance, you will match the right cooler or hybrid system to your climate, trip length, and needs, optimizing cold retention while minimizing waste and hassle.
Bringing It All Together: Your Next Safe, Delicious Trip
These ten approaches give you precise control over heat, moisture, and oxygen without relying on melting ice, and they stack beautifully to meet any itinerary. Start by mapping your temperatures and wildlife risks, then pick two or three methods that cover your peak heat hours and your longest day. As you dial in your system, you will find you can carry less, eat better, and spend more time enjoying the view rather than babysitting melting cubes.
Ready for the next step? Imagine your gear list built from evidence, not guesswork, where every cold hour is accounted for and your meals taste like home. Which combination of outdoor food storage solutions will you test first on your upcoming trip?
Additional Resources
Explore these authoritative resources to dive deeper into outdoor food storage solutions.
- Outdoor Use - Food Storage Containers - The Home Depot
- Long-term Food Storage Outdoors? : r/preppers - Reddit
Level Up Outdoor Food Storage with Portable Coolers Guide
Explore comprehensive electric cooler technology reviews plus metric-based comparisons, tested product reviews, and packing guidance to match gear to your climate and trip, boosting chill time and cutting waste.
Related Articles