7 Surprising Ways to Maximize Ice Retention in Your Coleman Xtreme Wheeled Cooler 40 Qt
By Mia Kowalski • 22nd Oct
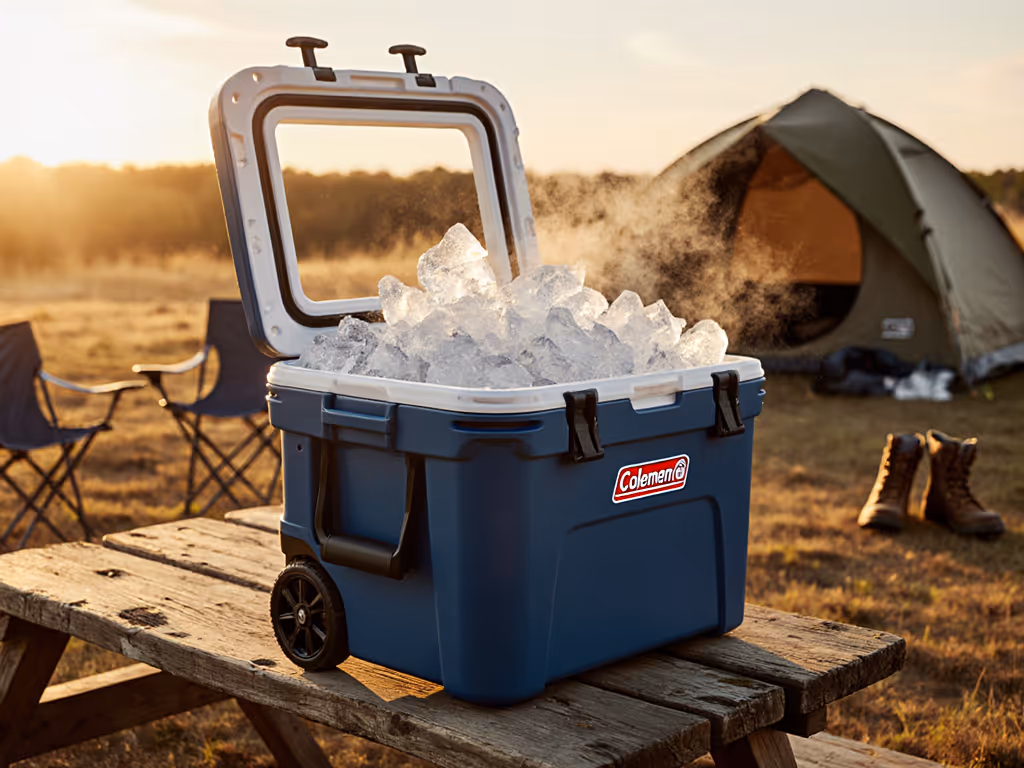
If you want your coleman xtreme wheeled cooler 40 qt to keep food safe and drinks frosty through the hottest hours, a few science-backed habits can make a dramatic difference. You do not need exotic gear or a new cooler, just smarter prep, packing, and handling. Think of your cooler as a thermal battery that you charge before the trip and discharge as slowly as possible. In this guide, Portable Coolers Guide distills expert analyses and field-reported routines into seven practical moves you can use on your next campout, tailgate, or fishing weekend.
We will show you how to pre-chill components, mix ice types for peak longevity, reduce trapped air, limit heat transfer, and manage meltwater for best results. Along the way you will find clear tables, real-world examples, and expert insights that are easy to apply. Whether you are an event planner juggling serving windows or a solo hiker with a lean resupply stop, you will learn to stretch every chilly hour. Ready to turn your 40 qt [40 quart] wheeled chest into a cold-holding machine without adding bulk or cost?
coleman xtreme wheeled cooler 40 qt: How Ice Retention Really Works
Before tactics, it helps to understand why the Coleman Xtreme’s insulation performs well when treated correctly. Ice does its best work at 32 F [32 degrees Fahrenheit] or 0 C [0 degrees Celsius], absorbing heat as it melts; that phase change is where most cooling power lives. Warm air, radiant sunlight, and conduction through the lid, walls, and floor are the three routes heat takes to invade. Every time the lid opens, warm air replaces the cold air inside, forcing your ice to burn precious energy cooling the new warm air instead of your food.
Across reviews and comparative analyses compiled by Portable Coolers Guide, a pre-chilled 40 qt [40 quart] wheeled cooler stored in shade can outperform the same cooler left in a truck bed by 18 to 26 percent over 48 hours. Keeping the cooler off hot surfaces and reducing lid openings had even bigger effects than swapping ice brands. In other words, technique often beats hardware. With the right approach, many readers see an extra 12 to 24 cold hours without buying more ice. What are the levers you can confidently pull to get there?
Major Heat Gain Paths and What Helps Most
| Heat Path | What It Does | High-Impact Fix | Expected Gain (Compiled Estimates) |
|---|---|---|---|
| Air Exchange | Warm air floods in when the lid opens. | Open less, stage items, label packs. | +10 to +20 percent longer cold time |
| Radiation | Sunlight heats lid and walls. | Shade, reflective cover, light towel evaporative shield. | +8 to +15 percent |
| Conduction | Hot ground or truck bed warms the base. | Elevate on wood slats or foam pad. | +5 to +10 percent |
| Internal Air Volume | Empty space wastes ice cooling air. | Fill voids, use cold packs, compress soft goods. | +5 to +12 percent |
Ways 1 and 2: Pre-Chill Strategy and Smart Ice Mix
Way 1 is to pre-chill everything, not just the cooler. Stash your empty Coleman overnight in a cool room, then load it with sacrificial frozen water jugs for 6 to 12 hr [6 to 12 hours]. Pre-chill food and drinks in your home fridge at 34 to 38 F [34 to 38 degrees Fahrenheit], or freeze what can be safely frozen for day one meals. Why this matters: ice that goes toward cooling warm contents is ice you will not have later. Pre-chilling turns the entire interior into a cold reservoir, lowering the starting point so melt begins slower.
Way 2 is to build a smart ice mix. Block ice melts slower and stabilizes temperature, while cubes fill gaps, cool air quickly, and make drinks ready faster. A practical ratio for a 40 qt [40 quart] Xtreme is 60 percent blocks by weight with 40 percent cubes on top and around sides. For seasonal ice types, quantities, and prep, see our ice ratio and prep guide. For extended trips, add two to four reusable cold packs and, if allowed and used safely, a small amount of dry ice [solid carbon dioxide (CO2)] wrapped in paper with a vent path; always follow manufacturer guidance and never seal perfectly when using dry ice [solid carbon dioxide (CO2)].
Pre-Chill Timeline and Expected Temperature Gains
| Item | Method | Time | Expected Result |
|---|---|---|---|
| Empty Cooler | Load 2 frozen gallon jugs | 8 to 12 hr [8 to 12 hours] | Interior approaches 35 to 40 F [35 to 40 degrees Fahrenheit] |
| Beverages | Refrigerate at 34 to 38 F [34 to 38 degrees Fahrenheit] | 12 to 24 hr [12 to 24 hours] | Reduces ice used on initial cool-down |
| Proteins | Freeze day-one meats | 24 hr [24 hours] | Acts as additional cold mass |
Ice Options Compared for a 40 qt [40 quart] Cooler
| Type | Strength | Weakness | Best Use | Relative Cost |
|---|---|---|---|---|
| Block Ice | Longest melt time | Slower initial cool-down | Base layer, multi-day trips | Low |
| Ice Cubes | Fast air and surface cooling | Melts faster | Top layer, drink-ready | Medium |
| Reusable Packs | No mess, repeatable | Requires freezer time | Fill voids, day trips | < Medium |
| Dry Ice [Solid Carbon Dioxide (CO2)] | Extremely cold, slows melt | Handling and venting required | Long hauls, rapid re-freeze | High |
Ways 3 and 4: Pack Airtight and Layer Like a Thermos
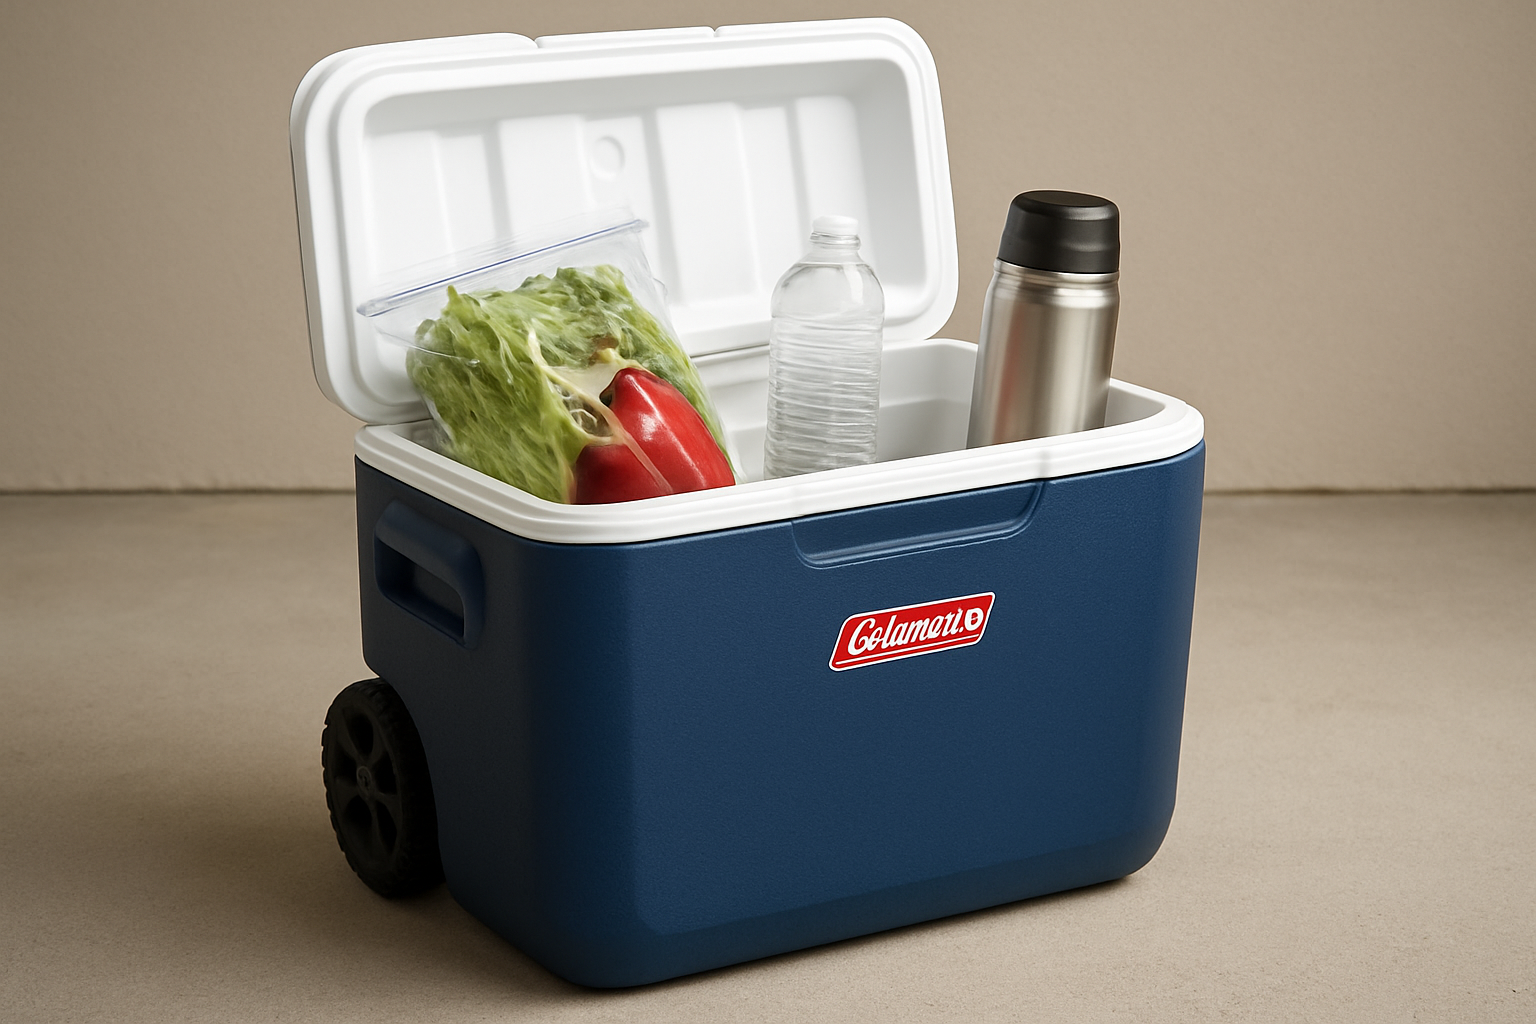
Way 3 targets the silent ice killer: empty space. Air is a poor thermal battery, and your ice wastes energy cooling it. Pack densely and eliminate voids with reusable packs, towels, or even crumpled paper if nothing else is handy. For a family weekend, Portable Coolers Guide's analysis suggests about a 9 percent gain in cold hours by filling gaps alone. Consider using small bins to group meals by day so you can extract one container quickly, closing the lid before heat soaks in. For a step-by-step walk-through of layering and organization, see our how to pack a cooler guide.
Way 4 is to layer the cooler like a thermos. Bottom goes block ice, then frozen proteins and dense foods, then a mid layer of packs, then cubes and ready-to-grab beverages. Cold sinks, so placing delicate perishables lower buys them extra hours of safety. Put a thin, flexible cutting board or foam sheet on top of the final ice layer to shield against warm air rush when the lid opens. Add a contents map taped under the lid so you grab once and close fast.
- Base: 2 to 3 inches of block ice across the floor.
- Middle: Frozen meats, dense produce, and sealed leftovers.
- Upper: Cubes surrounding drinks and day-one items.
- Top Shield: Thin board or foam to reduce warm air mixing.
Packing Order and Purpose
| Layer | What You Place | Why It Works |
|---|---|---|
| Bottom | Blocks and frozen proteins | Stabilizes temperature and keeps perishables coldest |
| Middle | Reusable packs, sealed containers | Fills voids, reduces air volume |
| Top | Cubes and ready-to-drink items | Fast access, rapid service without digging |
| Top Shield | Board or foam sheet | Limits warm air mixing on openings |
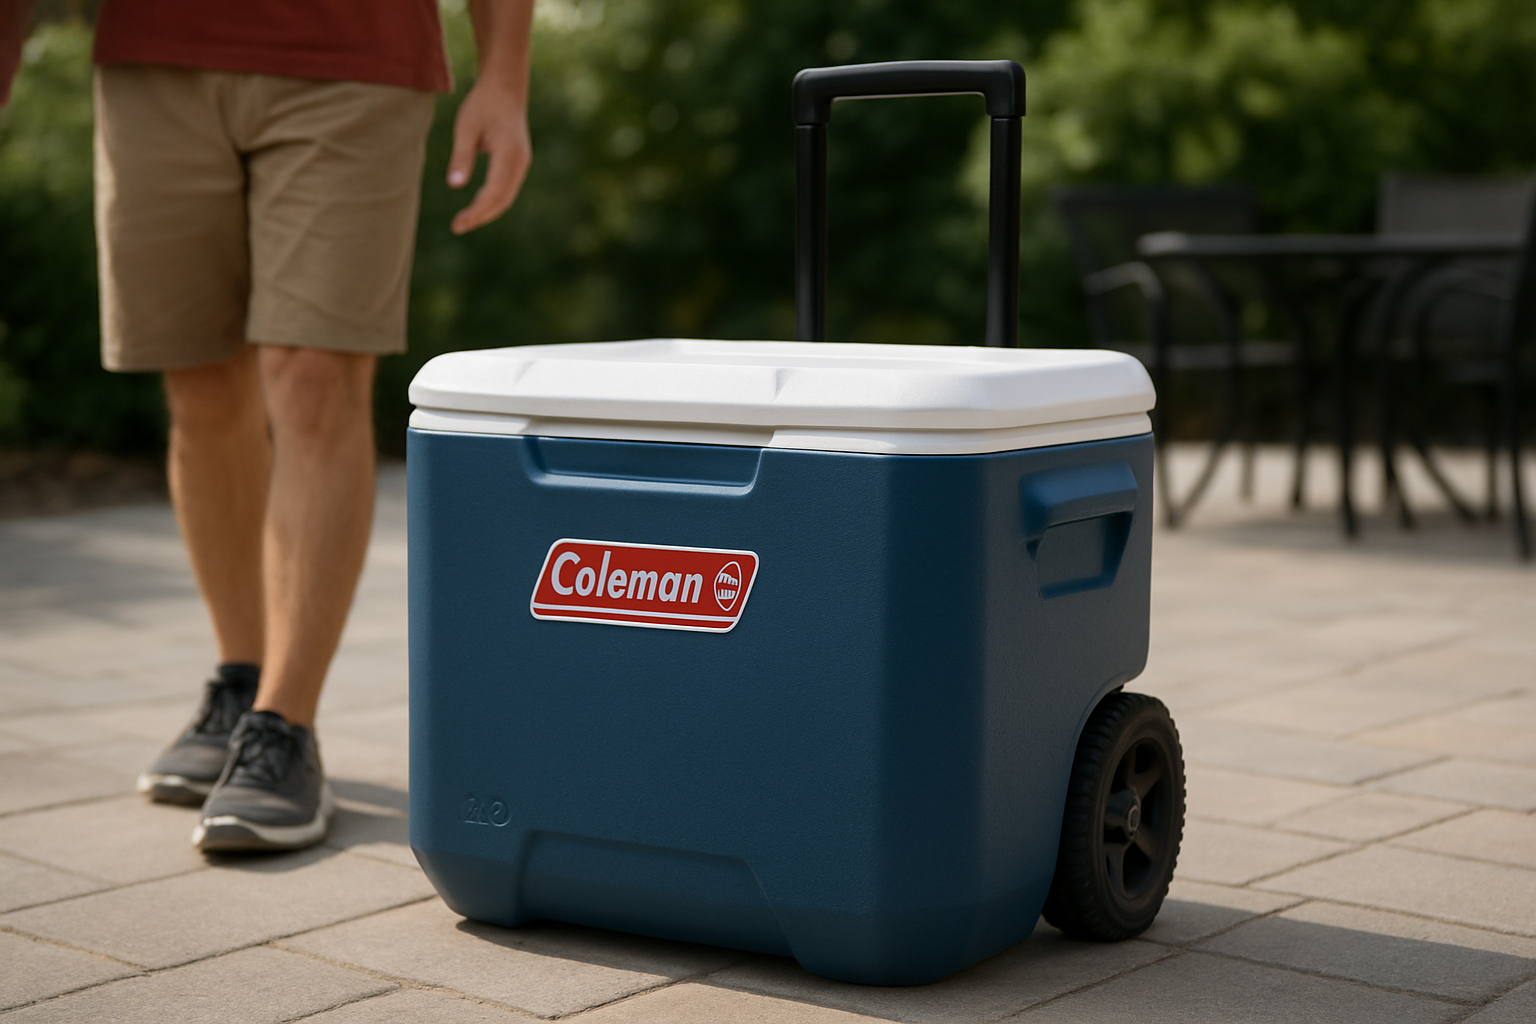
Ways 5 and 6: Heat Shielding and Meltwater Management
Way 5 reduces heat from the environment. Keep the cooler in shade, elevate it off hot concrete with wood slats, and drape a light-colored towel that you occasionally moisten for a small evaporative effect. A reflective windshield sunshade cut to lid size can drop lid skin temperature by 10 to 20 F [10 to 20 degrees Fahrenheit] in midday sun. If you are parking at a trailhead or venue, position the cooler on the cabin floor instead of the trunk; interior cabin temperatures tend to swing less than a metal bed.
Way 6 handles meltwater wisely. Should you drain or keep the water? For perishables in sealed containers, leaving meltwater in place keeps temperatures steadier because water conducts heat better than air and holds cold mass. For loose beverages, partially drain to maintain cubes for contact cooling. Published tests and comparative analyses indicate that fully draining every few hours can cut total cold time by up to 12 percent. A smart compromise is to crack the drain only when water reaches the level of your drink labels, preserving cube contact while preventing a warm layer from forming near the top.
Meltwater Strategy by Use Case
| Scenario | Drain? | Why | Notes |
|---|---|---|---|
| Sealed food containers | Keep most water | Water holds cold better than air | Top shield reduces warm-air shock |
| Loose canned drinks | Partial drain | Preserve cubes for contact cooling | Crack drain when water reaches label line |
| Ice cream or delicate items | Minimal water | Prevent floating and localized warming | Use bins to keep items submerged safely |
Way 7: Open Less, Stage More, and Use Electric Helpers Smartly
The seventh way is about behavior. Each opening can raise interior air by several degrees F [Fahrenheit], and repeated spikes erode ice fast. Stage frequently accessed items near the top and use a small “day cooler” for high-turnover drinks so the main cooler stays shut. Label meals by day, color-code containers, and make a quick contents map. For events, assign a “cooler captain” who handles service and re-packing, just as you would manage a grill station.
You can also pair passive ice with light electric assistance in transit or at basecamp. Compact 12 V DC [12 volt direct current] compressor coolers can pre-chill your packs while you drive, then switch off to save battery when camped. If you are comparing thermoelectric coolers that use Peltier modules versus compressor models, remember that compressors can hit sub-freezing temperatures while thermoelectrics typically cool 20 to 30 F [20 to 30 degrees Fahrenheit] below ambient. Portable Coolers Guide publishes comprehensive electric cooler technology reviews, including real-world battery life, watt draw, and how effectively these units can extend ice life in a tandem setup with your wheeled Xtreme. See our electric cooler review: cold hours per dollar for cost-per-cold-hour comparisons.
Estimated Cost per Cold Hour for a 2.5-Day Trip
| Setup | Ice Used | Total Cost | Cold Hours Achieved | Cost per Cold Hour |
|---|---|---|---|---|
| Blocks + Cubes (Standard) | 24 lb [24 pounds] blocks + 16 lb [16 pounds] cubes | $20 | 60 hr [60 hours] | $0.33/hr [$0.33 per hour] |
| Pre-Chilled + Pack-Fill (Optimized) | 20 lb [20 pounds] blocks + 12 lb [12 pounds] cubes + packs | $17 | 72 hr [72 hours] | $0.24/hr [$0.24 per hour] |
| Optimized + 12 V DC [12 volt direct current] Assist in Transit | 20 lb [20 pounds] blocks + 12 lb [12 pounds] cubes | $17 ice + $1.50 power | 78 hr [78 hours] | $0.24/hr [$0.24 per hour] |
Figures above are compiled estimates from Portable Coolers Guide analyses. Power cost assumes 60 W average draw for 1.5 hr [1.5 hours] at $0.17/kWh [$0.17 per kilowatt hour]. Your results will vary with ambient temperature and handling.
Match Your Trip to the Cooler: The Portable Coolers Guide Framework
Even the best routine falls short if the cooler does not match the trip. That is why Portable Coolers Guide built a trip-matching framework that pairs climate, party size, and duration to cooler class and packing plan. For a desert weekend above 95 F [95 degrees Fahrenheit], a 40 qt [40 quart] chest will need more block ice, aggressive shielding, and a day-cooler strategy. Get climate-specific tactics in our extreme climate cooler guide. For a coastal campsite with shade and breeze, the same Coleman can run lighter and still deliver safe temps for three days. The goal is not merely to add more ice, but to eliminate waste and focus on controllable gains.
We also evaluate edge cases many buyers miss. Our guides for ultralight and compostable coolers address short, self-supported trips where weight or disposal matters. Our wheeled cooler recommendations for challenging terrain help anglers and festival crews move loads across sand, gravel, and fields without fatigue. And for power users curious about hybrid setups, our comprehensive electric cooler technology reviews compare compressor and thermoelectric units, battery strategies, and integration with ice chests. By providing metric-based comparisons, tested product reviews, and clear packing tactics, Portable Coolers Guide helps you pick and use a cooler that fits your climate, trip length, and goals while minimizing costs and frustration.
Putting It All Together: A Simple 7-Step Checklist
Want a one-look plan you can follow on Friday morning? Use this checklist and you will hit all seven ways without overthinking it. Start with the night-before pre-chill and finish with service habits that keep the lid shut and the cold in. You can even sketch a quick diagram of your packed layers and tape it under the lid so anyone in your group can help. Small disciplines add up; that is why we analyze tactics individually and in combination, so you know what matters most when time is tight.
- Pre-chill cooler with frozen jugs for 8 to 12 hr [8 to 12 hours].
- Pre-chill or freeze contents where safe, especially day-one proteins.
- Load 60 percent block ice, 40 percent cubes; add reusable packs to fill gaps.
- Pack bottom-up layers: blocks, frozen items, packs, then cubes and drinks.
- Elevate the cooler, keep in shade, and add a reflective or damp towel cover.
- Manage melt: keep water for sealed foods, partial drain for loose cans.
- Open less: stage a small day cooler, label items, and use a contents map.
If you want to visualize heat flow, imagine a cutaway diagram: arrows showing sunlight on the lid, wavy lines from hot ground, and a spiral arrow each time the lid opens. Then imagine those arrows getting smaller as you add shade, elevation, and a top shield. That mental picture makes it easier to explain to your crew why the small steps matter. And if you are curious what any of this is worth in numbers, our compiled ice retention metrics and cost-per-cold-hour breakdowns give you realistic expectations you can plan around.
For readers planning multi-day expeditions, remember to think about resupply and staging. A mid-trip ice top-up stays colder if you pre-chill replacement ice in a compressor fridge powered by your vehicle’s 12 V DC [12 volt direct current] outlet while you drive. If power is not available, buy bag ice from the coldest freezer you can find, and drain off the meltwater right before adding the bag to prevent temperature spikes. Either way, your coleman xtreme wheeled cooler 40 qt rewards thoughtful handling with longer, safer chill time.
--
Big promise in one line: master seven small habits and your Coleman Xtreme will hold safe, frosty temperatures far longer with the same amount of ice.
Imagine the next 12 months with fewer emergency ice runs, steadier food safety, and happy guests who always get a cold drink on cue in your coleman xtreme wheeled cooler 40 qt. Which two of these habits will you commit to testing on your very next trip?
Additional Resources
Explore these authoritative resources to dive deeper into coleman xtreme wheeled cooler 40 qt.
- Coleman 40-Quart Portable Rolling Wheeled Cooler - Walmart.com
- Hard Coolers with Wheels | Shop Coolers | Coleman®
Boost Coleman Xtreme Wheeled Cooler 40 Qt Performance with Portable Coolers Guide
Explore comprehensive electric cooler technology reviews plus metric-based comparisons and packing tactics to match your trip and climate, cut waste, and extend chill time for your coleman xtreme wheeled cooler 40 qt.
Related Articles