How Atmospheric Gases Impact Cooler Performance
By Priya Menon • 2nd Jun
Atmospheric gas impact on coolers sounds abstract, but once you see the gas composition cooling science behind it, you can turn hot, humid misery into predictable, low-waste cold that matches your real trips instead of lab marketing.
If you've ever packed "enough" ice, only to watch it vanish by day two, the air around your cooler (its temperature, humidity, and thinness at altitude) is part of the leak in your plan. I treat that air like another line item in the total cost of cold: how much heat it delivers per hour, and how many dollars of ice you burn fighting it.
Value is cold delivered per dollar, not logo size.
Below is a numbered breakdown of how atmospheric gases actually affect cooler performance, and what to do about it so you can trim the ice, not the safety margin.
1. Start with the air itself: how gases move heat
Air is mostly nitrogen (N2) and oxygen (O2), with smaller amounts of argon, carbon dioxide (CO2), and water vapor. Nitrogen and oxygen don't trap heat strongly, but greenhouse gases like CO2 and water vapor absorb and re-radiate infrared energy, a process that drives the greenhouse effect. At the planetary scale this effect warms Earth's surface by slowing heat loss to space.
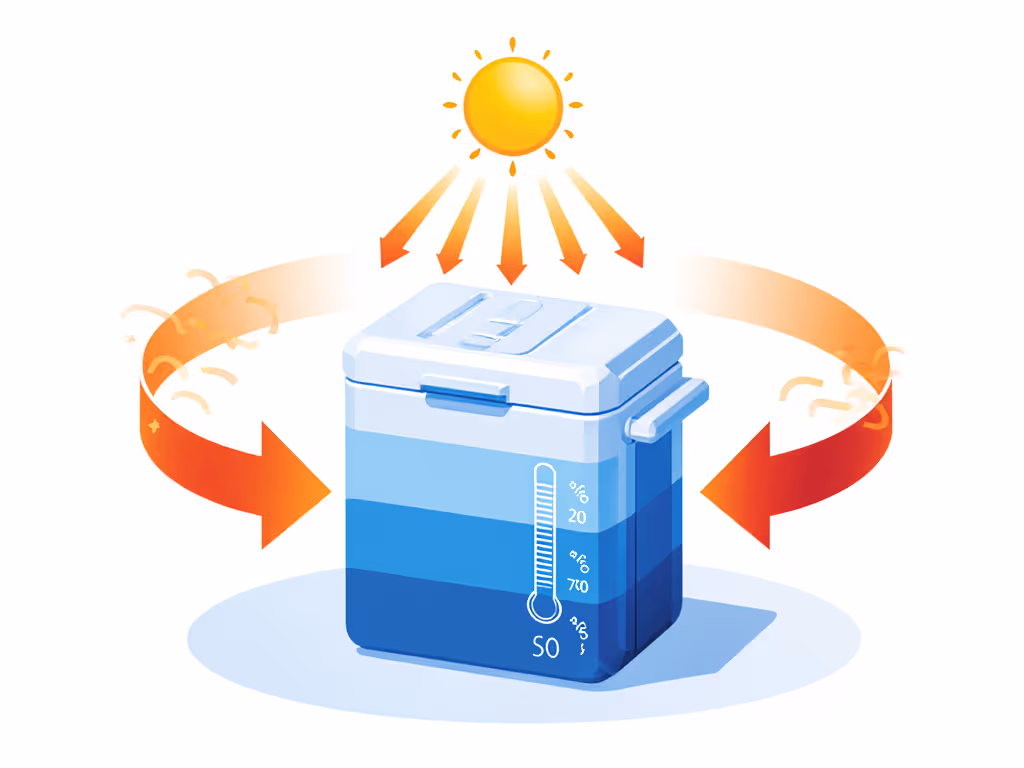
At cooler scale, the same basic physics shows up in three ways:
- Conduction through insulation: Gas trapped in foam (mostly air) conducts heat into your cooler. Gases generally conduct heat less than solids, which is why foams work at all.
- Convection around the shell: Air moving around your cooler (wind or hot, still air) carries heat to or away from the walls.
- Radiation from the air and surroundings: Warm air and surfaces radiate infrared energy toward the cooler, adding to its heat load. For a deeper primer on how insulation and heat transfer drive real-world results, see our portable cooler insulation guide.
You can't change the atmosphere, but you can change how much of that gas energy your cooler "sees": shading, covers, and placement often add more cold hours per dollar than upgrading brands.
2. Oxygen: minor thermally, but it quietly ages your gear
In normal outdoor use, oxygen concentration effects on cooling are small. The fraction of oxygen in air (about 21%) is very stable, and its basic thermal behavior is similar to nitrogen. You won't see a measurable ice-hold difference just from oxygen levels on Earth.
Where oxygen matters is long-term durability and safety:
- Oxygen drives oxidation of metal hardware and helps degrade some rubbers and plastics over time (especially in sun), which can loosen seals and gaskets. That gap quietly increases air exchange and melt rate.
- Oxygen feeds combustion. Running a stove or grill close to a cooler can raise local air temperature sharply, increasing convective heat into your lid.
Practical takeaway:
- Protect gaskets and hinges from sun and weather; replacing a $15 gasket that's lost its seal will often extend cold hours more than buying one more bag of ice every trip.
I track this as "future cost of cold": small maintenance now prevents slow leaks that cost you ice every weekend.
3. Nitrogen: the quiet baseline your insulation is built around
Most of the air (and the gas trapped inside foam insulation) is nitrogen. Nitrogen is chemically inert in this context and has relatively low thermal conductivity compared to liquids and solids, which is why trapping it in small foam cells works so well.
When people talk about the nitrogen impact on insulation, they're really talking about:
- What gas fills the foam cells. Many foams start with specialty blowing gases that insulate better than plain air, but over time they diffuse out and are replaced by nitrogen/oxygen from the atmosphere. That slightly reduces insulation performance over the product's life (this is an industry-known effect, even if marketing materials skip it).
- Still vs moving nitrogen. Even a great foam shell can be undermined by air leaks around the lid or drain. That air is mostly nitrogen and oxygen; when it moves, it carries heat far more effectively than when it's trapped.
What you can do:
- Keep the drain fully closed during use unless you have a specific food-safety reason to empty water mid-trip.
- Pay attention to latch tension. A lid that no longer compresses the gasket fully means more warm nitrogen-rich air cycling through.
This is where I often see mid-priced coolers out-earn premium ones on cost per cold hour: tight seals and smart use beat marginal insulation differences.
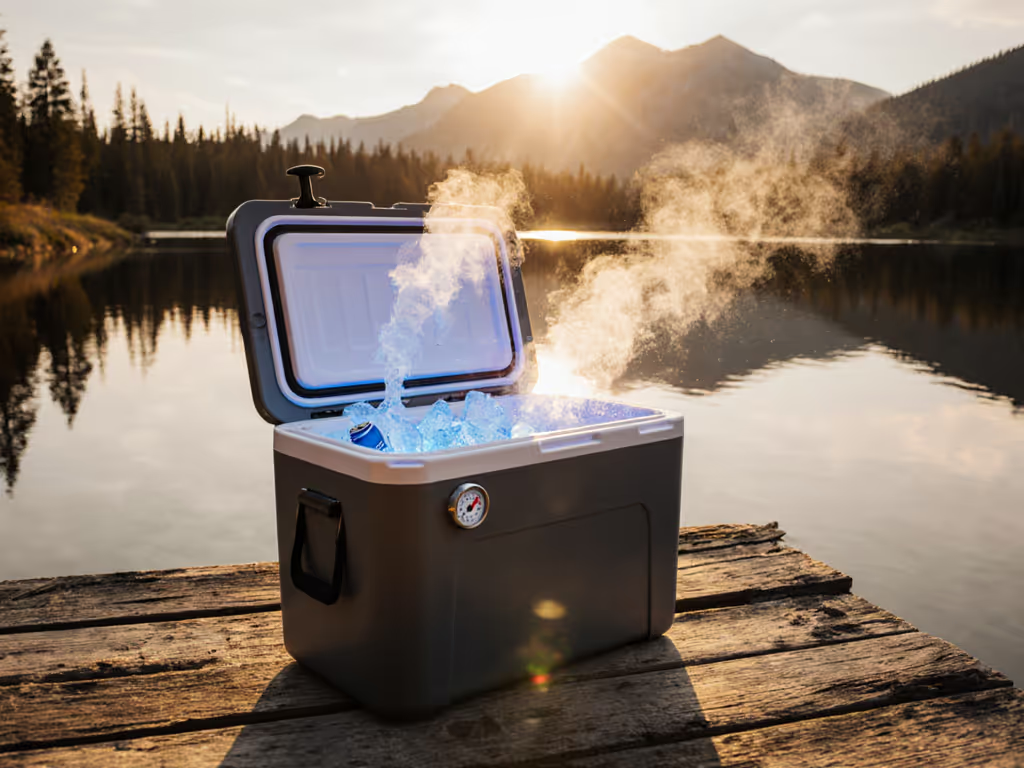
4. Water vapor: the hidden heat load in humid climates
Water vapor is the most abundant greenhouse gas in the atmosphere and strongly influences how much heat the air can hold. Climate scientists note that as the planet warms, the atmosphere holds more water vapor, which in turn amplifies warming. On your tailgate or worksite, that same moisture shows up as brutal humidity.
For coolers, humidity hurts you in two ways:
- Every humid breath into the cooler carries latent heat. When warm, moist air enters and then cools down, water vapor condenses on cold surfaces (cans, meat packaging, the lid). Condensation releases heat directly into your cold mass.
- Exterior condensation adds load. On muggy days, the outside of the cooler sweats. That condensation also releases heat at the wall, increasing the temperature gradient your insulation must fight.
That means humid Gulf Coast or Midwest days cost more ice per hour than the same temperature in a dry Mountain West climate, even before you account for sun. Learn how dew point and moisture management affect melt in our condensation science explainer.
Practical tactics for high humidity:
- Open the lid less often but more purposefully: one deliberate grab instead of three quick peeks.
- Use baskets and dividers so cold air can circulate with fewer big air pockets.
- Pre-chill drinks and food so the cooler works on maintaining, not pulling down, temperature. Less time with the lid open.
If I'm modeling a muggy, 90°F/32°C day with frequent opens, I often add roughly 20-30% more ice to my baseline dry-climate plan just to pay for humidity's extra latent heat (rule of thumb, not lab measured).
5. Carbon dioxide: not your cooler's enemy, but your climate's
Climate science is clear that carbon dioxide concentrations in the atmosphere are rising, mostly from fossil fuel use. NOAA reports that global average CO2 reached around 423 ppm in 2024, a record high, and continues climbing. CO2 is a key greenhouse gas that traps heat and drives global warming.
At the scale of one cooler, going from 300 ppm to 423 ppm does not directly change your ice melt rate in any meaningful, measurable way. What does matter is the warmer ambient temperatures that come along with a CO2-thickened atmosphere.
Higher background temps mean:
- A larger temperature difference between ice (~32°F/0°C) and the surrounding air.
- More radiant heat from hot decks, asphalt, and nearby surfaces.
From a cost-of-cold standpoint, climate change shows up as:
- More days where your cooler sees 95-105°F (35-40°C) instead of 80°F/27°C.
- More nights that never really cool off, so you don't get free recovery time.
Planning response:
- For truly hot trips (midday highs above 95°F/35°C), model your cooler as if it's one size smaller: assume shorter hold times and plan extra shade + reflective cover as "free insulation" before you buy more ice.
This is an indirect CO2 effect, but it's real: your old "three bags are plenty" rule may now be two bags short on the same calendar weekend compared to a decade ago.
6. Gas composition in high-altitude cooling: thin, cold, and sunny
At higher elevations, the atmosphere thins: air density and pressure decrease with altitude. The composition (roughly 78% nitrogen, 21% oxygen, plus trace gases) stays almost the same, but there's less of it above you.
Big implications for coolers:
- Cooler nights, stronger sun. High-altitude areas often have cooler night temperatures but more intense solar radiation during the day because there is less air mass to filter sunlight.
- Less convective heat transfer. Thinner air carries less heat to the cooler per unit time for a given wind speed (helpful), but the brutal midday sun can more than offset this.
Practical altitude adjustments:
- Mountain West, dry and sunny:
- Prioritize shade and reflective covers during the day.
- Use the cooler night air: park the cooler outside the tent or cab, off the ground, lids latched.
- Ice planning: You may not need much more ice than at low altitude for the same average temperature, but sun exposure penalties get harsher. Expect a big performance hit if your cooler bakes unshaded.
In my trip spreadsheets, I often model high-altitude summer trips as "hot days / cold nights", then split the cost-of-cold calculation into daytime (worst case) and nighttime (near free) blocks. For the physics and field data behind altitude penalties, see high-altitude cooler performance.
7. Air inside the cooler: internal gas mix and packing strategy
So far we've talked about the air outside. Inside the cooler, gas composition cooling science is very practical:
- Air is your enemy if it's warm and plentiful. Empty headspace is just warm gas that needs to be cooled every time you open the lid.
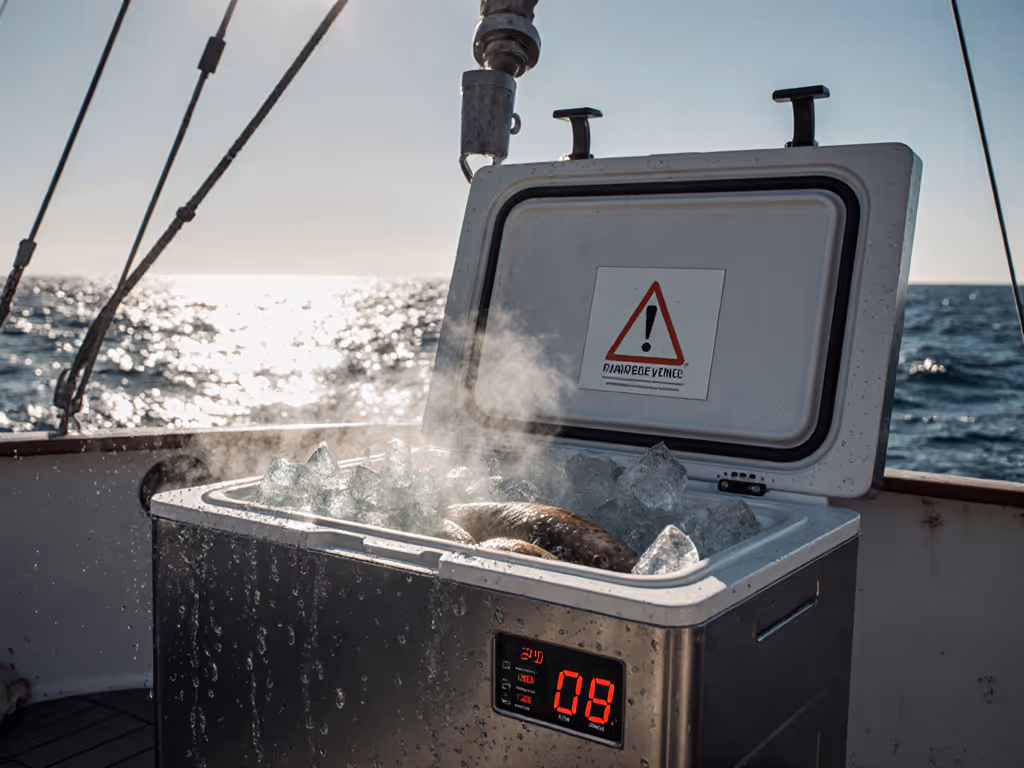
- CO2 from dry ice is denser than air and sinks. In setups that use dry ice, the bottom of the cooler can fill with CO2 gas, which is cold and helps insulate, but you must handle it carefully and never use large quantities in enclosed spaces because CO2 can displace oxygen.
To reduce internal gas losses:
- Pack the cooler as full as possible with cold mass: ice, frozen bottles, pre-chilled food.
- Use towels or foam panels to fill large air gaps if you don't have enough contents.
- Group items by access frequency so you're not fishing around (literally and figuratively) with the lid wide open.
This is where my own testing overturned a lot of assumptions: a mid-tier cooler, tightly packed with sensible air management, beat a bigger, pricier rotomold packed sloppily in cost-per-hour-of-cold for a two-day trip.
Trim the ice, not the safety margin.
You do that by trimming wasted air space and warm-gas exchange first. For a deeper dive on how lid design and opening frequency change heat flow, read our cooler lid physics guide.
8. Turning gas physics into a simple, trip-ready cold plan
You don't need a climate lab, just a repeatable checklist that accounts for the key gas-related factors: temperature, humidity, altitude, and air exchange.
Here's a practical, 5-step workflow you can reuse:
- Classify your climate for the trip
- Dry & moderate (e.g., 70-85°F / 21-29°C, low humidity)
- Hot & dry
- Warm & humid
- Hot & humid
- High-altitude swing (hot sun, cool nights)
- Set a base ice load
- As a rough starting point for a decent hard cooler: 0.75-1.0 lb of ice per quart of internal volume for a 24-36 hour trip with moderate openings.
- Adjust for atmospheric penalties
- Hot & dry: add ~20% more ice or equivalent cold mass.
- Warm & humid: add ~20-30% for humidity.
- Hot & humid: add ~40-50% plus aggressive shade and cover.
- High altitude: focus on sun control more than extra ice; treat midday as "hot & dry," nights as "free chill."
- Minimize air exchange
- Pre-chill contents.
- Pack full, filling dead space.
- Plan the cooler layout so high-frequency items are on top or in baskets.
- Add low-cost gas controls
- Keep the cooler shaded and off hot surfaces.
- Consider light-colored covers to cut radiant heating.
- Close drains and verify gasket contact.
Actionable next step:
For your next trip, take 10 minutes and do this:
- Write down: expected daytime high, humidity feel (dry/sticky), altitude (low/higher than 5,000 ft), and trip length in hours.
- Use the base 0.75-1.0 lb/quart ice rule, then apply the percentage adjustments above for your conditions.
- Sketch a quick cooler layout so you know what you'll grab most often.
Run that once, note how much ice you actually brought home still solid, and adjust. Within 2-3 trips, you'll have a personal, gas-aware cold plan that turns confusing atmospheric physics into predictable, low-waste performance, so your ice budget, not the air, is what you control.
Related Articles