How-To Use & Care
Cooler Accessories Guide: Maximize Cold, Minimize Waste
Seven field-tested accessories extend cold time, keep food safely below 40°F, and cut ice runs and waste - delivering more cold per dollar without upgrading your cooler.
If you've ever waded through a swamp of melted ice searching for drinks while your cooler line groans, you know how to pack a cooler isn't just about ice retention, it's about people. Real-world cooler organization means designing for hungry kids, thirsty crews, and the 90-second tailgate rush. Forget lab-tested stats when shade, access speed, and food safety make or break your trip. As someone who's turned chaotic lines into smooth flows, I'll show you how to build a cooler that serves, not stalls, your crew.
Most cooler advice obsesses over ice longevity in sterile labs. But out here? Shade availability, how often you lift the lid, and whether raw chicken touches lunch meat matter more than retention charts. Temperature stratification isn't a physics concept, it's why drinks get warm while the bottom layer stays frozen. When you don't design for human behavior:
I learned this fast when my first big tailgate's cooler line stretched 20 deep. Redesigning it with people-first zones (not just ice calculations) cut serve time in half and kept everything safely cold. Let's build your cooler the same way.
Yes, pre-chilling your cooler works. But skip the "add ice hours early" advice if you're loading in a hot garage. Real-world tweak: Pack directly from your fridge/freezer. That burger meat? Keep it sealed at 34°F until it hits the ice. Why? Warm contents zap your ice's power fixing your mistakes instead of chilling food.
Pro move: Freeze drinks ahead of time. They double as ice blocks and shift weight from pure ice to useful mass. For 20-quart coolers, 4 frozen bottles replace 2 lbs of ice, less meltwater, quicker access.
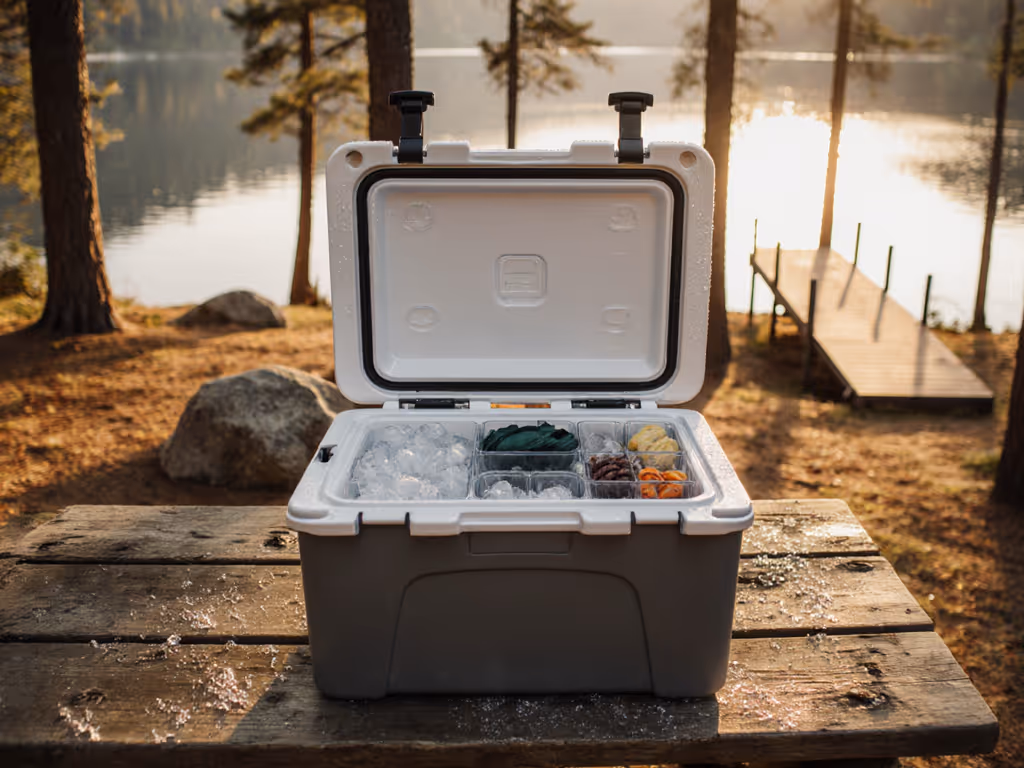
Forget "bottom=meat, top=drinks." Design service lanes like a fast-food counter. I call this Stage, label, and flow:
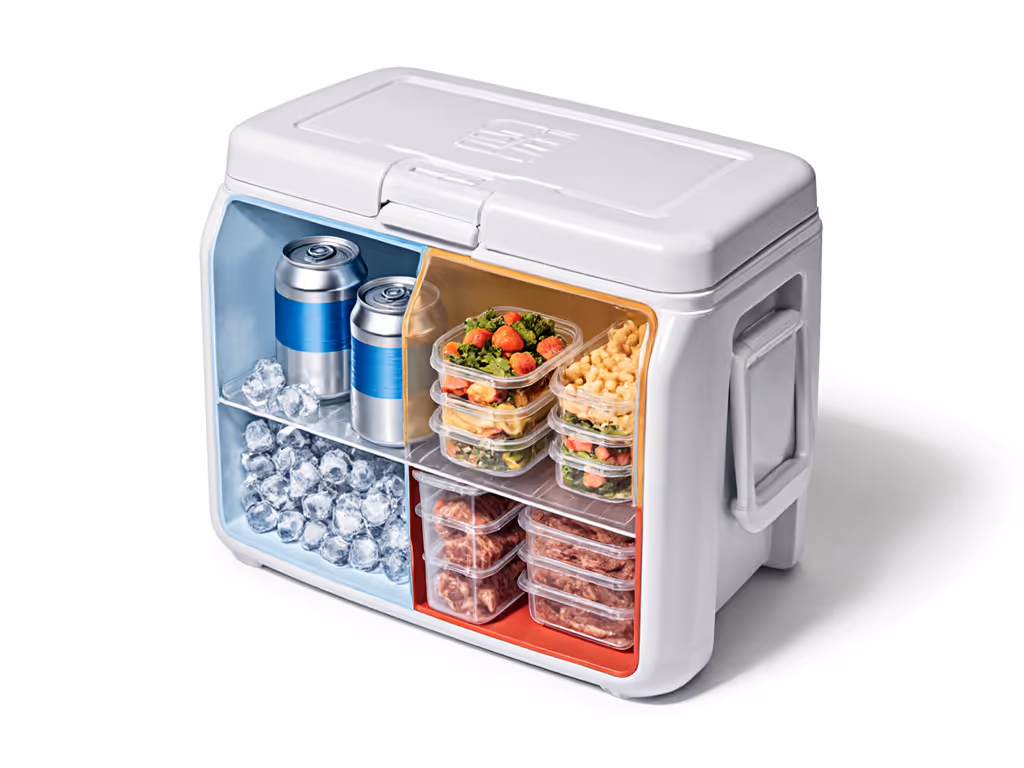
Zone 1: Sacrifice Zone (Front) Loose ice cubes + drink cans. Gets hit first, then replace with fresh ice after the initial rush. This absorbs the chaos so the rest stays cold. Label with a flag: "First 30 mins only!"
Zone 2: Meal Zone (Center) Pre-packed lunches in sealed bins above raw meat. Elevate with a $2 plastic tray (prevents cross-contamination). Time-to-serve? Under 15 seconds, no digging.
Zone 3: Safety Zone (Back/Below) Sealed raw meat/fish in watertight containers at the bottom. Never mix with ready-to-eat food. Critical for food safety in coolers. This is where stratification helps (coldest air sinks).
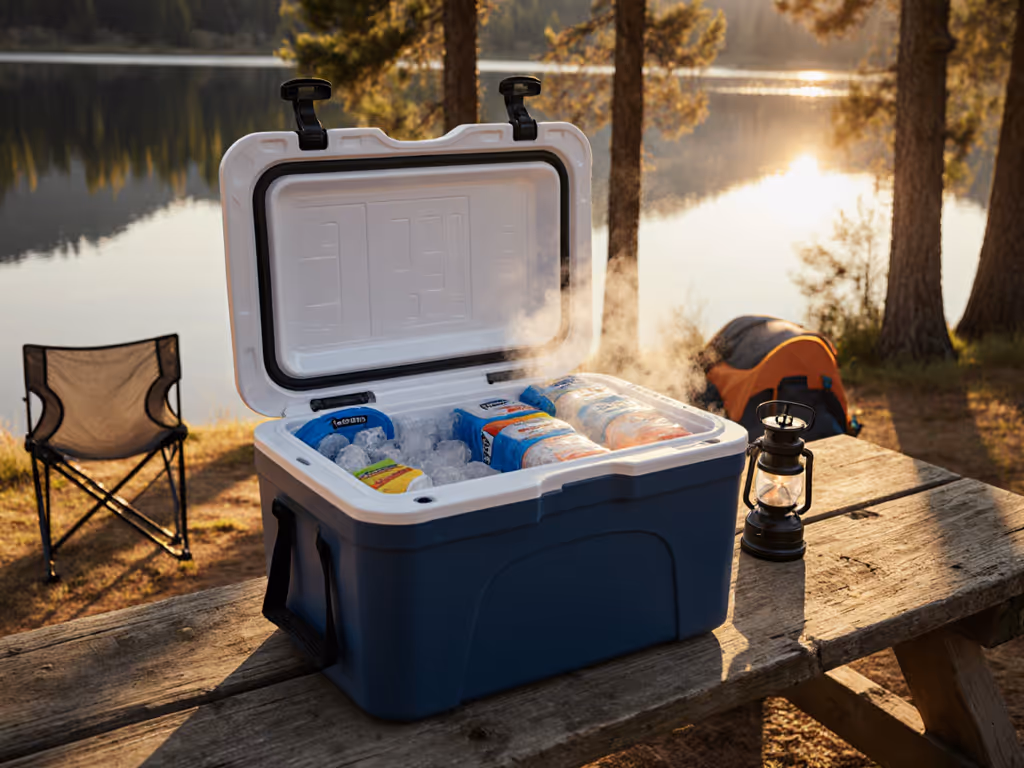
Maximizing ice retention means trapping cold air, but only if you're not opening the lid constantly. Match ice type to your behavior:
| Situation | Ice Type | Why It Works |
|---|---|---|
| Tailgate/crew site (opened hourly) | 70% block ice + 30% cubes | Blocks hold base cold; cubes fill gaps where people grab |
| Weekend camping (opened 2x/day) | All blocks | Less meltwater = less soggy mess |
| Fishing (heat + frequent access) | Reusable packs + cubes | Packs won't dilute catch; cubes stage drinks fast |
Trade-off note: Block ice melts 25% slower than cubes... but cubes help you stage, label, and flow during peak demand. For family trips, I always add a cube layer just for hands, no one digs through solid ice for a soda. For detailed seasonal advice on ice types, quantities, and prep, see our seasonal ice guide.
Lid openings aren't random. They cluster during lunch or kickoff. Cooler packing techniques that ignore this fail hard. Do this:
The true test of cooler organization isn't packing, it's cleanup. Measure time-to-teardown with this:
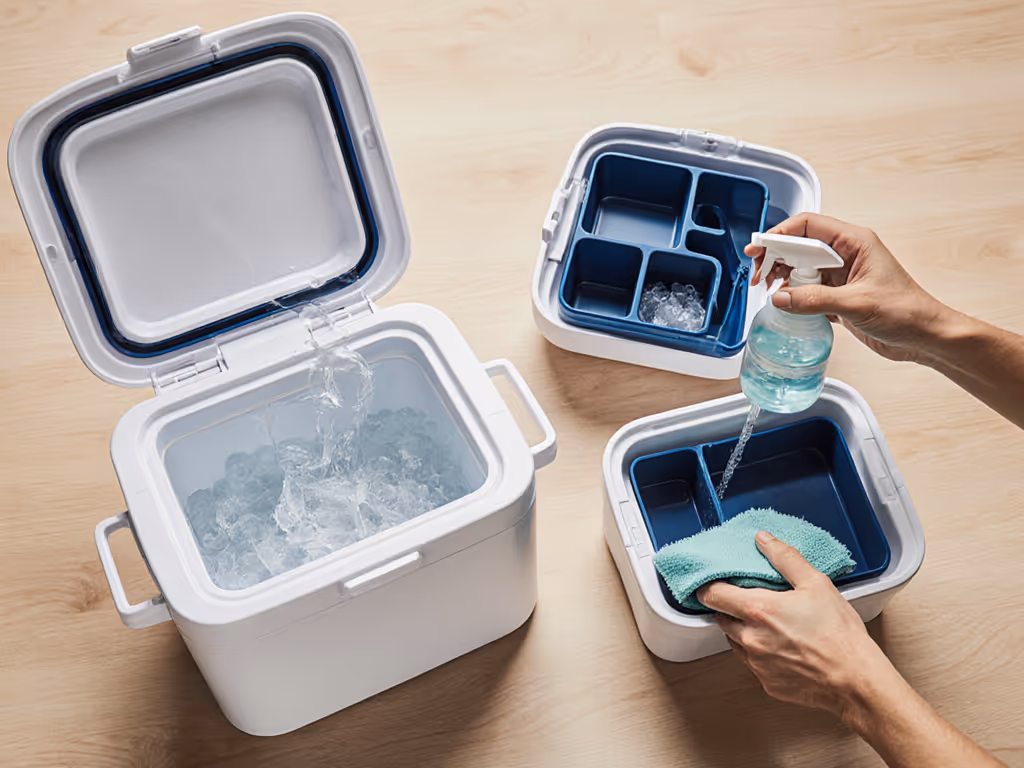
Why it works: Your zones became cleanup stations. No more dumping slush into the truck bed, raw meat residue stays isolated, and drink cans drain fast.
Before you pack, ask:
Remember: Great cooler setups serve people first, stats second. Ice retention charts won't fix a cooler that takes 3 minutes to serve lunch. But a zone-built layout? It turns panic into flow, even when the sun's scorching and the cooler line's surging.
Ready to master your cooler flows? Grab my free Cooler Zone Planner, a 5-minute checklist that builds your custom layout based on group size, trip type, and actual human behavior. No more guessing how much ice to pack. Just cold, safe, and fast.
Seven field-tested accessories extend cold time, keep food safely below 40°F, and cut ice runs and waste - delivering more cold per dollar without upgrading your cooler.
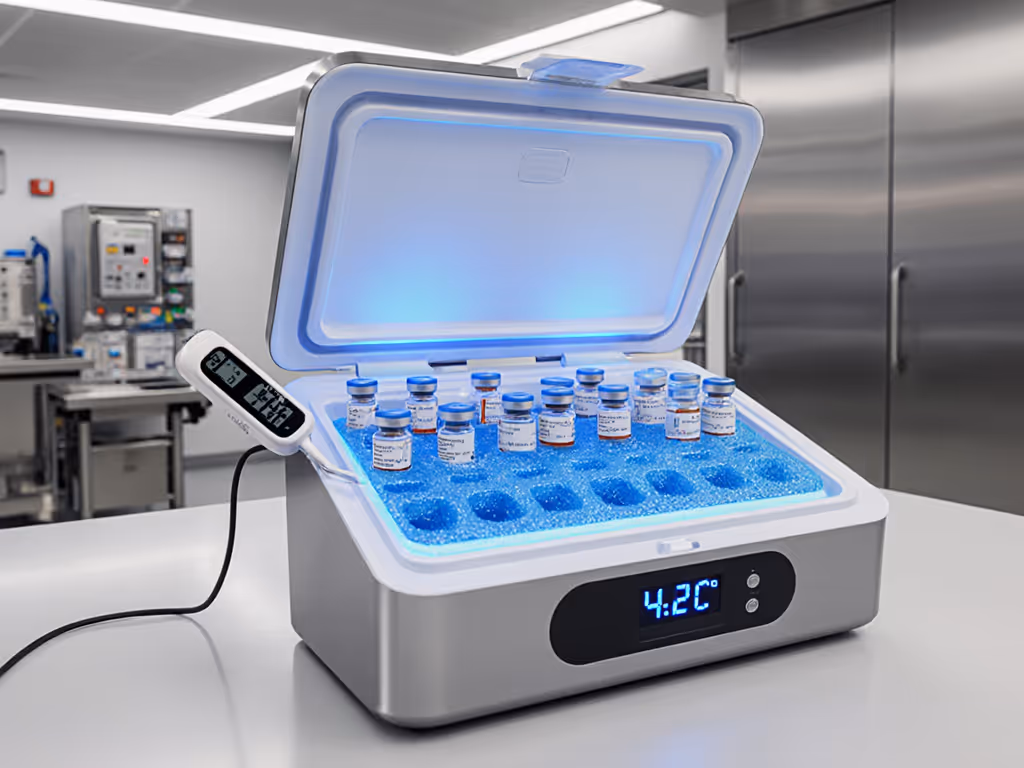
Keep medications safely between 2–8°C using lab-tested metrics and simple packing rules. Learn the exact ice-per-quart-per-hour needed, when to use 4°C gel packs, how openings cut hold time, and how to validate your setup before travel.

Use a 2:1 ice-to-content ratio to make soft coolers perform predictably in heat. Apply pre-chilling, ice layering, zoning, and access control to extend hold time, protect food safety, and cut downtime.
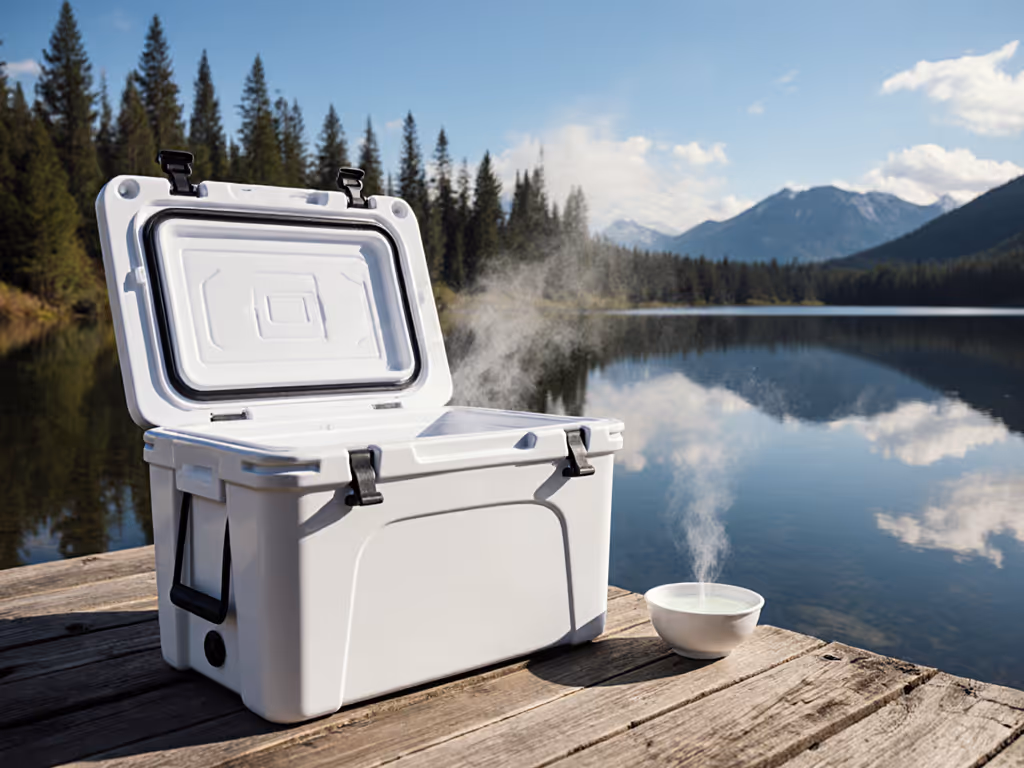
Stop musty odors at the source with a quick drain, vinegar gasket flush, and sun-dry routine, plus targeted weekly deep cleaning and smart seasonal storage. Keep the cooler sanitary, odor-free, and efficient - protecting food safety and ice life without harsh chemicals.
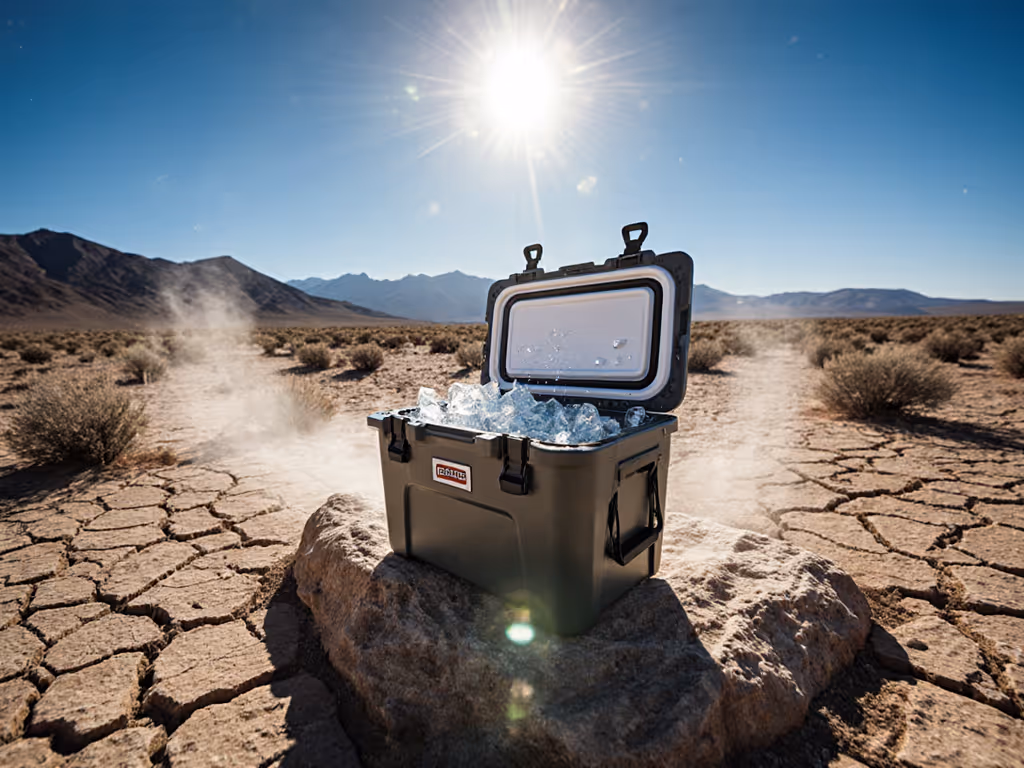
Get field-tested, climate-specific tactics to keep food safe and drinks cold while spending less - covering ice choice, pre-chilling, shade and packing techniques, smarter draining, and a simple calculator to right-size your ice. Optimize for cold hours per dollar in desert heat, tropical humidity, and freezing conditions.