Cold Chain Continuity: Stop Temperature Spikes
By Mia Kowalski • 31st Mar
You're standing at the boat ramp or the tailgate, hand on your cooler's lid, and you ask yourself: Is it still cold? That's not paranoia, it's the moment when cold chain continuity breaks down. Temperature spikes happen quietly and fast, often between the moment you close one cooler and open another, or when you move from shade into sun. Real cold chain continuity isn't about monitoring systems in a warehouse; it's about understanding the physics of your cooler's performance in the real world, and intervening before ice melts and food drifts out of the safe zone.
This guide walks through how to prevent those spikes, manage transitions between coolers, and keep your setup running reliably from launch to landing (or first strike to the end of shift).
Understanding Temperature Spikes in the Field
A temperature spike is a rapid climb above your target range (usually below 40°F / 4°C for food safety). It happens because coolers aren't sealed time machines; they're passive systems fighting entropy. Every time you open the lid, warm air rushes in. Every hour the cooler sits in direct sun, solar radiation heats the exterior and radiates inward. To understand how insulation and heat transfer drive these spikes, see our portable cooler insulation guide. Every movement, loading the truck, shifting it to a new spot, boarding a boat, stirs internal air and speeds melting.
What makes spikes dangerous is their speed. A cooler can hold stable at 38°F for hours, then jump to 48°F in minutes once the thermostat tips. By then, perishable items, especially proteins, have begun a slow slide toward unsafe zones. You need visibility into that moment before it happens, not after.
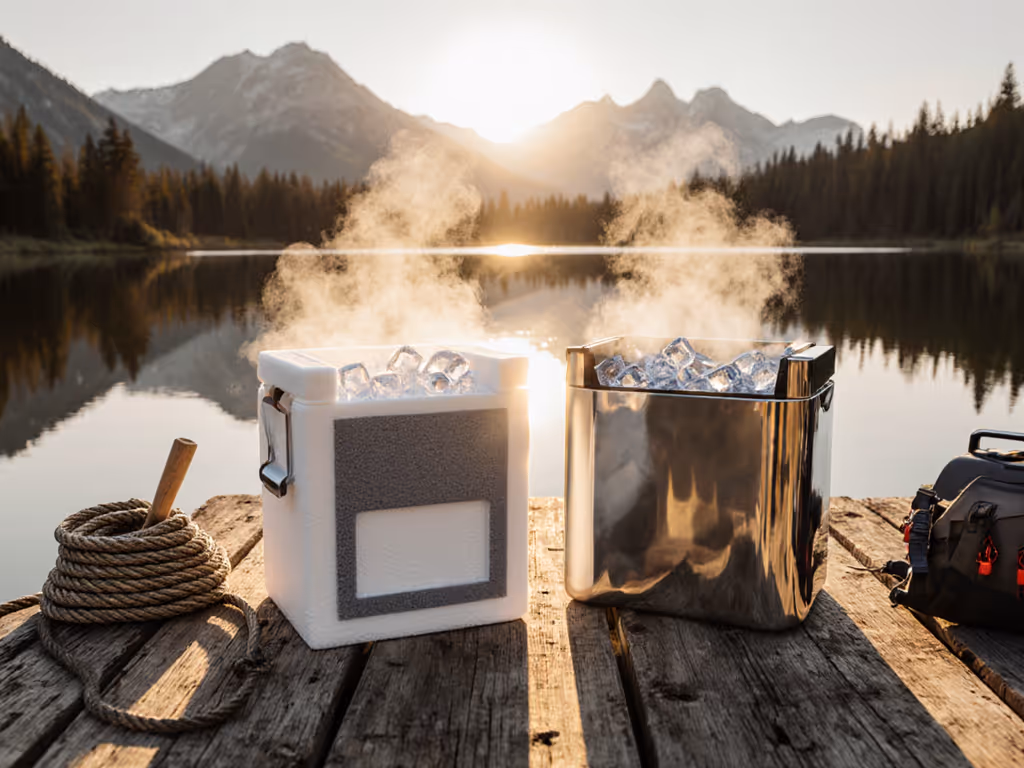
The Physics of Cooler Transitions
Many setups fail at handoff moments: moving contents from a hard cooler to a soft pack, pulling ice from storage, or swapping to a backup cooler mid-trip. Each transition is a thermal reset. If the receiving cooler isn't pre-chilled, warm walls will sap energy from your ice pack immediately. If you pour warm beverages on top of already-cold food, convection currents stir warm water through the stack. If air gaps exist between items, cold flows around the food rather than through it.
The principle from industrial cold chain management applies here directly: continuous thermal monitoring prevents catastrophe. You don't need sensors, you need a system: a pre-chill habit, a packing recipe, and a clear eye on the cooler's condition every few hours.
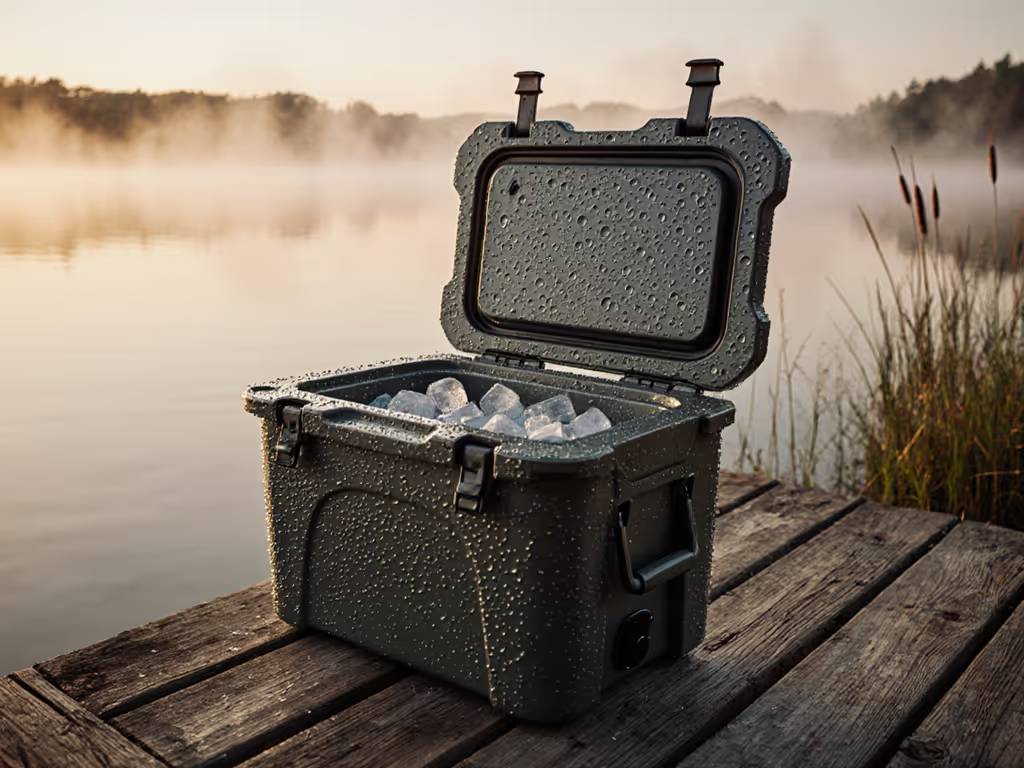
Pre-Chill: Your First Defense
Before any trip, especially in heat, pre-chill your cooler at least 4-6 hours (ideally overnight). Leave ice in the bottom, a thermometer in the middle, and the lid closed. This drops interior walls to near-freezing, so when you pack with fresh ice and cold contents, that cold has nowhere to go but into your food.
If you skip this step, you've added 2-4 hours of melting time just waiting for walls to cool. In a 90°F environment, that's the difference between 12 hours of safety and 8.
Transition Timing
When you move coolers or reload mid-trip:
- Stage the receiving cooler in shade (or pre-chill it, if time allows).
- Work fast: no more than 5-10 minutes with the source cooler open.
- Pour off meltwater first, then layer cold items directly into fresh ice, not into drained, warm interior walls.
- Top with a fresh ice layer, and close immediately.
This recipe mirrors the industrial practice of real-time intervention: as soon as conditions shift, you act.
Packing for Continuity
How you arrange contents determines whether cold flows through your food or around it. Dense, chaotic packing traps air pockets that insulate warm items. For step-by-step layering and zone setup, use our cooler packing guide.
Layer strategically:
- Base: 3-4 inches of ice block or bagged cubes, depending on cooler size.
- Proteins first: raw meats, fish, game in sealed bags, lowest tier where it's coldest.
- Barrier layer: a thin layer of ice or a divider (rigid or cloth).
- Prepared foods, drinks, other items: above the barrier.
- Top layer: final ice blanket to seal heat transfer from the lid.
Air gaps are your enemy. They create thermal pockets where contents warm independently. Fill gaps with extra ice or crumpled newspaper (insulates less than you'd think, but better than nothing).

This zoning approach comes straight from industrial cold chain principles: segregate products by temperature sensitivity, monitor the boundary between zones, and intervene if conditions drift.
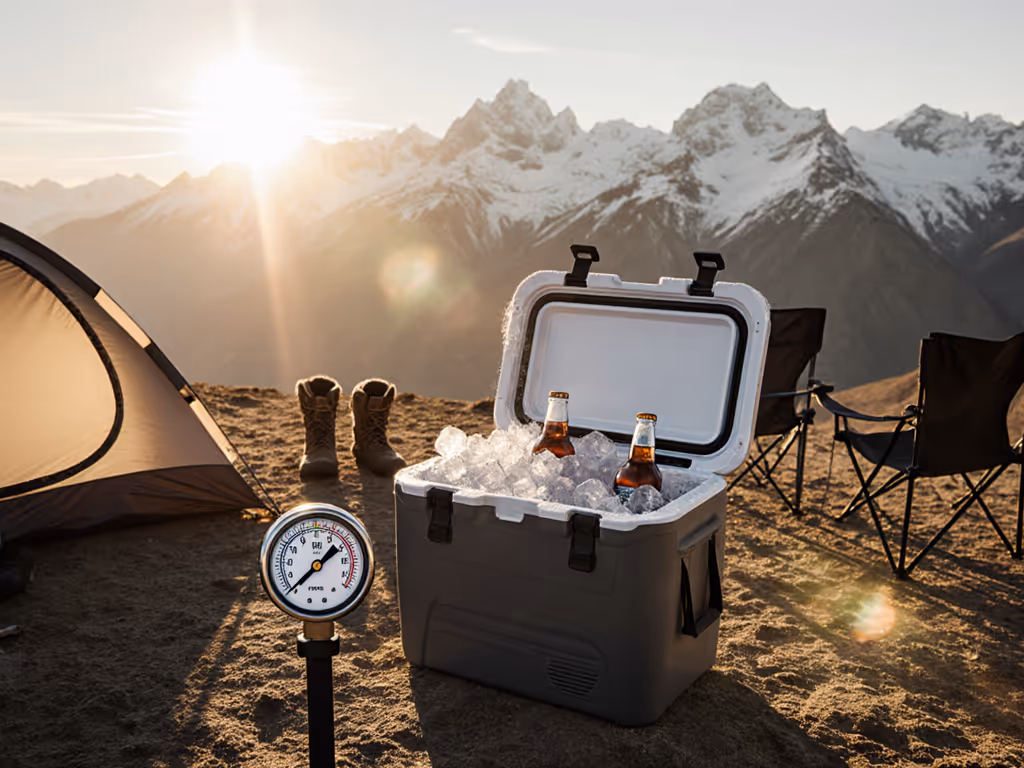
Monitoring Without Sensors
You don't need IoT devices to track your cooler. You need discipline and clear signals.
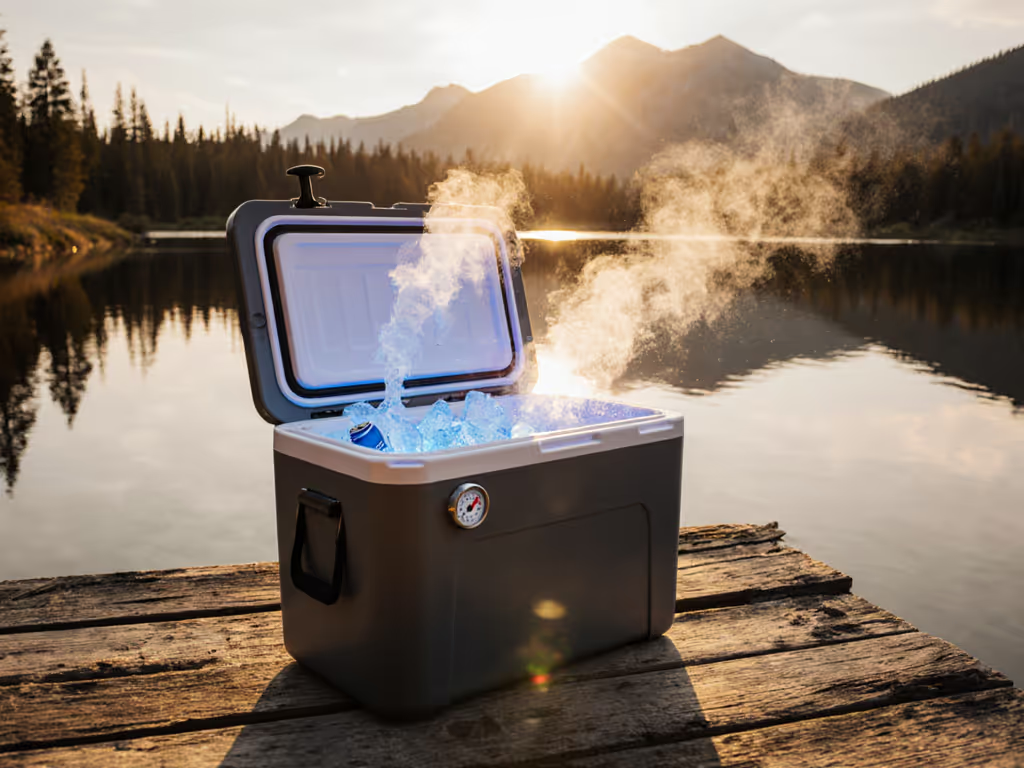
The Visual Check
Every 3-4 hours, open the cooler and assess:
- Ice appearance: Is it solid, or mushy/collapsed? Mush means melt is outpacing resupply.
- Meltwater level: If it's pooling above the food, thermal breakdown is accelerating.
- Contents feel: Touch the coldest items (usually proteins at the base). They should be firm and very cold, not cool or soft.
- Lid seal: Is condensation forming outside? Frost inside? Both signal heat intrusion.
Temperature Flags
If you see:
- Meltwater pooling faster than yesterday: The cooler is losing the fight. Drain it, add fresh ice if possible, and consider moving to shade or covering the cooler.
- Soft meltwater ice or slow-draining water: Cooler walls aren't insulating; ice is melting from inside out. The cooler may be failing, or you've packed too densely and blocked airflow.
- Warm spots in the food (especially raw meat): Temperature spike in progress. Act immediately: drain meltwater, add ice, move to shade, reduce opening frequency.
This is proactive intervention, the hallmark of reliable cold chain systems. You don't wait for food to spoil; you catch the signal and shift tactics.
Field Tactics for Heat Management
Sun and Deck Heat
Solar gain is relentless on a boat deck or in the truck bed. Even a light-colored cooler can warm significantly in direct sun. Dark coolers absorb more, accelerating melts.
Mitigation:
- Position in shade whenever possible. If the sun moves, the cooler moves.
- Cover with a light blanket or towel to block direct radiation.
- Use a cooler cover or reflective emergency blanket if shade isn't available.
- Elevate slightly off the deck with spacers so air can circulate underneath; don't let the cooler sit directly on hot surfaces.
Opening Discipline
Each lid opening lets warm air in and cold escape. Convection alone can spike internal temperature by 5-8°F in moments, especially if air is already hot.
- Plan retrieval: Before opening, know what you need and where it is. Retrieve in one motion.
- Designate a "service zone": Keep frequently accessed items (drinks, snacks) in an upper, easily reached layer. Reserve lower ice and proteins for minimal disturbance.
- Close and seal tightly: A sagging or misaligned lid leaks cold continuously.
Ice Management
Not all ice is equal, and optimal ice type depends on cooling duration and thermal dynamics. For dialing in quantities by season and trip length, see our 2:1 ice ratio guide.
- Block ice melts slower (larger surface area, slower heat penetration). Best for multi-day trips or high sun.
- Cubed ice melts faster but chills food quicker and fits dense packing better. Good for day trips or frequent access.
- Reusable gel packs are eco-friendly but less efficient than real ice; combine them with real ice for hybrid trips.
For a day trip in mild weather, 1 lb of ice per 2-3 quarts is typical. In 90°F heat with frequent openings, double that or add 20-30% more. Industrial cold chain guidance emphasizes this: understand your environment's thermal load, then right-size your coolant accordingly.
Food Safety and Compliance
Temperature spikes aren't just inconvenient, they compromise safety. Perishable foods held above 40°F / 4°C begin bacterial growth within 2 hours. Learn protocols and monitoring techniques in our cooler food safety guide. For fishing, game, or crews handling raw proteins, this is both a food-safety and legal concern.
Keep perishables in the coldest zone (base layer, surrounded by ice). Check frequently. If contents drift warm, use them first or discard them. Don't guess. This mirrors industrial compliance: maintain meticulous records and act on deviations immediately.
The Teardown Signal
Great cooler setups serve people first, stats second, but they also close cleanly. If your cooler takes longer than ten minutes to drain, organize, and pack away, the setup is fighting you. Simplify zones, fewer dividers, better access. Speed of teardown often signals efficiency of the original packing.
Practical Checklist for Trip Day
- Pre-chill cooler overnight (or 4-6 hours minimum).
- Stage contents cold: beverages in fridge, meats in freezer until just before packing.
- Pack in layers: ice base, proteins, barrier, other foods, ice top.
- Seal gaps with extra ice or paper.
- Position in shade or cover before loading.
- Check every 3-4 hours: ice firmness, meltwater level, food temperature.
- Open with intent: quick, planned retrieval only.
- Move to shade if sun shifts.
- Add fresh ice mid-trip if melt is faster than expected.
- Drain and assess before the return to catch early spoilage.
Looking Deeper
If you want to push even further, especially for multi-day trips or extreme heat, explore insulated covers, reflective surfaces, pre-frozen water bottles as secondary coolant, and cooler positioning strategies specific to your boat or vehicle layout. The same principle applies: understand the physics of heat transfer, monitor conditions in real time, and intervene before a spike becomes a crisis. Test one variable at a time (cover, position, ice type) and measure the difference in meltwater or final content temperature. Field data beats guesses every time.
Your cooler is a thermal system, not a black box. Treat it like one, and you'll serve cold and safe, every trip.
Related Articles